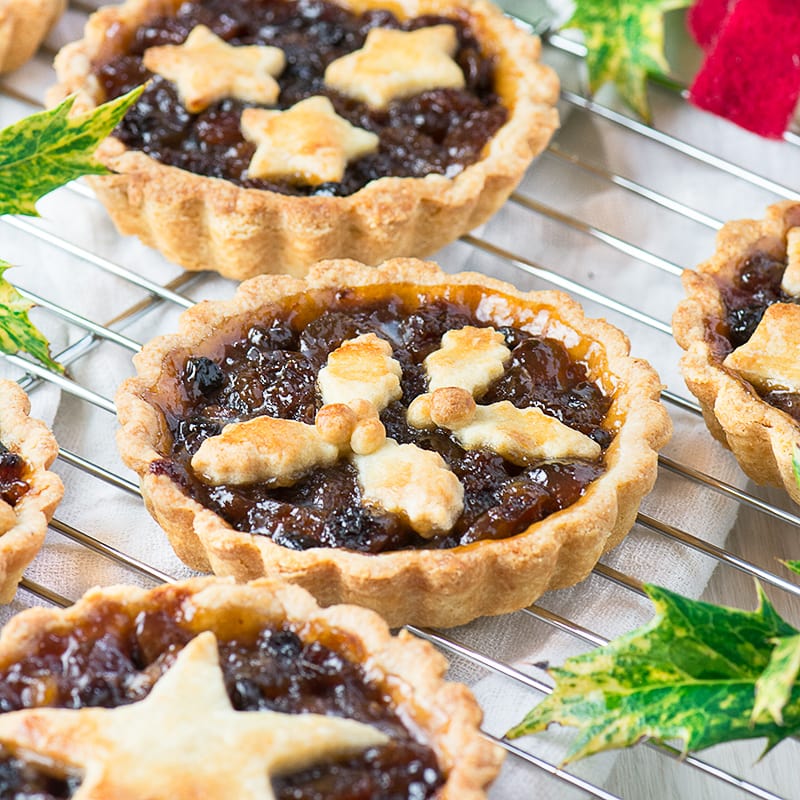
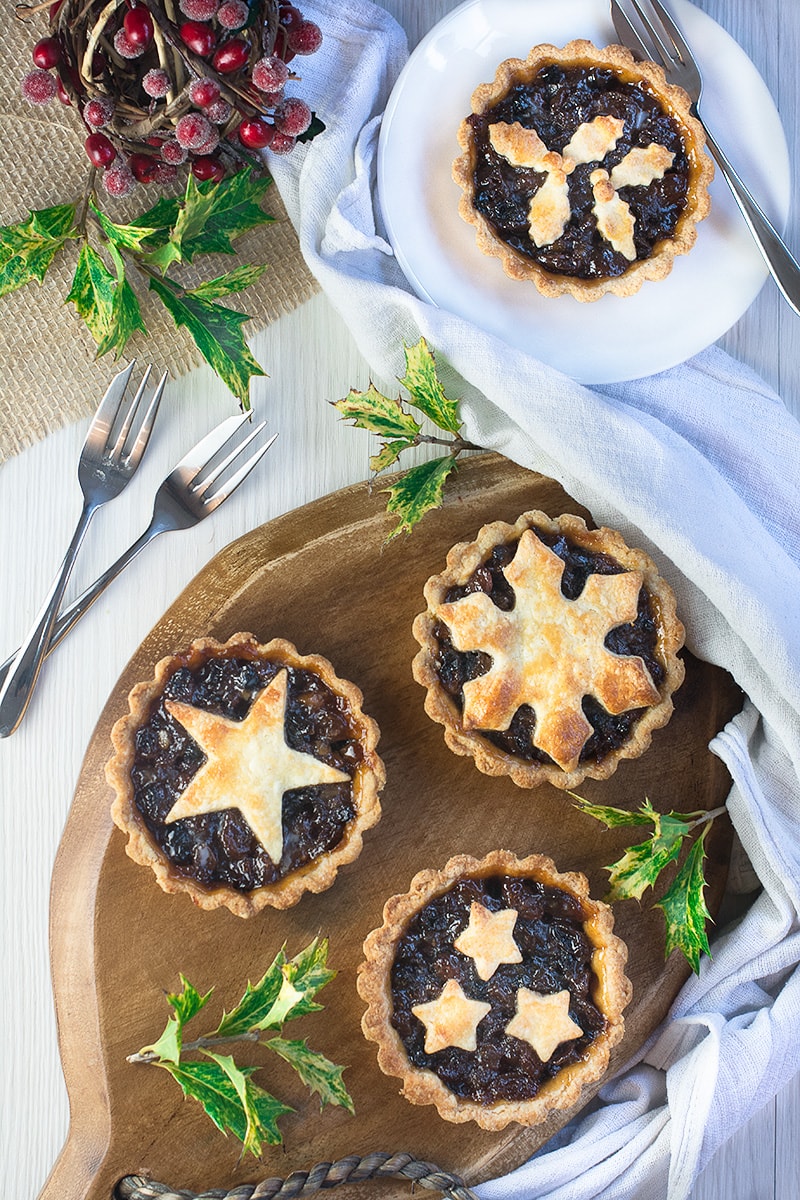
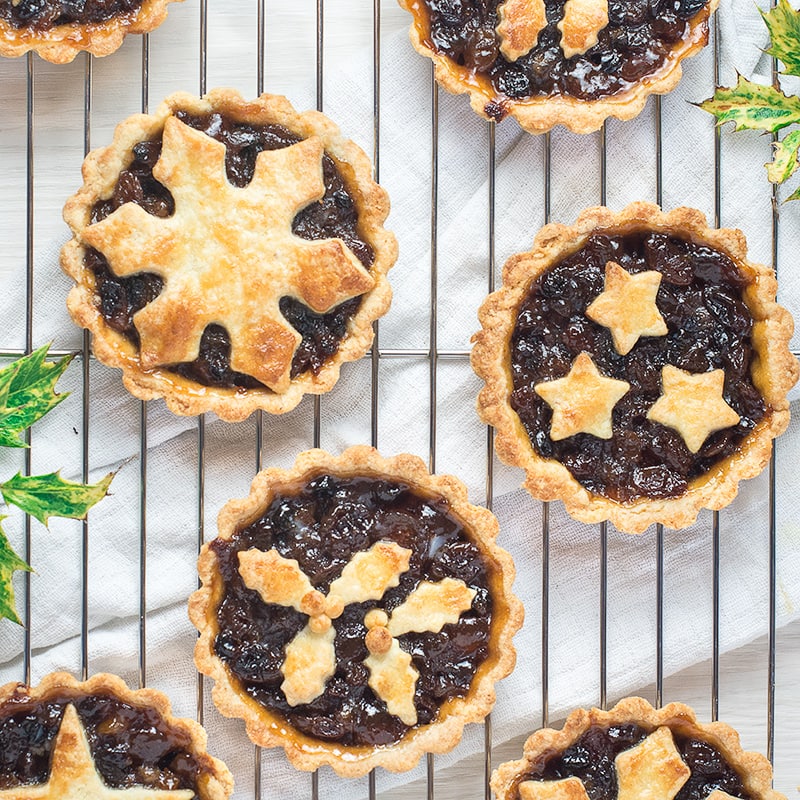
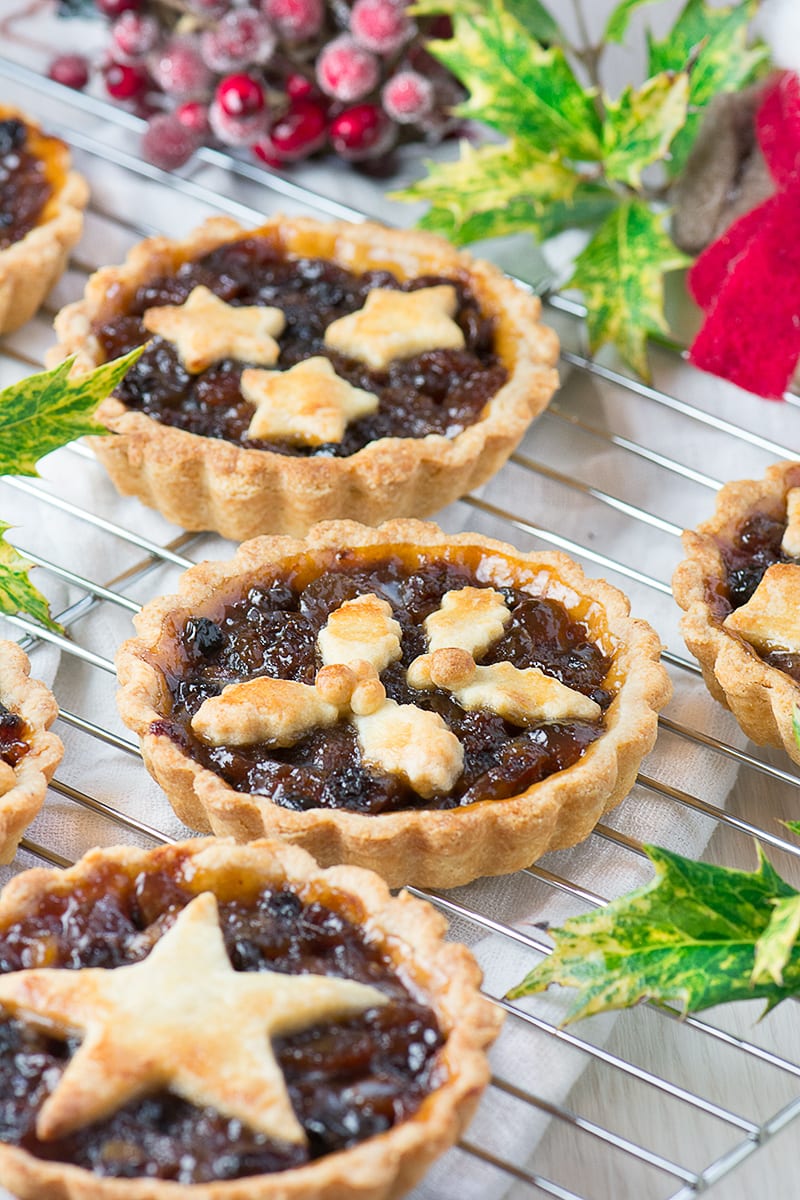
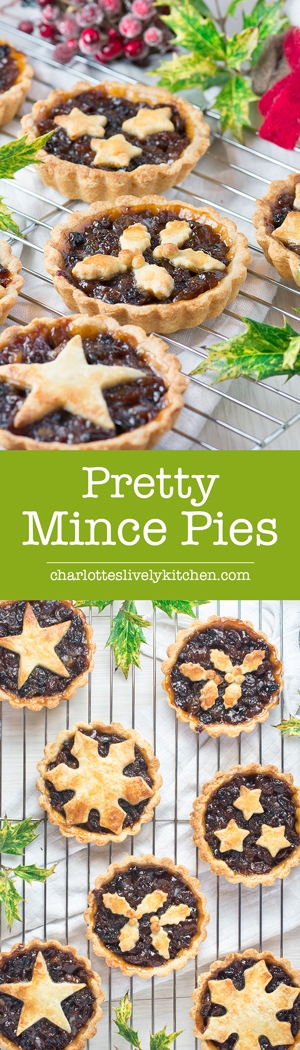
Make your Christmas extra special with these pretty mince pies decorated with stars, holly and snowflakes. Perfect for festive parties or as a treat with a cup of tea on a chilly evening.
I made these mince pies with absolutely no intention on putting them on the blog. I actually made them as a prop for the photographs for another recipe I’ll be sharing soon. However, I got about halfway through and decided they were so pretty they deserved a post in their own right.
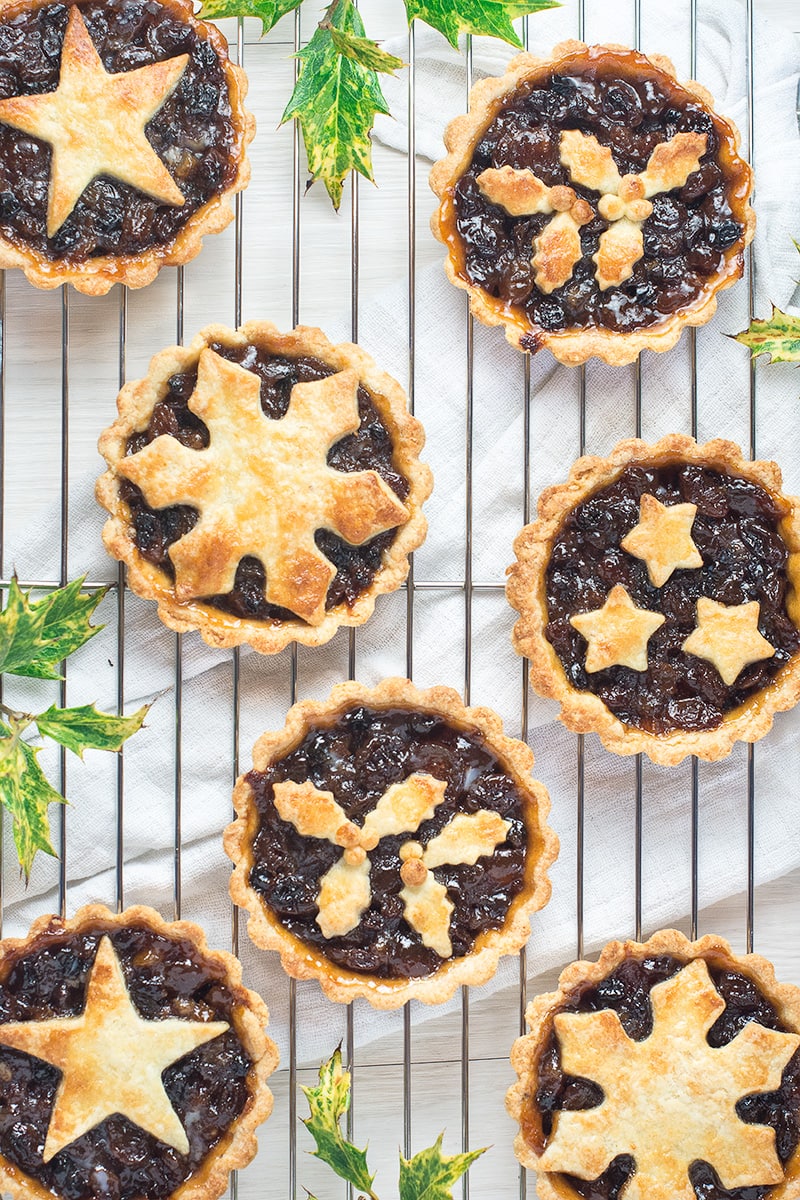
The reason I wasn’t going to share them was because it’s not a new recipe. I simply used my recipe for traditional, deep-filled mince pies which I shared with you all last Christmas, it’s just presented in a prettier way. The new design got really lovely comments from everyone I’ve shown them to so far, and the great thing is that you can personalise them however you want (or to suit whatever festive cutters you have lurking at the back of your kitchen drawer!).
I made mine using these little tartlet tins from Lakeland, which I also used for my summer berry and custard tarts. The non-stick coating means that the pastry doesn’t stick, even when I slightly overfilled a batch and the mincemeat overflowed while they were cooking, and the loose bottom made it really easy to lift them out.
A little confession
I generally like to pretend that I’m some sort of domestic goddess who lives in the kitchen and makes everything from scratch, but sadly that’s not (always) true. I normally make my own mincemeat but because I only decided to bake these at the last minute, and the dried fruit needs time to soak up all the alcohol, I snapped up a few jars of Tesco finest instead. If you don’t have time to make your own then I’d really recommend it.
FREE GRAMS TO CUPS CONVERSION CHARTS

Subscribe to the Charlotte's Lively Kitchen mailing list to get your FREE printable grams to cups and cups to grams conversion charts for twelve popular baking ingredients

Pretty Mince Pies
Equipment
- Large bowl
- Small bowl
- Sieve
- Weighing scales
- Cling film
- 6 x 10cm loose-bottom tart tins
- Festive shape cutters
- Cooling rack
INGREDIENTS
INSTRUCTIONS
Make the pastry
- Sift the plain flour (200g) into a large bowl.
- Add the caster sugar (40g) and ground almonds (75g) and give it all a quick stir.
- Cut the butter (125g) into cubes and add it to the bowl.
- Rub the butter into the dry ingredients until it has the appearance of breadcrumbs.
- In a separate bowl beat the egg (1 egg) and add it to the mixture.
- Mix the egg into the other ingredients then bring the mixture together with your hands. If it's a bit dry and crumby knead it a few times until it comes together. If you find it a bit tricky try wrapping it in some clingfilm and then squeezing it while wrapped, it helps to ensure the loose bits don't escape.
- Wrap the pastry in clingfilm and chill for about half an hour.
Make the pies
- Lightly grease your tart tins with butter.
- Remove your pastry from the fridge and roll it out thinly (about 1-2mm thick). To make this easier I prefer to only roll out enough for one pie at a time and I roll it between two sheets of clingfilm. This stops it sticking to the work surface/rolling pin and makes it easier to lift up and pop into the tart tin.
- Carefully put the pastry into the tart tin and gently push it into the corners. Don't worry if you get a hole or two, simply use a bit of spare pastry to patch up the holes.
- Roll your rolling pin across the top of the tin and remove any excess pastry.
- Add a heaped tablespoon of mincemeat into the tin and use the back of the spoon to spread it evenly.
- Roll out the off cuts of pastry until they are the same thickness as the pastry lining the tin (using clingfilm again to make it easier) and use your festive cutters to cut out some shapes. Pop them on top of your pie.
- Repeat until you've made all of your pies.
- Pop the pies into the fridge for about 30 minutes.
- Meanwhile pre-heat the oven to 200ºC/180ºC fan.
- Put the pies into the oven and bake for 20 minutes until the pastry is golden brown.
- Leave the pies to cool in the tins for about 10 minutes before carefully lifting them out and putting them onto a cooling rack to cool fully.
NOTES
NUTRITIONAL INFORMATION
Any nutritional information provided is the estimated nutritional information per serving. Please refer to my guide to Charlotte’s Lively Kitchen nutritional information if you would like to learn more about how this is calculated.
Leave a Reply