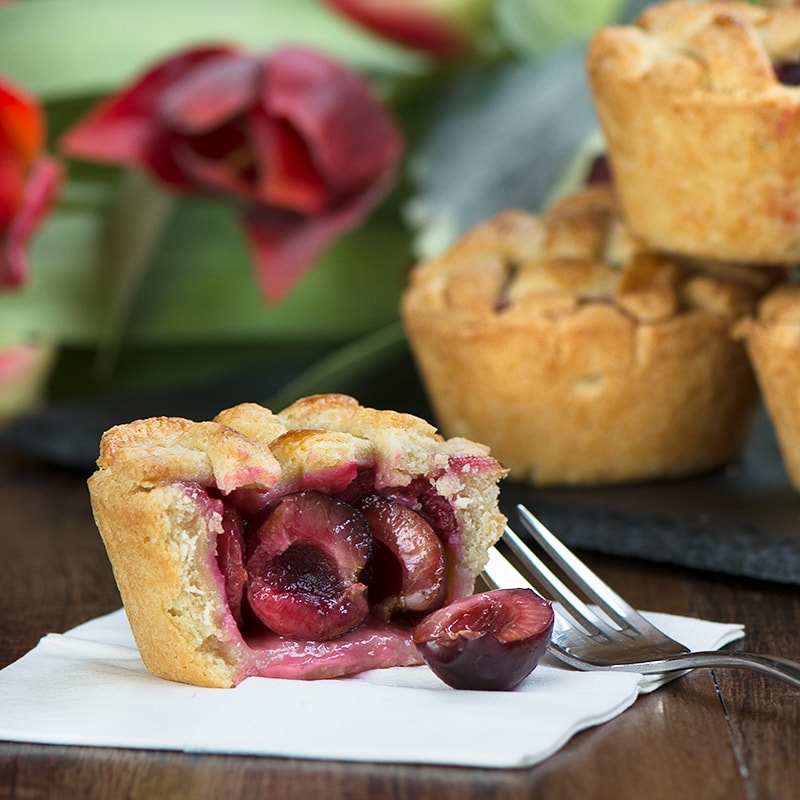
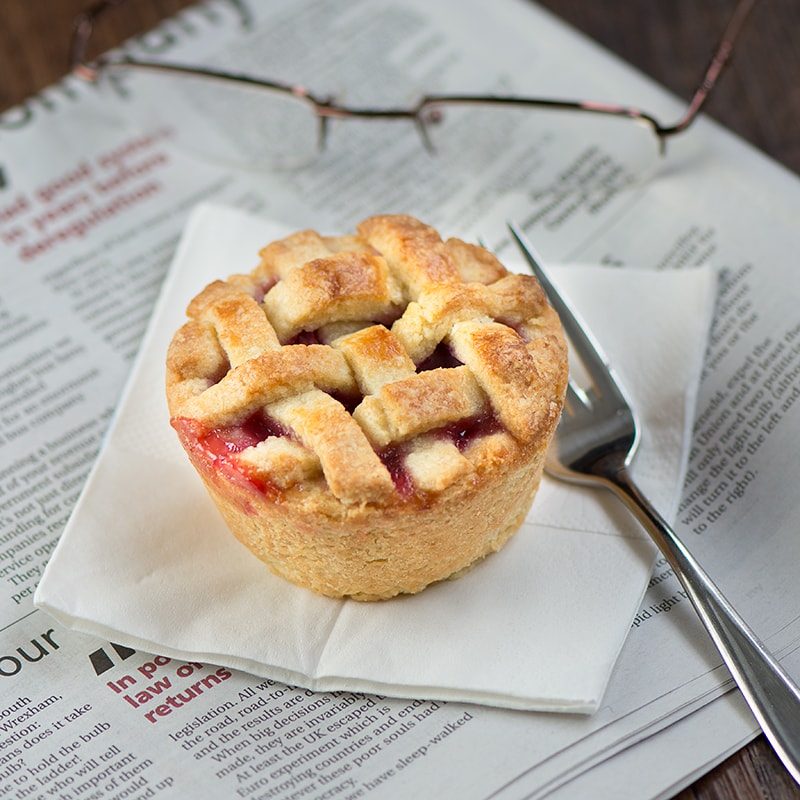
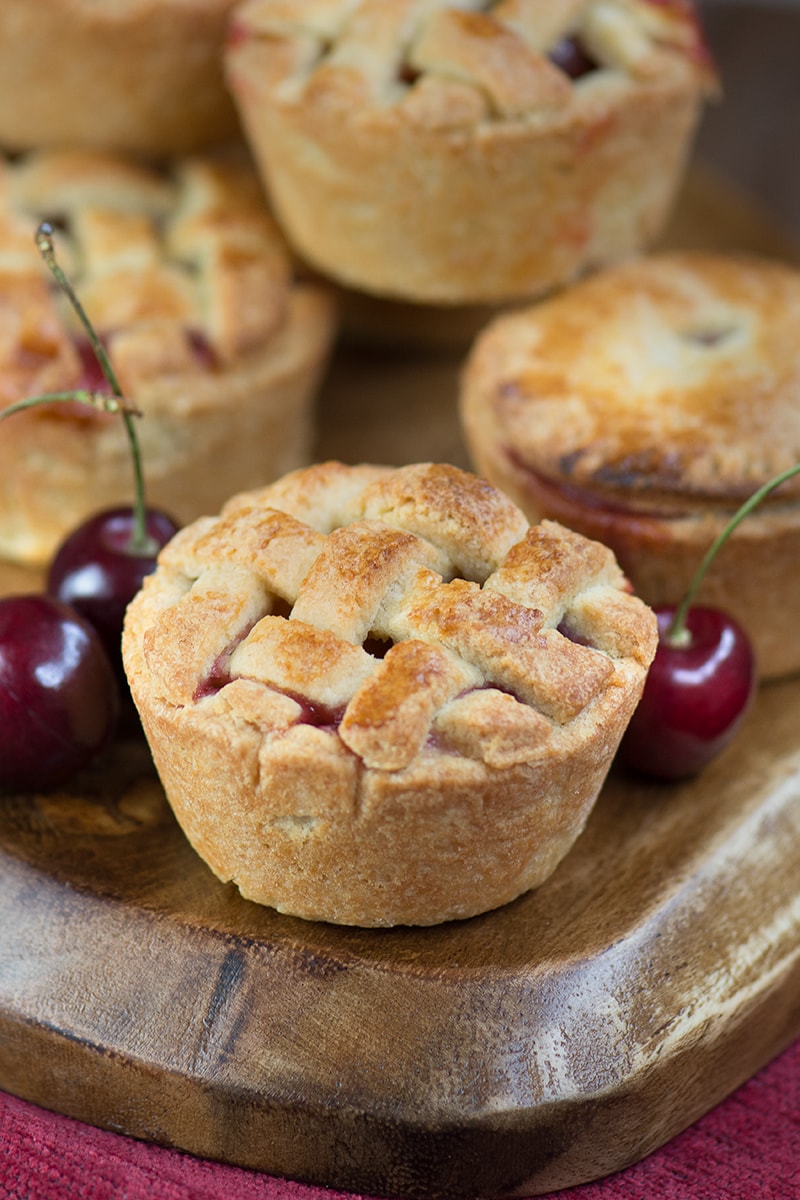
Homemade cherry pies with a pretty lattice top – crisp almond pastry, filled with juicy cherries. Perfect for a summer picnic or with a scoop of icecream for dessert.
So my impulse buying summer fruit addiction has carried on, shifting away from berries and on to cherries. I fully blame my #FoodYearLinkup. For anyone wondering what this is, I run a monthly challenge where other bloggers come and share recipes and other posts about foodie events happening in that month. One of the events in July was National Cherry Day on the 16th. After seeing recipe after recipe of delicious cherry-filled delights it got me thinking about what I could make.
After a bit of a deliberation, I decided on little cherry pies. And so I got to work in the kitchen…
Now whilst I like to imagine that I am some kind of domestic goddess where I literally throw ingredients into a pan/the oven and a few minutes later they miraculously appear perfectly looking and tasting amazing, this sadly isn’t the case (well not all the time anyway 🙂 ). My first batch of cherry pies was hit by the dreaded soggy bottom (how very appropriate with Bake-Off starting again tomorrow).
Fortunately the tops looked lovely so I got a nice picture before discovering the terrible fate that hid underneath.
The next day I made six different fillings, each one subtly different from the last to try and discover the cause of the soggy bottom and eradicate it from my life. The result… they were all absolutely fine, even the one that I added a decent glug of kirsch to just to see what it would taste like (it was yummy).
I then remembered that I accidentally started with the oven temperature too low first time around and turned it up half way through in optimistic hope that they’d be OK.
Oh well, at least I got to enjoy a bonus batch of cherry pies 🙂
How to make a pretty lattice top for your pies
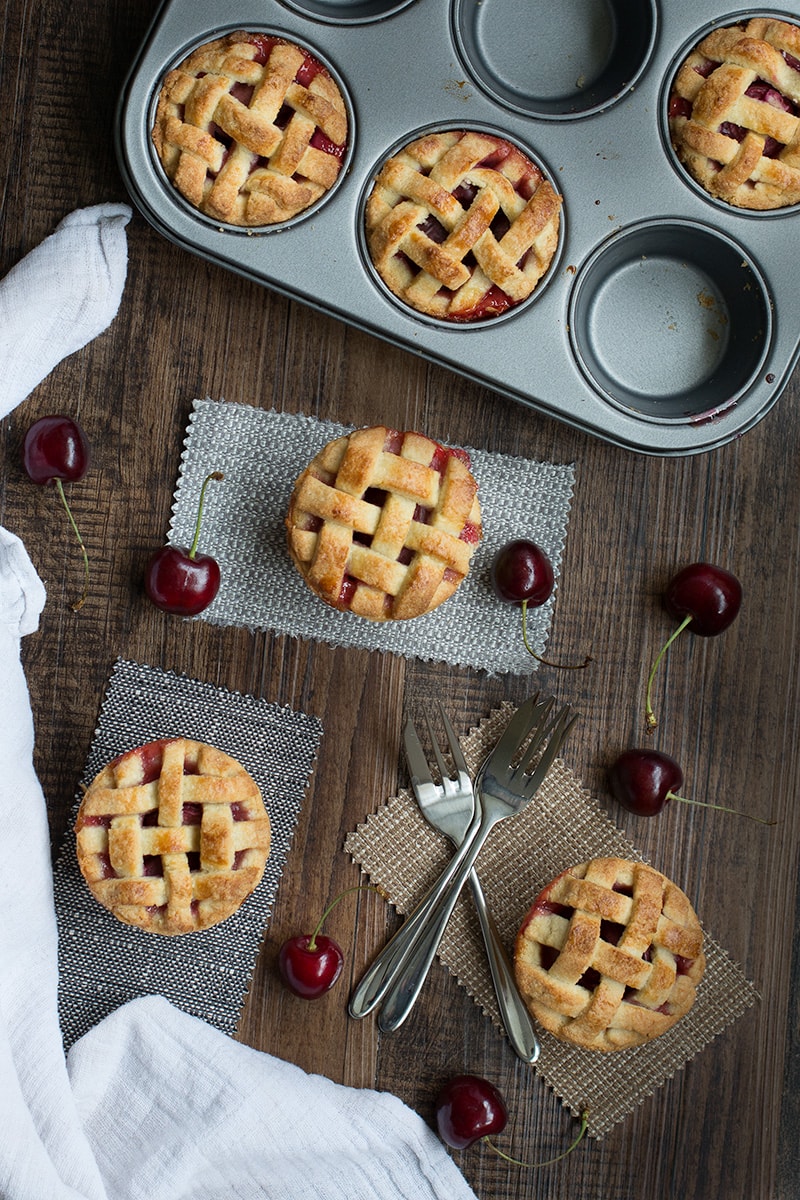
One of the things I love about these pies is the lattice top – it’s just prettier isn’t it?
It’s actually really easy to do.
You’ll need…
- 6 strips of pastry about 1cm wide and slightly longer than the diameter of your pie.
- A round cutter the same size as the top of your pie.
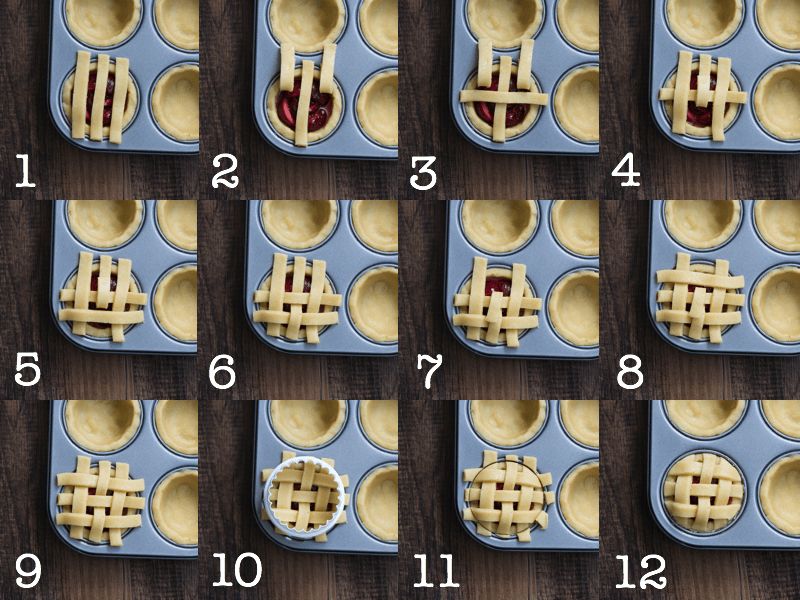
- Lay three strips across the top of the pie.
- Carefully fold over the two outer strips, just past halfway across the pie.
- Lay a strip across the centre.
- Lay the two bent strips flat and fold over the centre strip.
- Lay a strip across towards the bottom of the pie.
- Lay the centre strip flat.
- Fold over the top of the centre strip.
- Lay a strip across the top of the pie.
- Lay the centre strip flat again.
- Use a circular cutter to trim the excess pastry.
- Gentry press around the edges to seal the top to the base.
I’ve also made this into a little video (there’s no sound so no need to worry about turning the volume down if you’re somewhere quiet!).

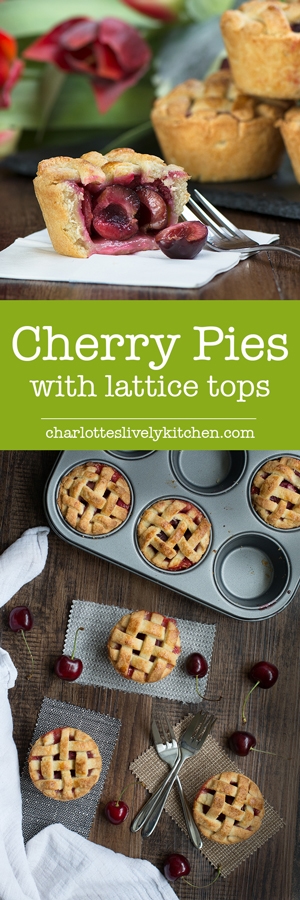
Cherry Pies With A Pretty Lattice Top
Equipment
- Weighing scales
- Large bowl
- Deep muffin tin
- Sharp knife
- Rolling Pin
- Cling film
- Cherry de-stoner
- Saucepan
- Wire cooling rack
INGREDIENTS
For the almond pastry
- 200 g plain flour
- 40 g caster sugar
- 75 g ground almonds
- 125 g unsalted butter - + a little extra to grease the tin
- 1 medium egg
- A little milk - to glaze the pastry
For the cherry filling
- 350 g fresh cherries
- 100 g caster sugar
- 1 tbsp cornflour
- 1 lemon - juice only
RECIPE VIDEO
INSTRUCTIONS
Make the pastry
- Sift the plain flour (200g) into a large bowl.
- Add the caster sugar (40g) and ground almonds (75g).
- Cut the butter (125g) into cubes and add to the bowl.
- Rub the butter into the dry ingredients until it is the consistency of breadcrumbs.
- Once the mixture is the consistency of breadcrumbs add the egg (1 egg).
- Mix the egg into the mixture and then bring it together with your hands. If the mixture is a little dry and crumbly, knead it a few times until it comes together. Be careful not to over-knead the pastry as this will make it less tender to eat.
- Wrap the pastry in cling film and chill in the fridge for about half an hour while you make the pie filling.
Make the cherry filling
- Remove the stones from the cherries (350g).
- Put the cherries in a medium-sized saucepan along with the caster sugar (100g), cornflour (1 tbsp) and lemon juice (1 lemon).
- Cook on a gentle heat for about 15 minutes until the liquid has reduced and the cherries are slightly softened. Stir regularly to ensure they don't burn.
Build the pies
- Pre-heat the oven to 200ºC/180ºC fan.
- Lightly grease the muffin tin with butter.
- Remove the pastry from the fridge and roll out to your desired thickness - I prefer not to make the pastry too thin as I like a generous amount of cherry filling and keeping the pastry a little thicker gives the right balance or pastry and filling. I sometimes have trouble with pastry sticking, so I cheat and put the pastry between two sheets of cling film before rolling. The cling film is then easily peeled off. I also prefer not to roll out all of the pastry in one go. I roll out enough for a few circles, keeping the rest in the fridge until I'm ready to use it.
- Cut out 6 large circles and carefully press each circle into a hole in the muffin tin. If you accidentally make a hole in the pastry, use a small piece of spare pastry to plug it.
- Evenly distribute the cherry filling between the 6 pies.
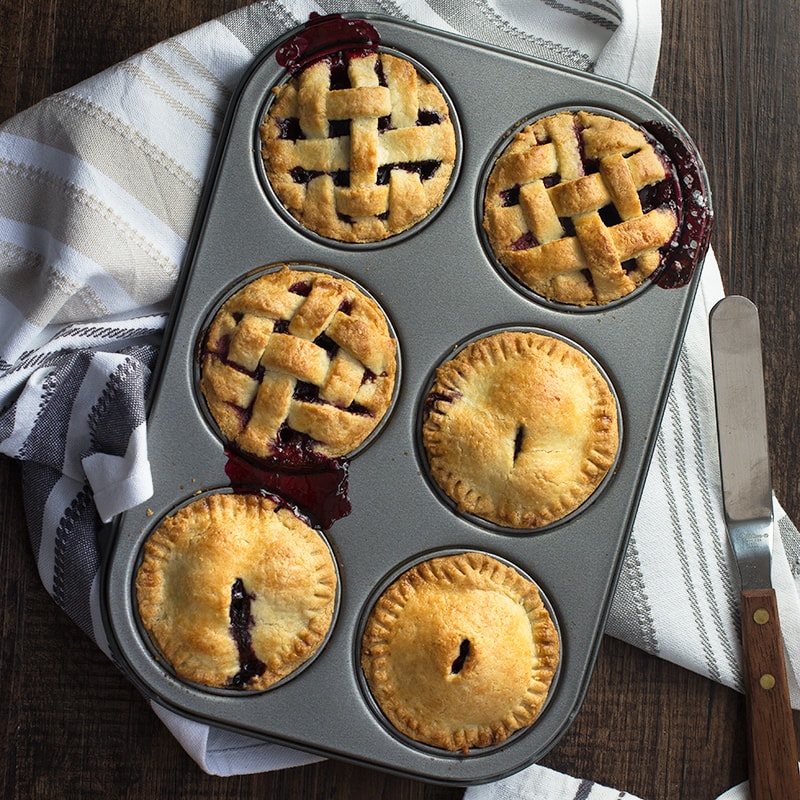
- Cut out 6 smaller circles and place on top of each pie. Gently press around the edges to seal the lid to the base. Alternatively you can make a lattice top using the tutorial further up the page.
- If you're using the plain circular top, use a sharp knife to cut a slit in the top of each pie.
- Brush the top of each pie with a little milk.
- Bake the pies for 20 minutes until the pastry is golden in colour.
- Once cooked, remove them from the oven and leave them to cool in the tin for about 10 minutes. You can then remove them from the tin and leave to cool fully on a wire rack.
NOTES
NUTRITIONAL INFORMATION
Any nutritional information provided is the estimated nutritional information per serving. Please refer to my guide to Charlotte’s Lively Kitchen nutritional information if you would like to learn more about how this is calculated.
Kat (The Baking Explorer) says
These are absolutely gorgeous, I love the lattice top and cherries are my favourite! Head on over to Treat Petite if you fancy linking these up 🙂
Charlotte Oates says
Thanks Kat, I really need to make some more of these as there’s lots of cherries in the supermarket at the moment.
Jacqui says
I love cherry pies but my problem is not eating the cherries before I have cooked with them You can’t beat fresh cherries perhaps because the season is so short and sweet.
Charlotte Oates says
That’s true, although I tend to find the frozen ones aren’t bad to bake with so I’ll use them when they’re not in season.
Honest mum says
I need to make these, love your lattice work too-amazing. Thanks for linking up to #tastytuesdays x
Charlotte Oates says
Thanks Vicki. I hope you enjoy them if you give them a try x
Louise Fairweather says
I have never made my own fruit pies – they look lovely
Charlotte Oates says
Thanks Louise x
Toni @ Gym Bunny Mummy says
Wow, your recipes just keep getting better & better, love the lattice top & the tutorial. Thanks so much for linking up to #SundaySweets. Hope you’ve something yummy for this Sunday 🙂
Charlotte Oates says
Thanks Toni, sorry I didn’t make it over on Sunday I was having a savoury week on the blog last week. I’m sure I’ll be back with sweet things soon though.
Alison says
So pretty and I bet they tasted lovely as well
Charlotte Oates says
Thanks Alison, I was very pleased with how the lattice top turned out.
Hannah Hossack-Lodge says
These are so pretty! Your lattice work is incredibly neat, and some great photos too 🙂
Charlotte Oates says
Thanks Hannah. I’ve only tried lattice work on small pies, I think it would be tough to keep it so neat on a larger pie but I’ll have to give it a try sometime and see how I do. I really enjoyed taking the pictures so I’m glad you liked them.
Emma's Mamma says
They look amazing! Great Lattice top tutorial as well 🙂 #sundaysweets
Charlotte Oates says
Thanks Emma. I’m glad you liked the tutorial.
Kat @ Eat.Love.Live says
These pies look so pretty. I love the lattice top! I’m not sure I’d have the patience for it but I’ll try it one day! Kat x #recipeoftheweek
Charlotte Oates says
You should give it a try sometime, the lattice top looks quite fancy but doesn’t take all the much longer than a simple flat top. If you ever try it make sure you send me a picture x
Angela says
These look great Charlotte. I never bake with cherries, I have no idea why, I just don’t! The lattice tops are very cute too!
Charlotte Oates says
Thanks Angela. I’d love to see what you could create with cherries, your bakes are always so beautiful. If you do decide to make something with cherries think about getting a cherry de-stoner. I don’t have one and I got in a bit of a mess. I’ve heard the oxo one is good.
Angela says
I heard you could use a chopstick to do it to? I’ll take your advice though, I will need to get a pitter.
Charlotte Oates says
I think the advantage of a pitter is that some have a special guard to stop you getting squirted with cherry juice. I’d imagine the chopstick method could be messy!