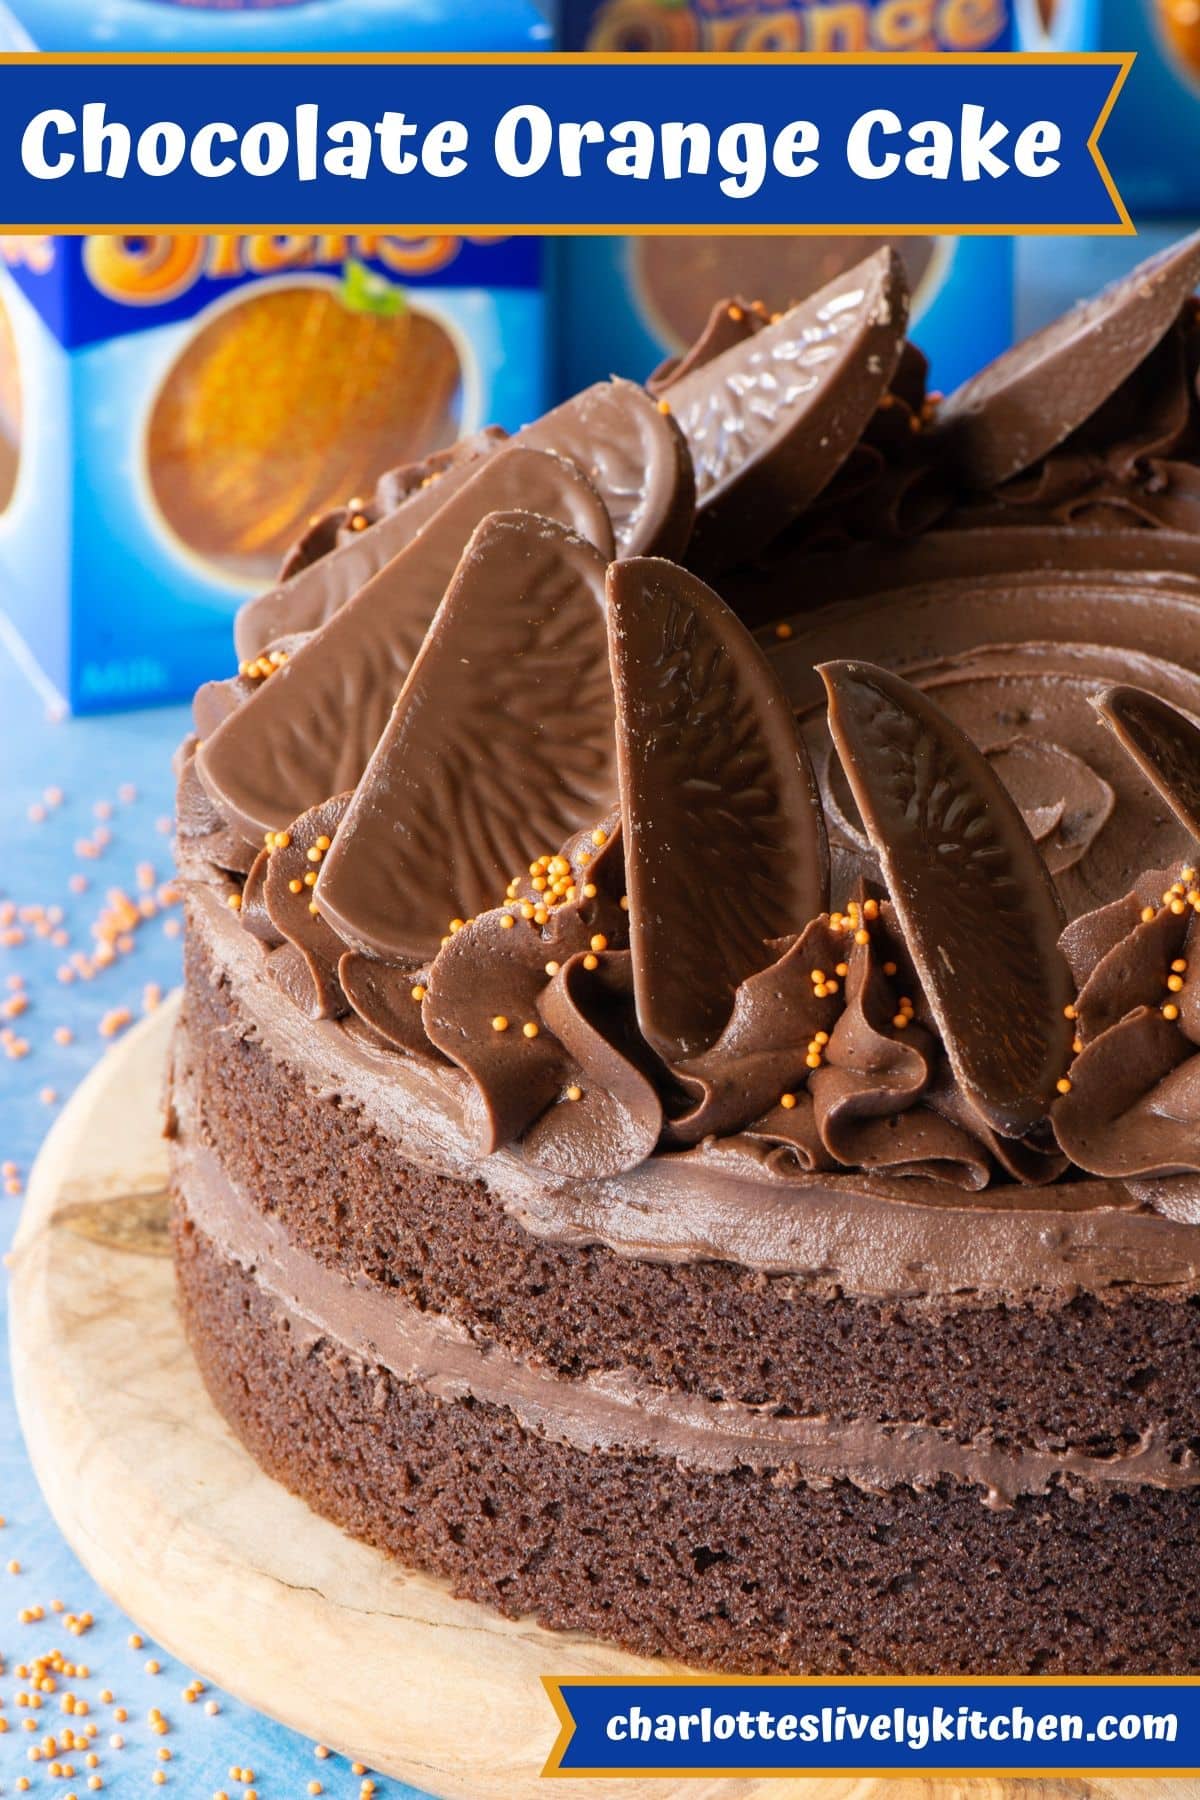
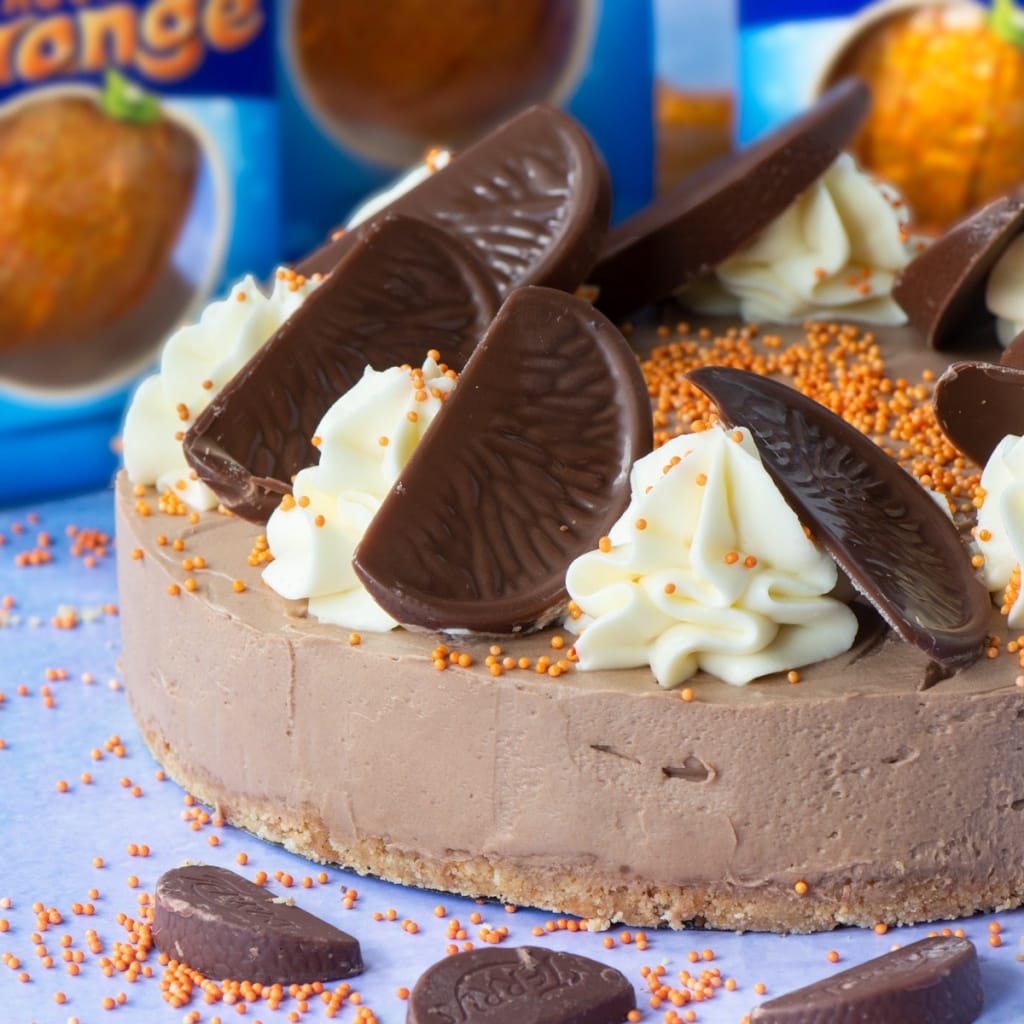
Chocolate Orange Cake – The ultimate treat for Chocolate Orange lovers.
An easy to bake chocolate orange sponge filled with chocolate orange buttercream and topped with slices of Terry’s Chocolate Orange.
PLUS – Fancy making this cake even bigger? Take a look below the recipe to find the ingredients and instructions you need to bake this in pretty much any size of round, square or rectangular tin.
Today’s new recipe is one that I’ve been asked for many times. A full-sized version of my popular Chocolate Orange Cupcakes.
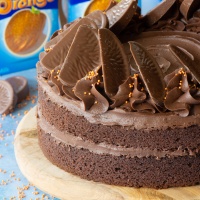
This cake comprises a chocolate orange sponge, filled and topped with smooth chocolate orange buttercream and is then finished with slices of Terry’s Chocolate Orange. It’s a Chocolate Orange lover’s dream dessert!
But I want a Chocolate Orange Birthday Cake – Can this cake be covered with fondant?
Absolutely. This cake is based on my chocolate birthday cake recipe and is perfect for covering with fondant to make a chocolate orange birthday cake.
If you’d like to do this, then instead of splitting the buttercream between the middle and top of the cake, use it instead to fill and coat the entire cake. Chill the cake (to help the buttercream to harden a little) and then cover it with fondant icing.
If you’re not sure how much fondant you’ll need, then you can use my fondant calculator to help you work out the right amount.
And if I want it really tall – Can this cake be used to make tiers?
Yes, I wouldn’t go too high (no more than three tiers) and made sure you add dowels or straws for extra support.
How long will the cake last and what’s the best way to store it?
The cake can be stored in an airtight container for 6-7 days after baking. Ideally, it should be stored in the fridge (although I’d recommend allowing your slice to come up to room temperature before eating, as it will have more flavour and the buttercream will soften a little). If you don’t have room in the fridge it should be absolutely fine stored at room temperature as long as your room isn’t too hot (that’s what I always do with mine as I have a tiny fridge).
This cake is also suitable for freezing ❄️
To freeze the chocolate orange sponge, wait for it to cool and then wrap the cake in clingfilm or store it in an airtight container before freezing. Defrost it thoroughly before decorating.
The buttercreamed cake can also be frozen in the same way (although don’t wrap it in clingfilm if you’ve made an effort with your piping as it’ll get squashed!). If you choose the freeze the
I would not recommend freezing just the buttercream to use later as the consistency becomes a little too
Other Chocolate Orange Treats for you to enjoy
If you love Chocolate Orange as much as I do (which I A LOT!) then don’t forget to give my Chocolate Orange Cheesecake a try.
Chocolate Orange Cake
INGREDIENTS
For the chocolate cake
- 200 g self-raising flour
- 100 g milk chocolate
- 40 g cocoa powder
- 230 g caster sugar
- 230 g margarine or butter - if you’re using butter it must be soft at room temperature
- 4 large eggs
- 1½ tsp orange extract
- 2 tsp milk
For the chocolate buttercream
- 250 g butter - soft at room temperature
- 250 g icing sugar
- 150 g milk chocolate
- 40 g cocoa powder
- ½ tsp orange extract
- A little milk
To finish
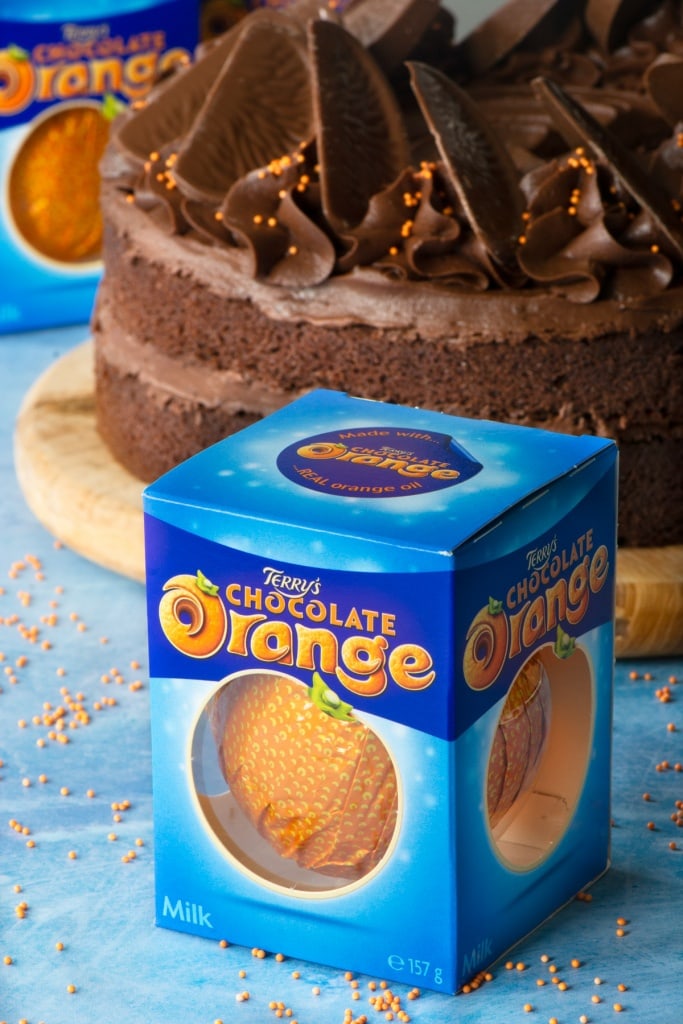
- 12 slices Chocolate Orange
- Orange Sprinkles - Optional
INSTRUCTIONS
- Pre-heat your oven to 160°C/140°C fan.Line two 20cm round sandwich tins with greaseproof paper or re-usable baking tin liners.
- Melt your milk chocolate (100g) – You can either melt it in the microwave (heat for 30 seconds, stir and then heat for a further 30 seconds. Repeat until the chocolate has melted), over a bain marie, or in a saucepan over a very low heat. Set the chocolate aside to cool.
- Put all of the other cake ingredients into a large bowl (200g self-raising flour, 40g cocoa powder, 230g caster sugar, 230g margarine or butter, 4 large eggs, 1½ tsp orange extract and 2 tsp milk). Beat together (either using an electric mixer on a low speed or by hand) until the ingredients are combined. Add the melted chocolate and mix in (again at a low speed) until combined.
- Split the cake mixture between the two tins. Smooth the mixture using a palette knife or the back of a spoon. Bake for 30-35 minutes until a skewer inserted into the centre of the cake comes out clean.
- Once the cakes are cooked, remove them from the oven and leave them to cool in their tins for about 10 minutes before removing them from the tins and moving them to a cooling rack to cool completely.
While the cake is cooling, make the chocolate orange buttercream
- Melt your milk chocolate (150g) and set aside to cool – It is essential that the chocolate has cooled before it is combined with the other ingredients so it doesn’t melt the butter.
- Beat the butter (250g) until soft – This can either be done with an electric mixer at a low speed or by hand. Add the icing sugar (250g), cocoa powder (40g) and orange extract (½ tsp) and beat together on a low speed until combined.
- Slowly add the melted milk chocolate and beat until combined. Your buttercream needs to be a spreadable consistency. If it is a little too thick, beat in a little milk (no more than 1 tsp at a time) until it reaches your desired consistency.
Build the cake
- Place the bottom layer of your chocolate orange sponge onto your serving dish. Spread about ⅓ of the chocolate orange buttercream evenly across the sponge (I like to use a palette knife, but you could use a regular knife or the back of a spoon).
- Add the top layer of sponge. Again spread ⅓ of the chocolate orange buttercream on top.
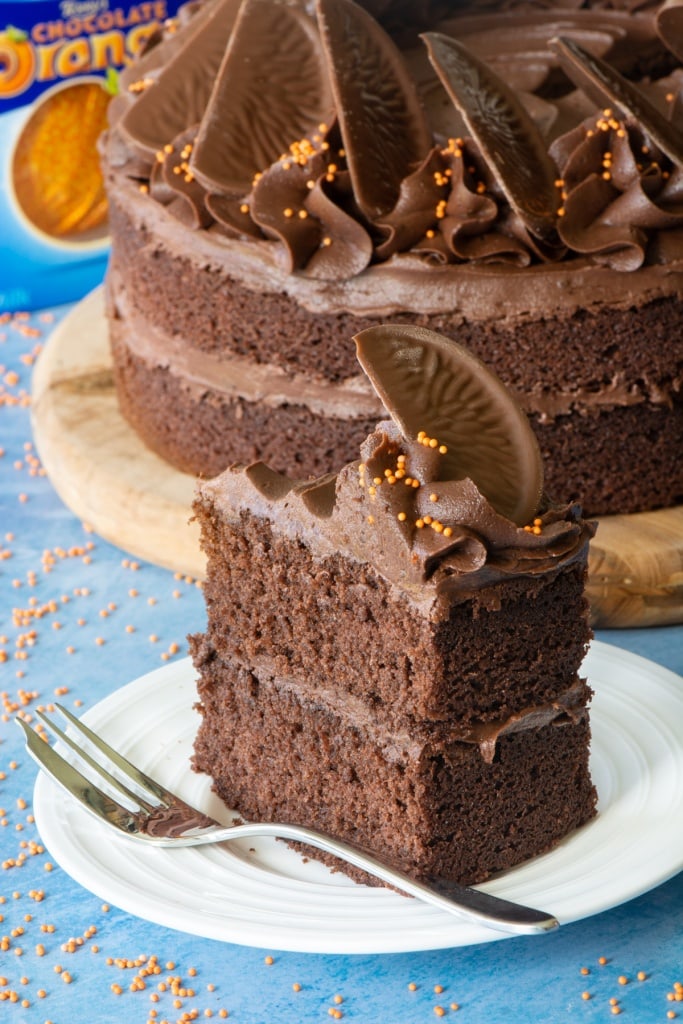
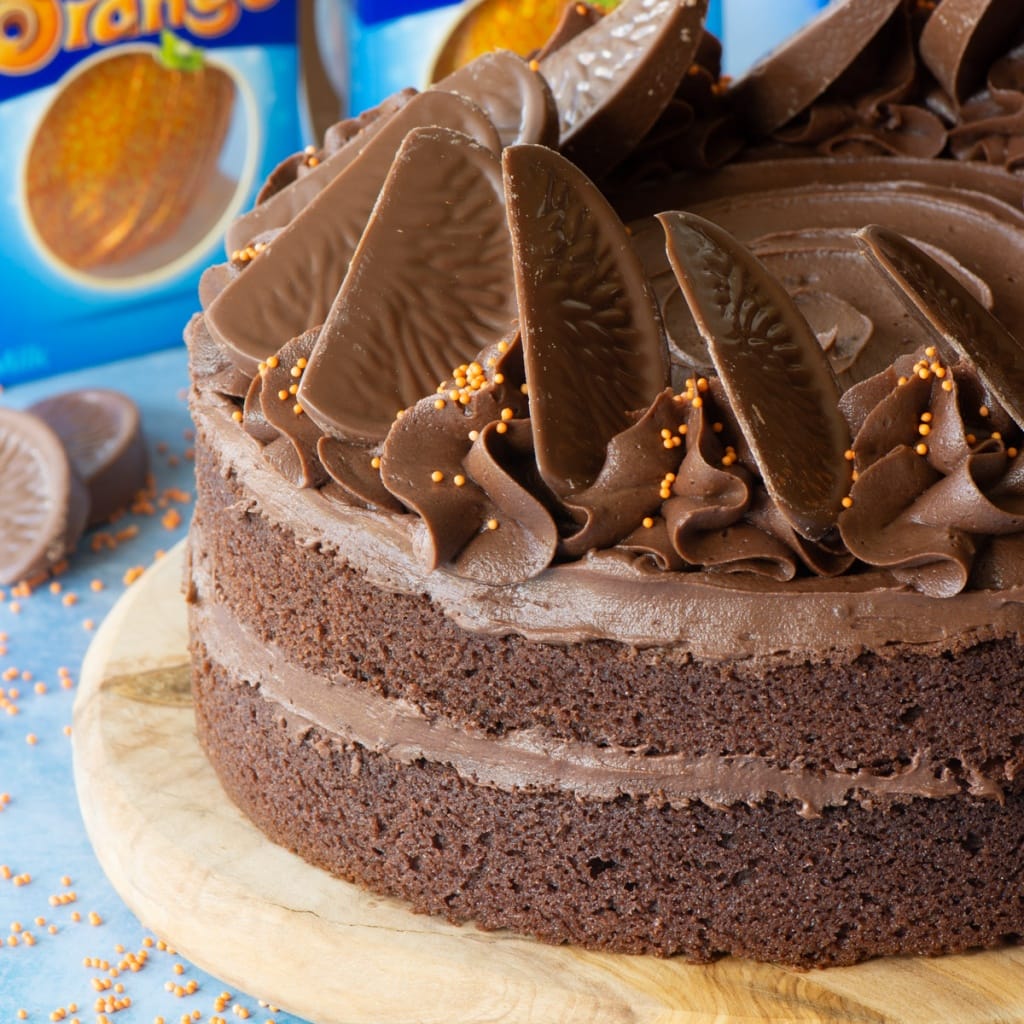
- Put the remaining buttercream into a piping bag fitted with a large star nozzle (I use a JEM 1B nozzle). Pipe 12 swirls of buttercream evenly spaced around the edge of the cake. I give the piping bag a little wiggle as I squeeze so that the buttercream looks slightly ruffled.
- Place a slice of Chocolate Orange on top of each buttercream swirl and then add some orange sprinkles. If you don't fancy piping, simply split the buttercream evenly between the middle and top of the cake and arrange the Chocolate Orange slices around the edge.
NOTES
NUTRITIONAL INFORMATION
Any nutritional information provided is the estimated nutritional information per serving. Please refer to my guide to Charlotte’s Lively Kitchen nutritional information if you would like to learn more about how this is calculated.
WHAT ARE THE INGREDIENTS FOR A DIFFERENT SIZE OF TIN?
The main recipe is for a two-layer 20cm round cake (this serves 12 people). However, this recipe is easily adapted to use other sizes of round, square or rectangular tins.
To find the ingredients needed to make this cake in a different size, simply add the dimensions of your tin and the number of layers into the boxes below and hit “Calculate”.
Round Cake
Cake Diameter (cm) Number of LayersCake Ingredients
- 0 g self-raising flour
- 0 egg(s)
- 0 g soft margarine or butter
- 0 g caster sugar
- 0 tsp orange extract
- 0 tsp milk
- 0 g cocoa powder
- 0 g milk chocolate
- 0 g butter
- 0 g icing sugar
- 0 g milk chocolate
- 0 g cocoa powder
- 0 tsp orange extract
Square or rectangular cake
Cake Size (cm) x Number of layersCake Ingredients
- 0 g self-raising flour
- 0 egg(s)
- 0 g soft margarine or butter
- 0 g caster sugar
- 0 tsp orange extract
- 0 tsp milk
- 0 g cocoa powder
- 0 g milk chocolate
- 0 g butter
- 0 g icing sugar
- 0 g milk chocolate
- 0 g cocoa powder
- 0 tsp orange extract
To keep this calculator from becoming too complicated I've only included metric measurements. If you would like US cups measurements for a different size of tin then simply calculate the metric measurements here and then pop the results into my grams to cups calculator and it'll tell you what you need.
The US cups/ounces measurements for the original two-layer 20cm round cake recipe can be found by clicking the big green button just above the ingredients in the main recipe.
If you have both scales and cups and you're not sure which to use, then go for the scales - it's a far more accurate way of baking 🙂
WHAT IS THE COOKING TIME FOR A DIFFERENT SIZE OF CAKE AND WHAT OVEN TEMPERATURE SHOULD I USE?
The ingredients are calculated so that the depth of each cake is the same as in the original recipe. This means that the cooking time and temperature don't need to change.
CAN THIS CAKE BE COOKED IN ONE DEEP TIN?
Theoretically yes, but I find I get the best results from using sandwich tins and this is what I would recommend.
If you would like to bake the cake in a deep tin then the cooking time will need to increase to 45-50 minutes.
Free From/Suitable For
The ingredients I used to make this recipe are all free from the following allergens. However, please check any labels carefully for allergens you need to avoid as brands can vary, and product recipes can change over time.- Suitable for Vegetarians
- Tree Nut-Free
- Peanut-Free
- Sesame-Free
- Sulphur Dioxide & Sulphite-Free
- Lupin-Free
Advanced Adventure Nepal says
Loved the glossy orange-infused chocolate glaze—it really elevates the look and flavor. Served it with a scoop of vanilla ice cream, and it was devoured in no time!
Gill says
Fool proof recipe! Never fails to be deeeee-licious!