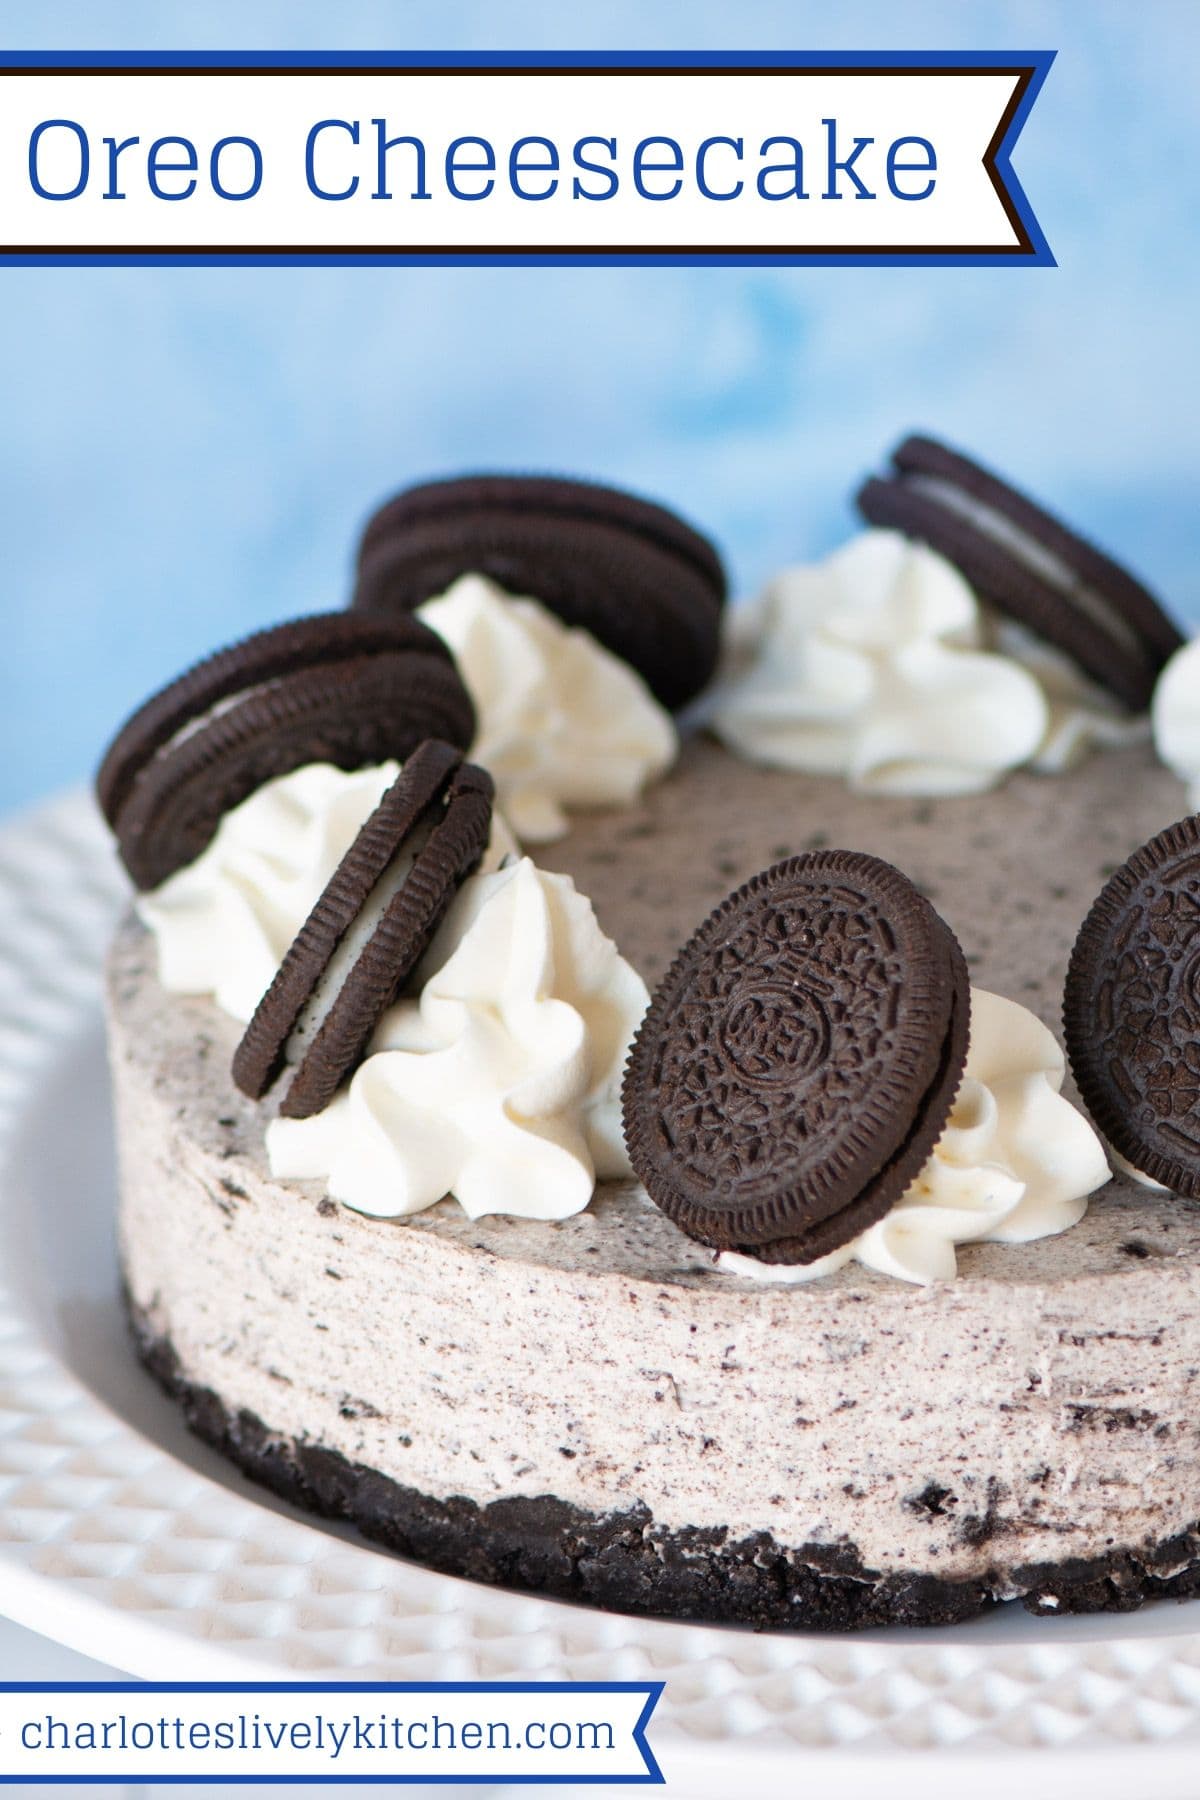
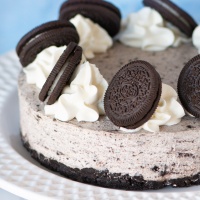
No-Bake Oreo Cheesecake – A crunchy Oreo base, smooth Oreo cheesecake filling and even more Oreos on top – The ultimate dessert for Oreo lovers!
Over the past year (since posting my first cheesecake recipe on here), I’ve discovered that you all seem to love your cheesecakes. So today I thought I’d share another new cheesecake recipe – my No-Bake Oreo Cheesecake.
It’s jam packed full of Oreos (in the base, in the cheesecake mixture and if that wasn’t enough, there’s some on top too!).
But all this Oreo yumminess isn’t the best thing about this cheesecake. The BEST thing is that it’s incredibly simple to make, so its’s perfect if you’re a cheesecake making novice or fancy making a no-fuss dessert for your friends and family.
There’s no baking and no fancy skills needed – just whisking the cheesecake mixture and crushing a lot of Oreos.
Oreo Cheesecake Q&A
With all my recipes I like to try and anticipate all of the questions you might have. If it’s your first time making this Oreo cheesecake, then make sure you have a good read through as there’s lots of extra tips here…
How long does this cheesecake last for and how should it be stored?
This cheesecake will be fine stored in the fridge for about three days after making.
If you’re making the cheesecake in advance, then I’d recommend waiting to add the cream and Oreo decoration until just before serving.
❄️ Suitable for freezing
If you want to make the cheesecake further in advance, then it can be frozen (without the decoration).
To freeze the cheesecake, either:
- Keep it in the tin (if the tin is freezer-safe) – cover the top with clingfilm to protect it.
- Store it in an airtight container
- Wrap it in clingfilm – pop it into the freezer for a couple of hours on a freezer-safe plate (either uncovered or loosely covered with clingfilm. Once it is firm, you can remove it from the plate and wrap it with clingfilm. It’ll hold its shape well despite not being in a container (as long as you don’t pack it in too tightly!). When you remove it from the freezer, take off the clingfilm immediately (otherwise it will stick to the cheesecake mixture). If you find there are some clingfilm marks on the surface of your cheesecake, simply run a palette knife around the edge to smooth it.
Make sure you defrost it thoroughly in the fridge before serving.

What the best way to crush the biscuits for the cheesecake?
For this cheesecake I’d recommend using a food processor if you have one. This is the easiest way to get the Oreos crushed finely and evenly. However, don’t panic if you don’t have one as there are other options:
- Food Processor – place your Oreos in a food processor and pulse them until the Oreos are finely ground (I prefer to pulse as it ensure that I don’t over-grind the biscuits as I still like them to have a little bit of texture).
- Pestle and Mortar – Pop your Oreos into a pestle and mortar and grind. I do them in batches of about 5 biscuits to ensure that the mortar isn’t too full. If I add more then I find the biscuit crumbs tend to escape as I grind 🙂
- Bag and a Rolling Pin – If you don’t have a food processor or pestle and mortar, simply pop your Oreos into a food bag and give them a bash.
Do I need to use original Oreos or can I use a different flavour?
If you fancy getting creative with your Oreo flavours then go for it! This recipe works equally well with any of the different Oreo flavours. In fact if you want you can even mix-and-match with a different flavour in the base, filling and decoration (although think carefully about which go together as not all will 😀).
You don’t even have to stick to Oreos. This cheesecake should work well with any similar filled biscuits such as bourbons or custard creams.
What is this recipe free from? Who is it suitable for?
The ingredients I used to make this recipe are all free from the following allergens. However, please check any labels carefully for allergens you need to avoid as brands can vary, and product recipes can change over time.
- Suitable for Vegetarians
- Egg-Free
- Tree Nut-Free
- Peanut-Free
- Sesame-Free
- Sulphite-Free
- Lupin-Free
Love Oreos?
Then why not try one of my other Oreo recipes, including these Peanut Butter Oreo Brownies or my delicious Oreo Cake.
Or if cheesecake is your thing, then make sure you take a look at all of my cheesecake recipes.
Oreo Cheesecake (No-Bake)
INGREDIENTS
For the base
- 150 g Oreos - c. 13 biscuits
- 40 g butter
For the cheesecake mixture
- 235 ml double cream
- 235 g cream cheese
- 75 g caster sugar
- 115 g Oreos - c. 10 biscuits
To decorate
- 75 ml double cream
- 8 Oreos or Oreo Thins
INSTRUCTIONS
Make the biscuit base
- Line the base of an 18cm round loose-bottomed tin with greaseproof paper or a reusable baking liner.
- Melt the butter (40g).Crush the Oreo biscuits (150g/13 biscuits).Mix together the crushed biscuits and melted butter. Put the biscuit mix into the prepared tin and use the back of a spoon to push it flat. Put the tin into the fridge to chill while you make the cheesecake filling.
Make the cheesecake filling
- Finely crush your Oreo biscuits (115g/10 biscuits)
- Whip the double cream (235ml) until it forms stiff peaks.Add the cream cheese (235g) and caster sugar (75g) and whisk again until the mixture forms stiff peaks.Finally add the crushed Oreo biscuits and whisk onto the mixture.
- Remove the cheesecake base from the fridge. Add the cheesecake mixture to the tin. Use the back of a spoon to push the mixture down, ensuring there are no air holes. Smooth the top with a palette knife or the back of a spoon.Return the cheesecake to the fridge for a minimum of 2 hours to chill.
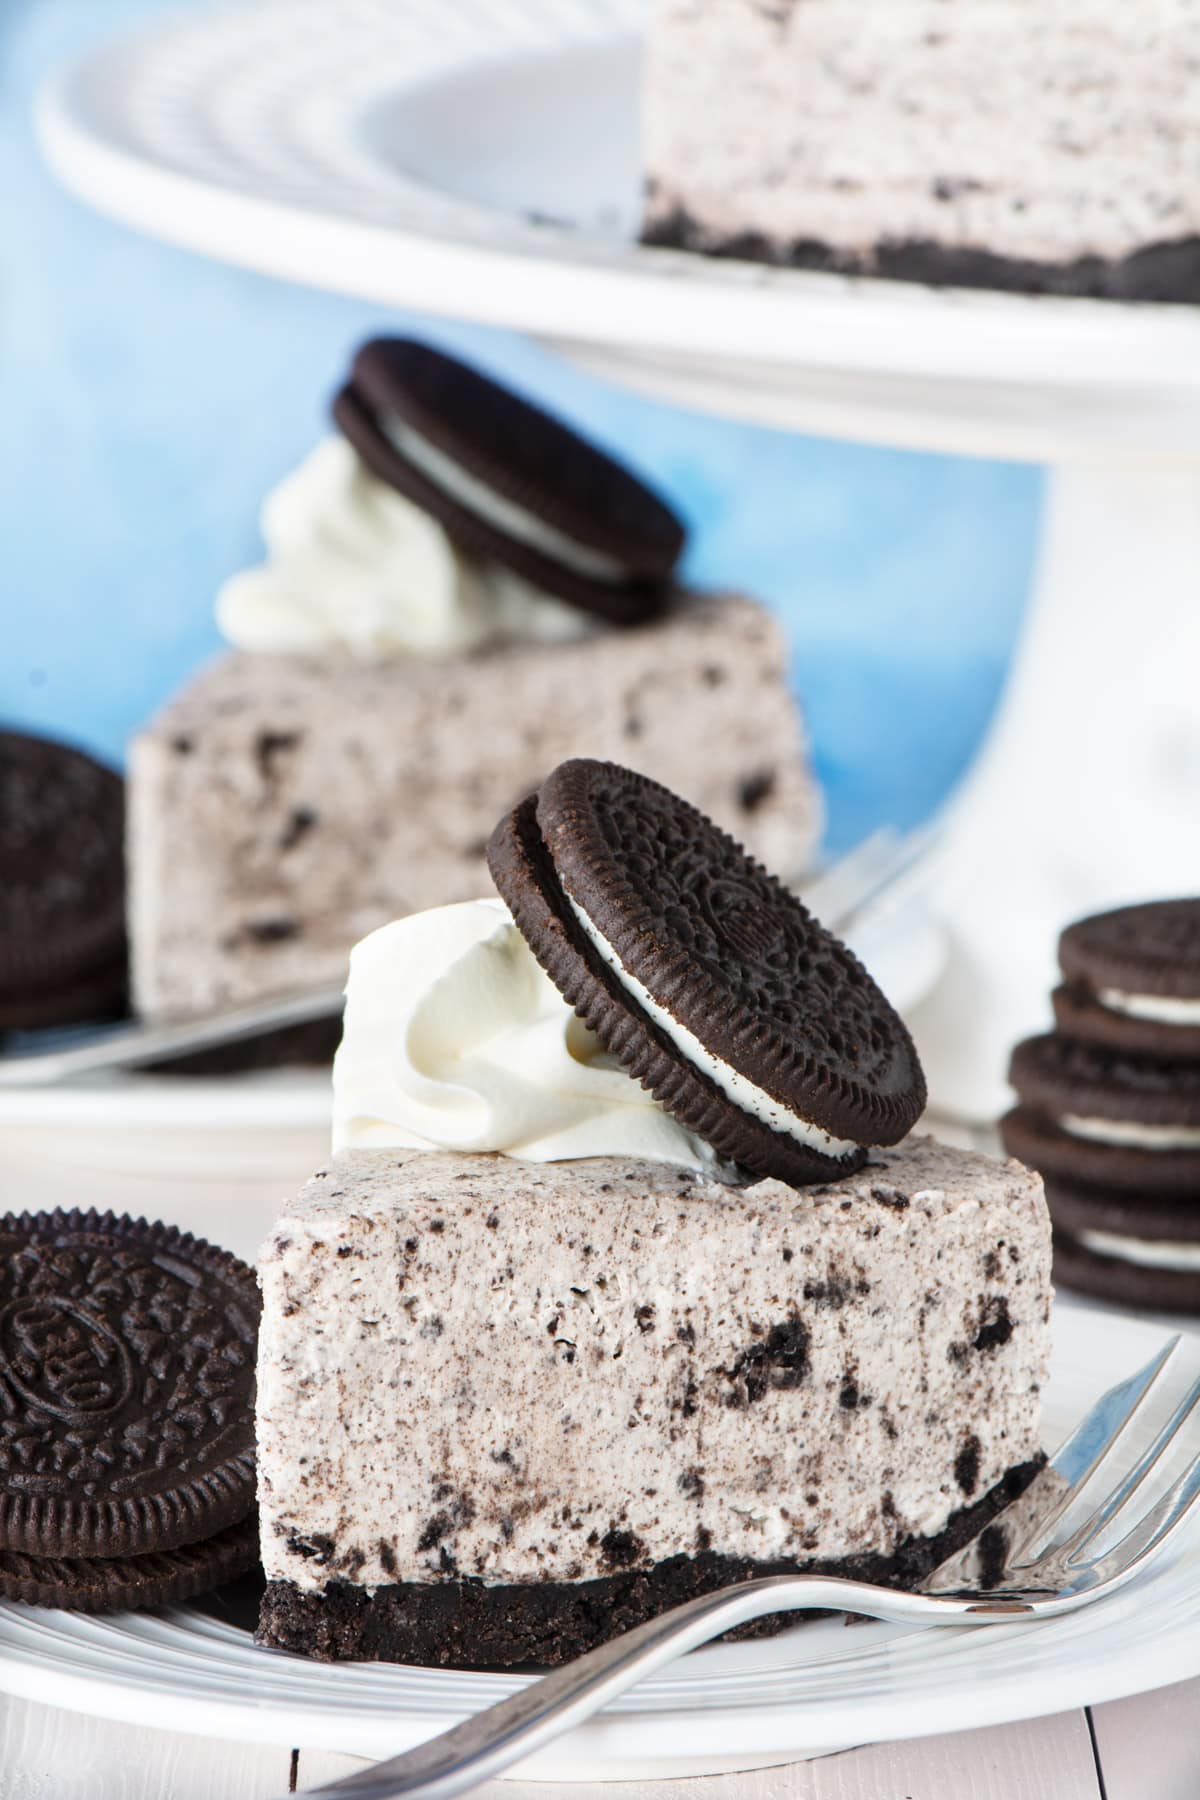
Decorate the cheesecake
- When you're ready to serve your cheesecake, remove it from the fridge and remove the tin – If you find the edges of the cheesecake are smudged by the action of removing it from the tin, run a palette knife around the edge to smooth it.
- Whip the double cream (75ml) until it form stiff peaks. Put it into a piping bag fitted with a star nozzle (I use a JEM 1B nozzle). Pipe 8 stars of cream around the edge of the cheesecake.
- Finally add an Oreo to each star of cream and serve.
NOTES
NUTRITIONAL INFORMATION
Any nutritional information provided is the estimated nutritional information per serving. Please refer to my guide to Charlotte’s Lively Kitchen nutritional information if you would like to learn more about how this is calculated.
Asha O'Sullivan says
AMAZING!!!
Thanks for sharing. This turned out to be sooooooo yum and really pretty too!!!
How did you come up with this?
Truely remarkable!!!
Edith says
Perfect and very easy! I doubled up on the base, left the Oreo filling in when crushing the base. Left overnight before adding the cheese. Very fluffy and creamy! Loved by all! ❤️