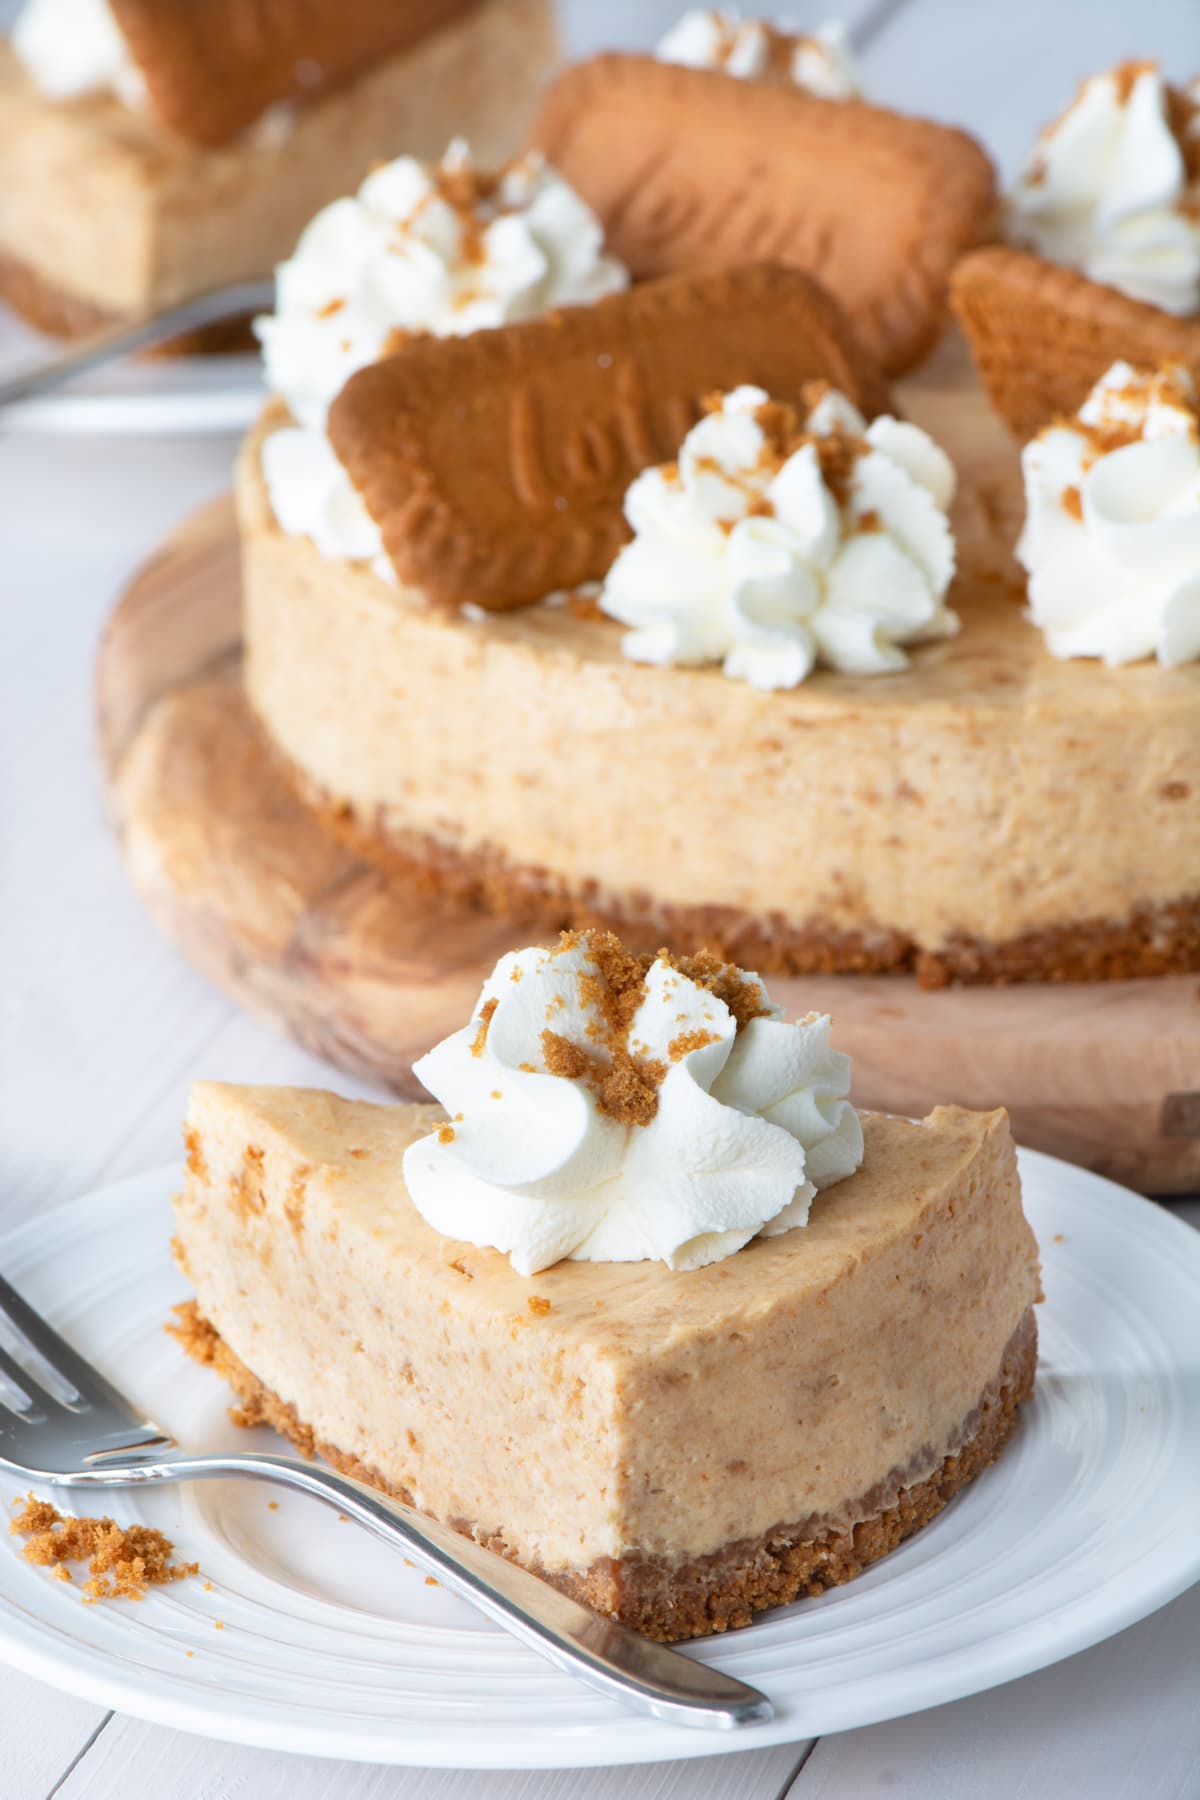
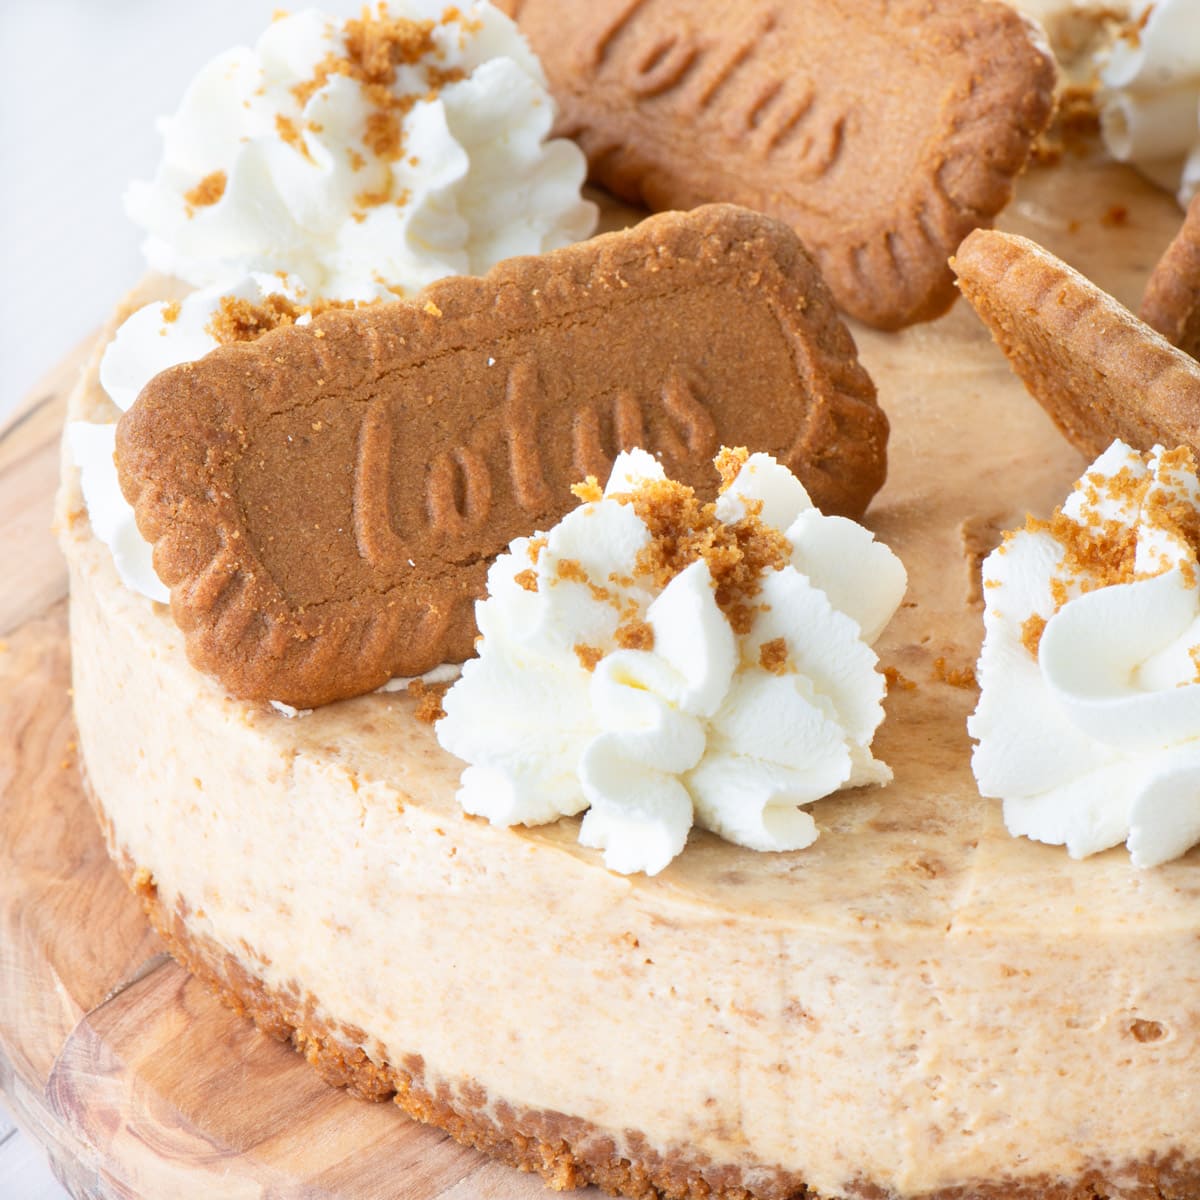
No-Bake Biscoff Cheesecake – A crunchy Biscoff biscuit base, topped with a creamy Biscoff cheesecake filling and finished with swirls of whipped cream, and even more Biscoff biscuits – It’s a Biscoff lovers dream dessert.
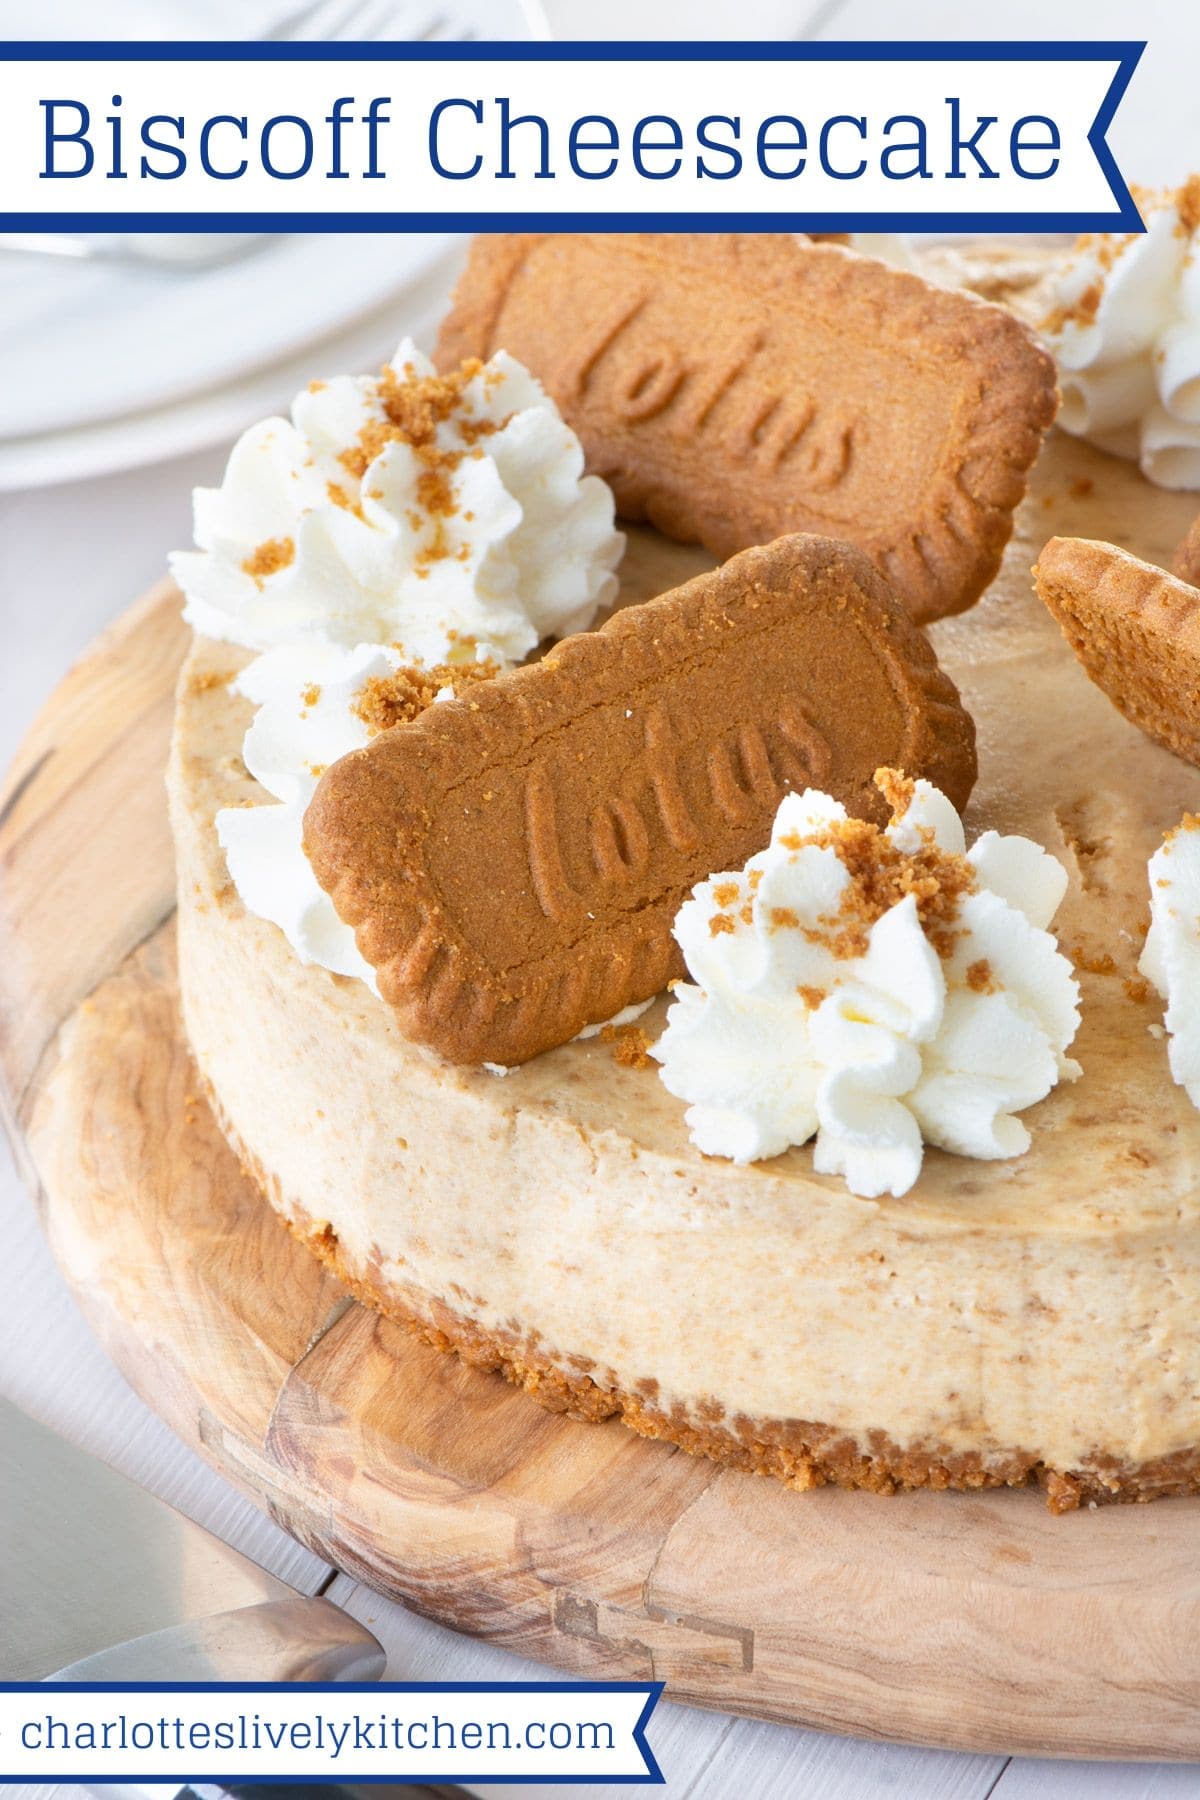
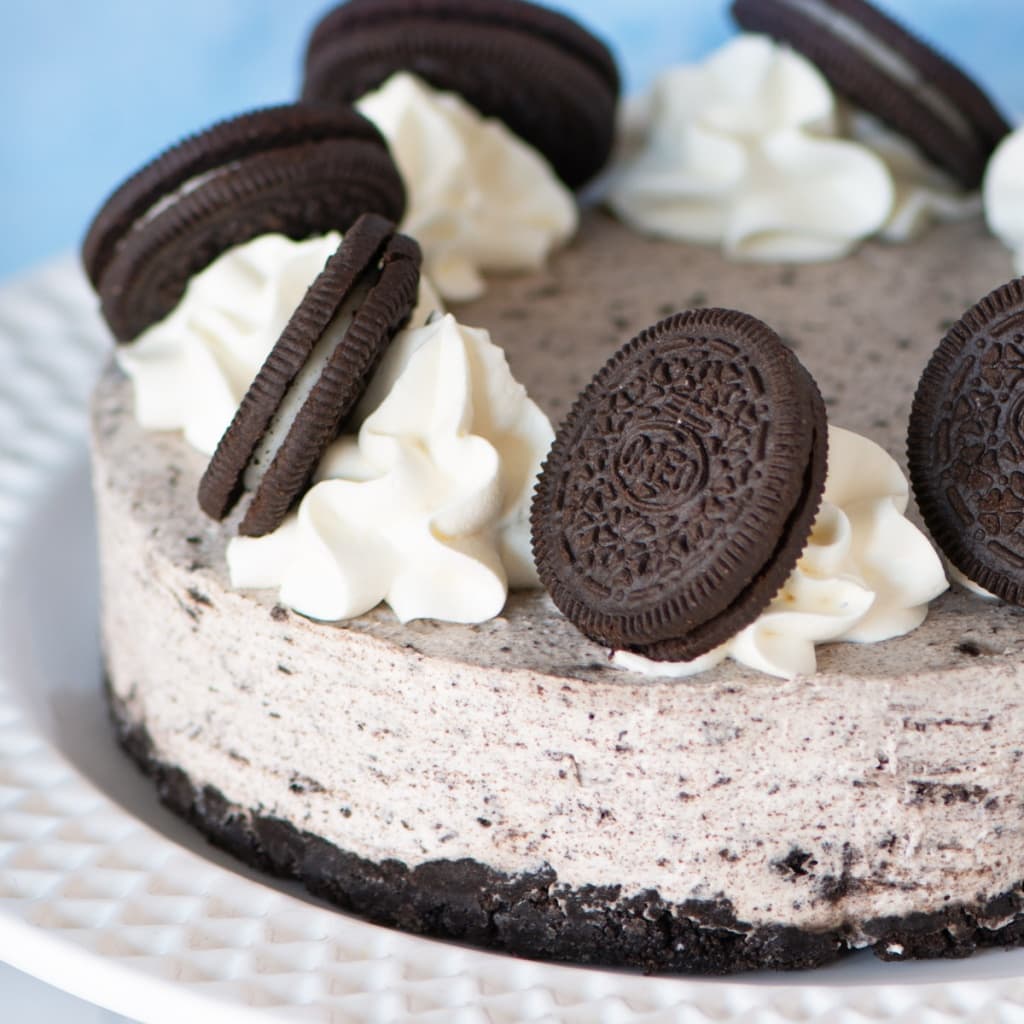
After the success of my recent Oreo Cheesecake I decided to come back with another biscuity dessert – Biscoff Cheesecake.
It was inspired by my family’s love of Biscoff (I seriously had to hide the biscuits and spread when I was developing this recipe so they didn’t all disappear before I was done!). It felt mean at the time, but I am happy to say that this cheesecake was totally worth all of the biscuit rationing during development. It has a crunchy Biscoff biscuit base, smooth Biscoff cheesecake filling, and then if that wasn’t enough it’s topped with swirls of whipped cream and even more biscuits. Even better, it’s really easy to make too.
Biscoff Cheesecake Q&A
With all my recipes I like to try and anticipate all of the questions you might have. If it’s your first time making this Lotus Biscoff Cheesecake, then make sure you have a good read through as there’s lots of extra tips here…
How long does this cheesecake last for and how should it be stored?
This cheesecake needs to be made at least 2 yours before serving to give it time to set. However, I like to make it about 24 hours in advance in order to allow the biscuits in the filling to soften, making the filling smoother.
It can be made up to three days before you want to eat it and stored in the fridge. If you are making it in advance, then I recommend waiting to add the whipped cream and biscuit decoration until just before serving.
❄️ Suitable for freezing
If you want to make the cheesecake further in advance, then it can be frozen (without the decoration).
If you’d like more details about how to store the cheesecake in the freezer then take a look at the tips for my Oreo Cheesecake as the advice for this one is the same.
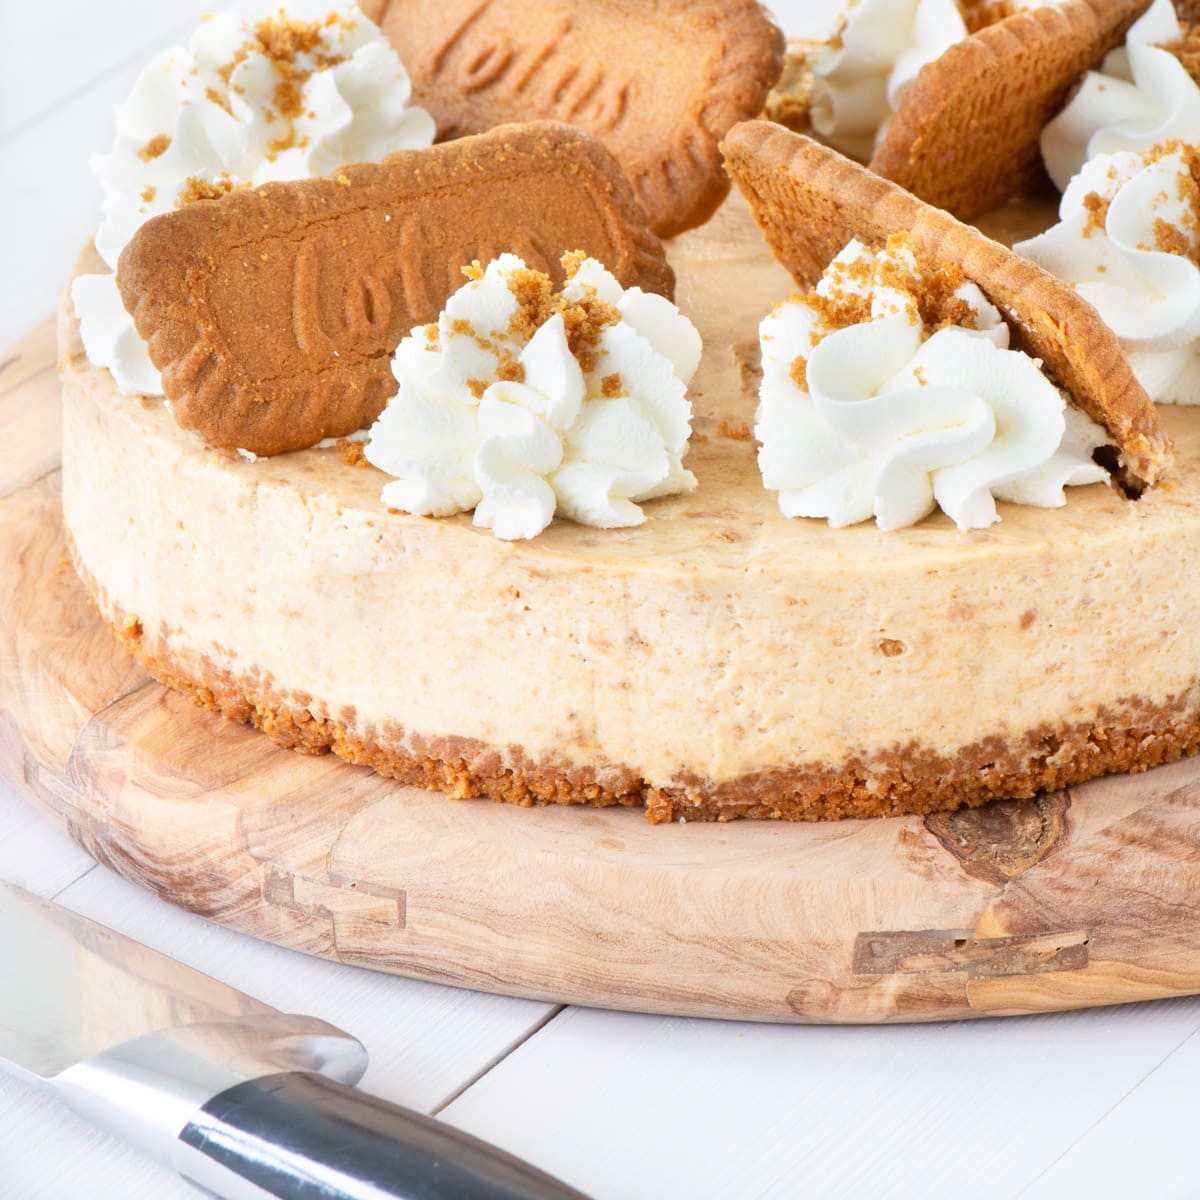
Can I replace the Biscoff biscuits in this cheesecake with Biscoff spread?
Yes.
You can replace the Biscoff biscuits in the filling (obviously you need biscuits for the biscuit base 🙂 ) with Biscoff spread.
To do this switch the 150g of biscuits listed in the recipe for 300g of Biscoff spread.
Why do you need more spread than biscuits?
I had originally planned to make this cheesecake using the spread rather than ground biscuits as the spread already had a soft, cheescakey texture so I thought it would combine well.
However, when I tested the recipe I found that it was difficult to get the cheesecake to have a truly Biscoffy flavour without adding a LOT of the spread. I decided to test using ground biscuits instead and the problem was immediately solved.
The reason for this is that Biscoff spread is a made from ground biscuits with added fats and sugars. This means the flavour is less intense than the original biscuits (I don’t tend to notice when I eat it as a spread, but it becomes clearer as soon as I attempt to bake with it). Using ground biscuits instead of spread means the cheesecake is full of flavour.
In order to achieve the same flavour using spread rather than biscuits you’ll need double the quantity (whilst keeping the quantity of all other ingredients the same).
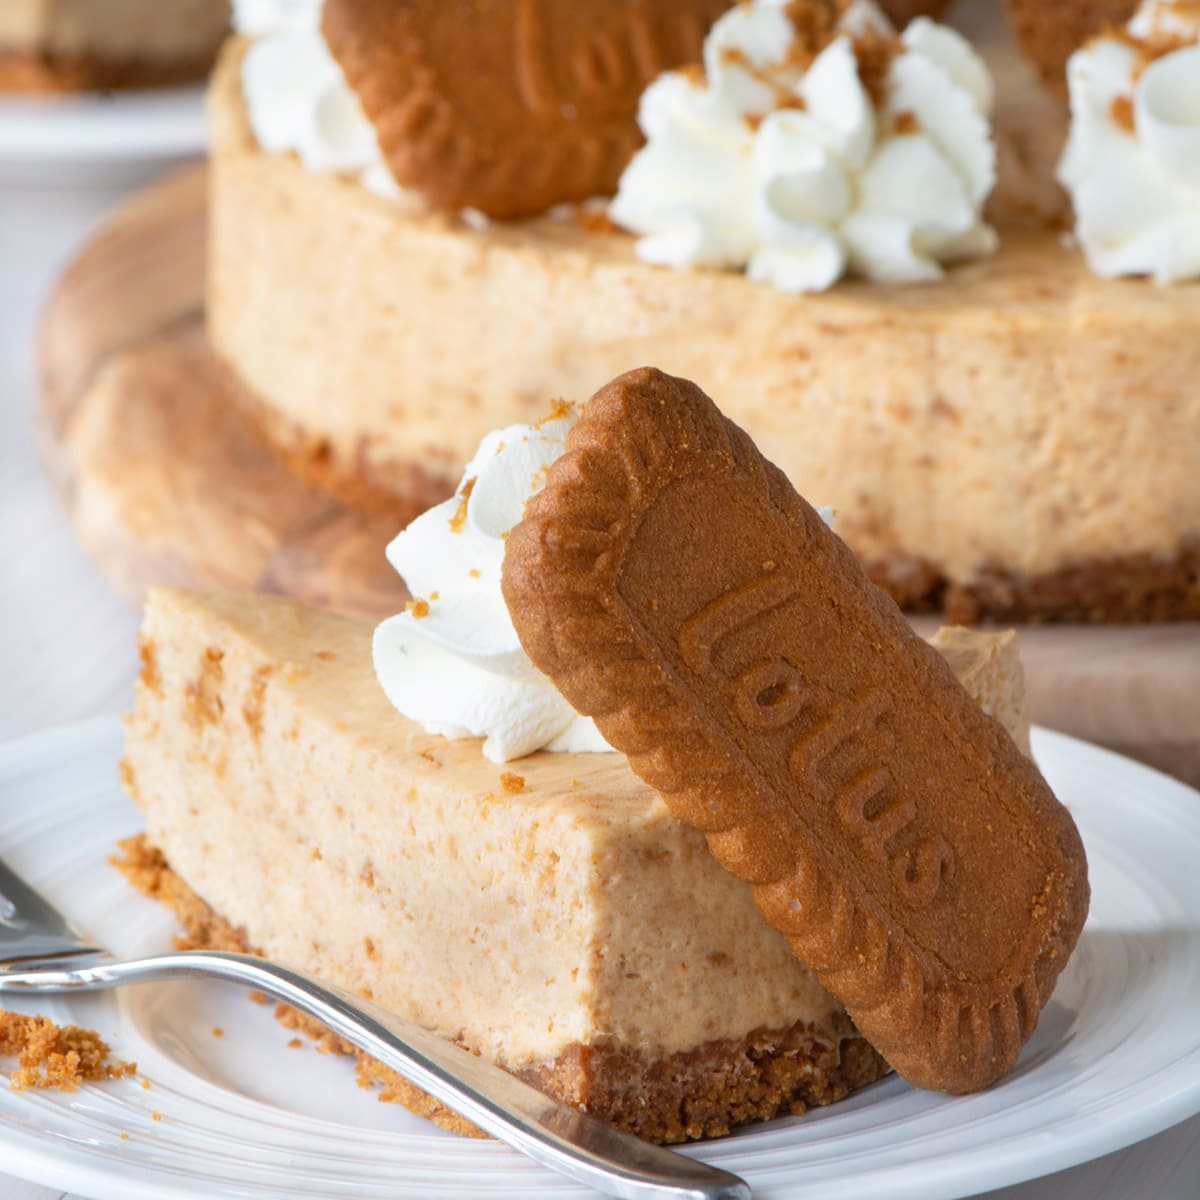
What is this recipe free from? Who is it suitable for?
The ingredients I used to make this recipe are all free from the following allergens. However, please check any labels carefully for allergens you need to avoid as brands can vary, and product recipes can change over time.
- Suitable for Vegetarians
- Egg-Free
- Tree Nut-Free
- Peanut-Free
- Sesame-Free
- Sulphite-Free
- Lupin-Free
Love Cheesecake?
Then make sure you take a look at all of my other Cheesecake Recipes including my classic Chocolate Cheesecake as well as others inspired by some of my favourite treats such as Chocolate Orange or Oreo.
FREE GRAMS TO CUPS CONVERSION CHARTS
Subscribe to the Charlotte’s Lively Kitchen mailing list to get your FREE printable grams to cups and cups to grams conversion charts for twelve popular baking ingredients
Biscoff Cheesecake (No-Bake)
INGREDIENTS
For the base
- 100 g Lotus Biscoff biscuits - c. 13 biscuits
- 40 g butter
For the cheesecake mixture
- 185 ml double cream
- 185 g cream cheese
- 75 g caster sugar
- 150 g Lotus Biscoff biscuits - c. 20 biscuits
To decorate
- 75 ml double cream
- 5 Lotus Biscoff Biscuits - To decorate mine, I kept four whole and crush one to sprinkle onto the cream
INSTRUCTIONS
Make the biscuit base
- Line the base of an 18cm round loose-bottomed tin with greaseproof paper or a reusable baking liner.
- Melt the butter (40g).Crush the Biscoff biscuits (100g/13 biscuits).Mix together the crushed biscuits and melted butter. Put the biscuit mix into the prepared tin and use the back of a spoon to push it flat. Put the tin into the fridge to chill while you make the cheesecake filling.
Make the cheesecake filling
- Finely crush your Biscoff biscuits (150g/20 biscuits)
- Whip the double cream (185ml) until it forms stiff peaks.Add the cream cheese (185g) and caster sugar (75g) and whisk again until the mixture forms stiff peaks.Finally add the crushed Biscoff biscuits and whisk onto the mixture.
- Remove the cheesecake base from the fridge. Add the cheesecake mixture to the tin. Use the back of a spoon to push the mixture down, ensuring there are no air holes. Smooth the top with a palette knife or the back of a spoon.Return the cheesecake to the fridge for a minimum of 2 hours to chill.
Decorate the cheesecake
- When you're ready to serve your cheesecake, remove it from the fridge and remove the tin – If you find the edges of the cheesecake are smudged by the action of removing it from the tin, run a palette knife around the edge to smooth it.
- Whip the double cream (75ml) until it form stiff peaks. Put it into a piping bag fitted with a star nozzle (I use a JEM 1B nozzle). Pipe 8 stars of cream around the edge of the cheesecake.
- Finally add an Biscoff bidscuit to every other star of cream and sprinkle a crushed Biscoff biscuit over the cream swirls and then serve.
NOTES
NUTRITIONAL INFORMATION
Any nutritional information provided is the estimated nutritional information per serving. Please refer to my guide to Charlotte’s Lively Kitchen nutritional information if you would like to learn more about how this is calculated.


Mandy Williams says
Hi. I only have a 20cm tin. How would I adjust the amount of ingredients please?
Charlotte Oates says
You would need to increase each ingredient by around 1/3. You can calculate this by multiplying each ingredient amount by 1.33.
Sarah says
Can I use icing sugar instead of caster sugar?
Charlotte Oates says
It was not tried it, but it should be fine.
Helen says
Hi Charlotte
I usually use Philadelphia in recipes needing cream cheese. Would this cheesecake work with the light version or would it have to be full fat?
If so, could it be used in all your no-bake cheesecakes?
Kind regards,
Helen.
Charlotte Oates says
I always recommend using the full-fat version as the cheesecake will set better.
Sarah Byne says
Have never commented on an online recipe before but I absolutely HAVE to for this STUNNING dessert!! Didn’t use sugar but Stevia vanilla drops and a couple of heaped teaspoons of powdered sweetener. Plus added a few drops of buttery caramel flavouring drops too. My nephew and myself whom are addicted to biscoff couldn’t get enough and the rest of the family were pretty pleased with it too!! Have already made my second in the weeks for myself and my flat mate to enjoy!! ❤️ Followed your advice though and made it one day and left it for around 24 hours for the biscuit to soften and then froze it for a couple of days as I needed the room in the fridge, defrosted wonderfully. I don’t have not know how to use a piping bag so just put 300ml of whipped double cream all over as a top layer (24cm dish so wasn’t too much over all. Thanks EVER SOOOOO much for this recipe, a FIRM favourite for YEARS to come!!
Serena says
I made this cheesecake for my son and converted it to a dairy free one. He absolutely loved it and I’ve made it several times since. Thank you for sharing
Lauren says
This recipe says total time 20 minutes but requires 5-6 hours of chilling until its ready?
Charlotte Oates says
The purple section at the top of the recipe where all of the times are summarised states a total time of 20 minutes + 2 hours chilling. It is also made clear in the recipe instructions.