Oreo Cake – Soft vanilla sponge cake packed full of Oreo chunks, topped with Oreo buttercream and finished with even more Oreos. The ultimate cake for Oreo lovers.
PLUS – Easily adapt this recipe to fit a range of round, square and rectangular tins.
Skip to the recipe | Recipe FAQs | Calculator
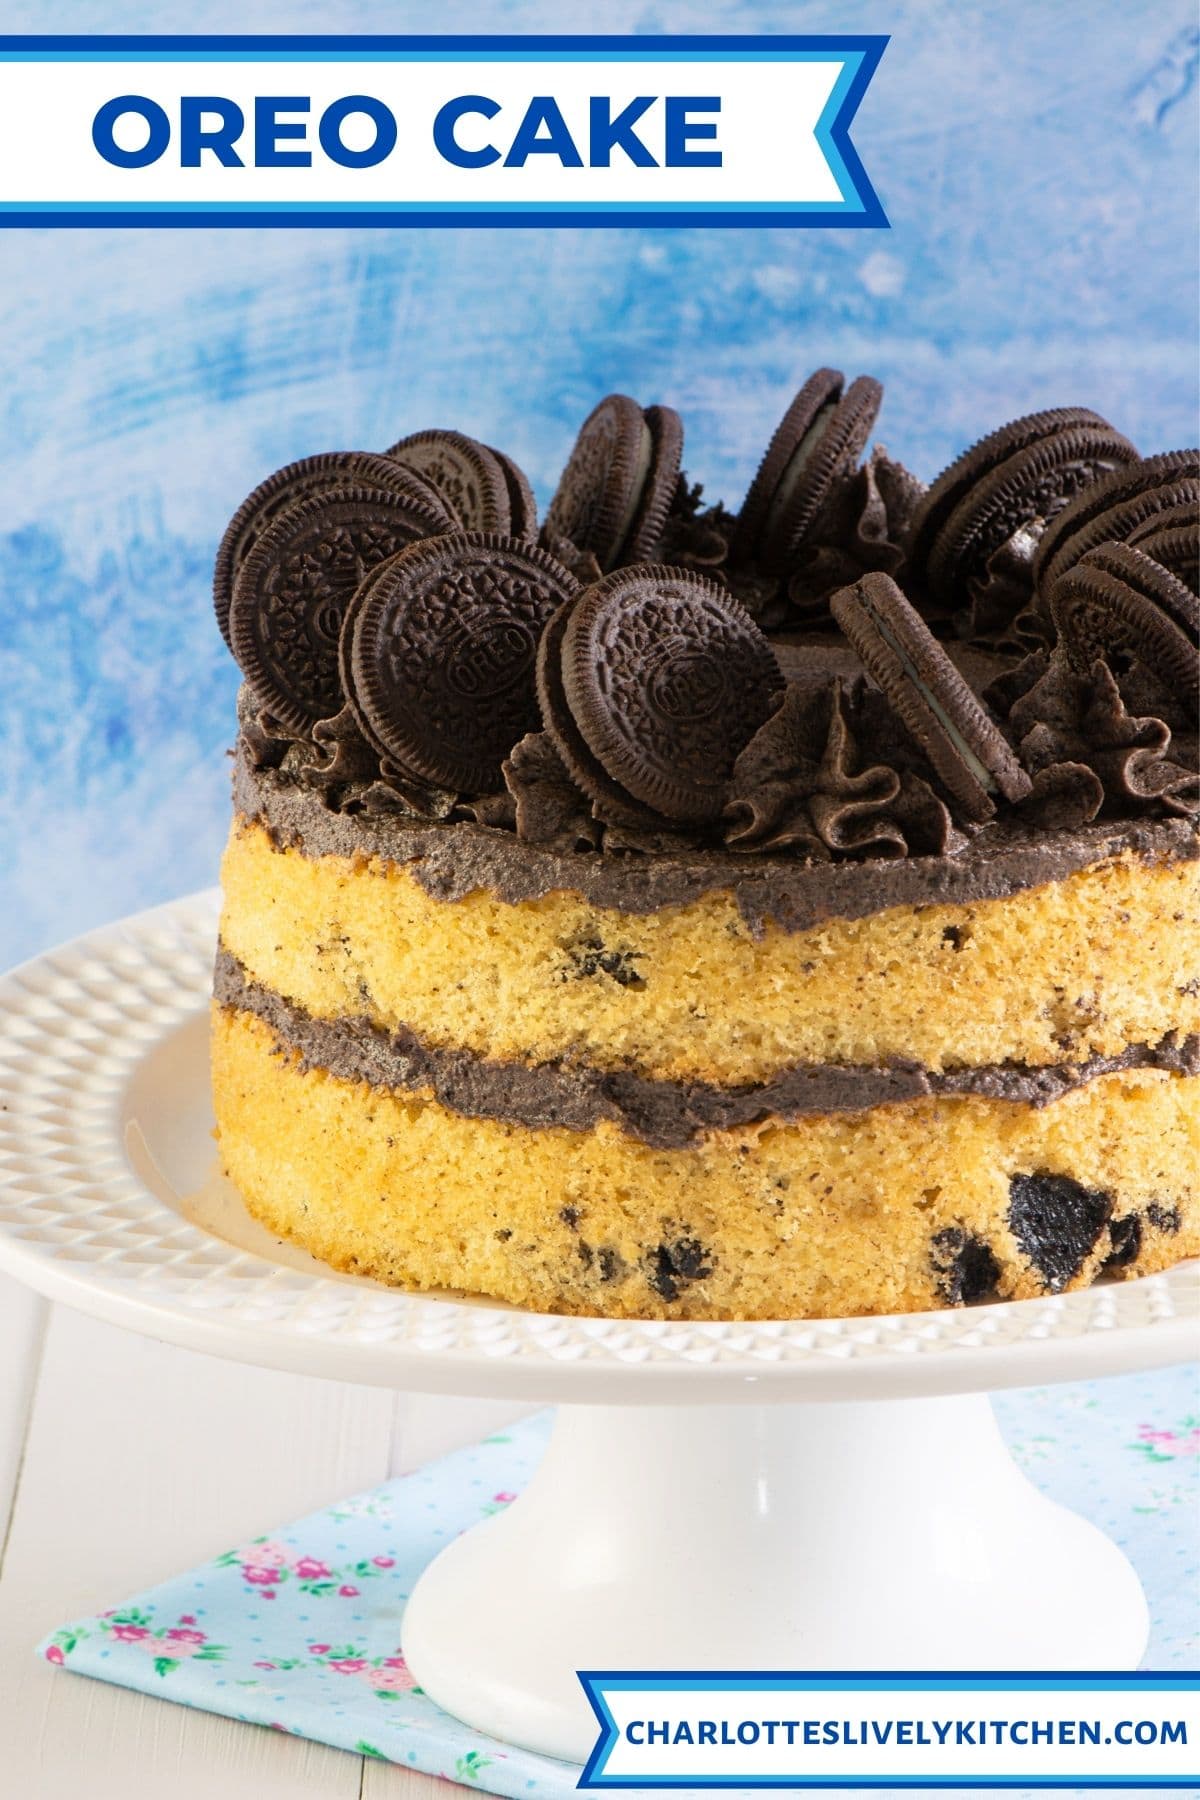
I recently shared with you all my Biscoff cake recipe and that has been so well received that I thought I’d share another biscuit-based dream dessert – Oreo cake.
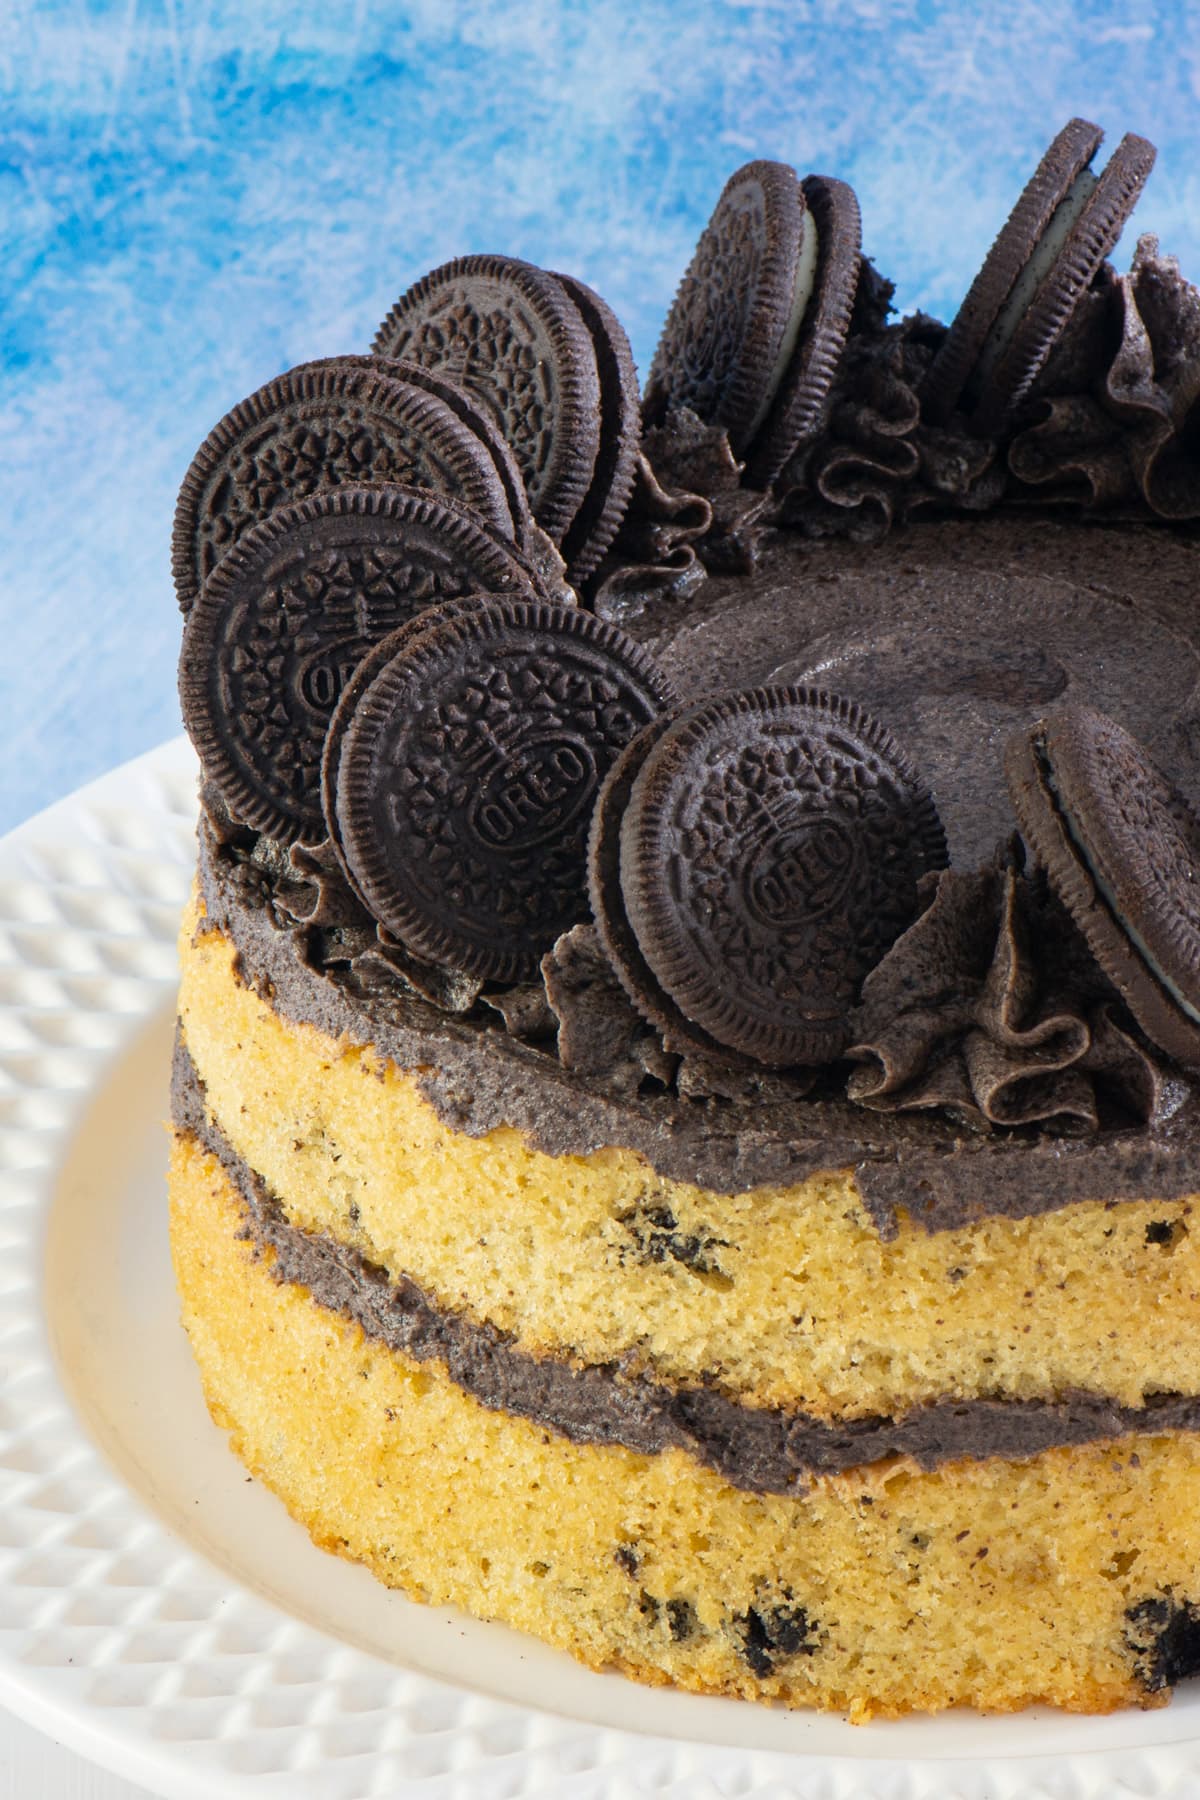
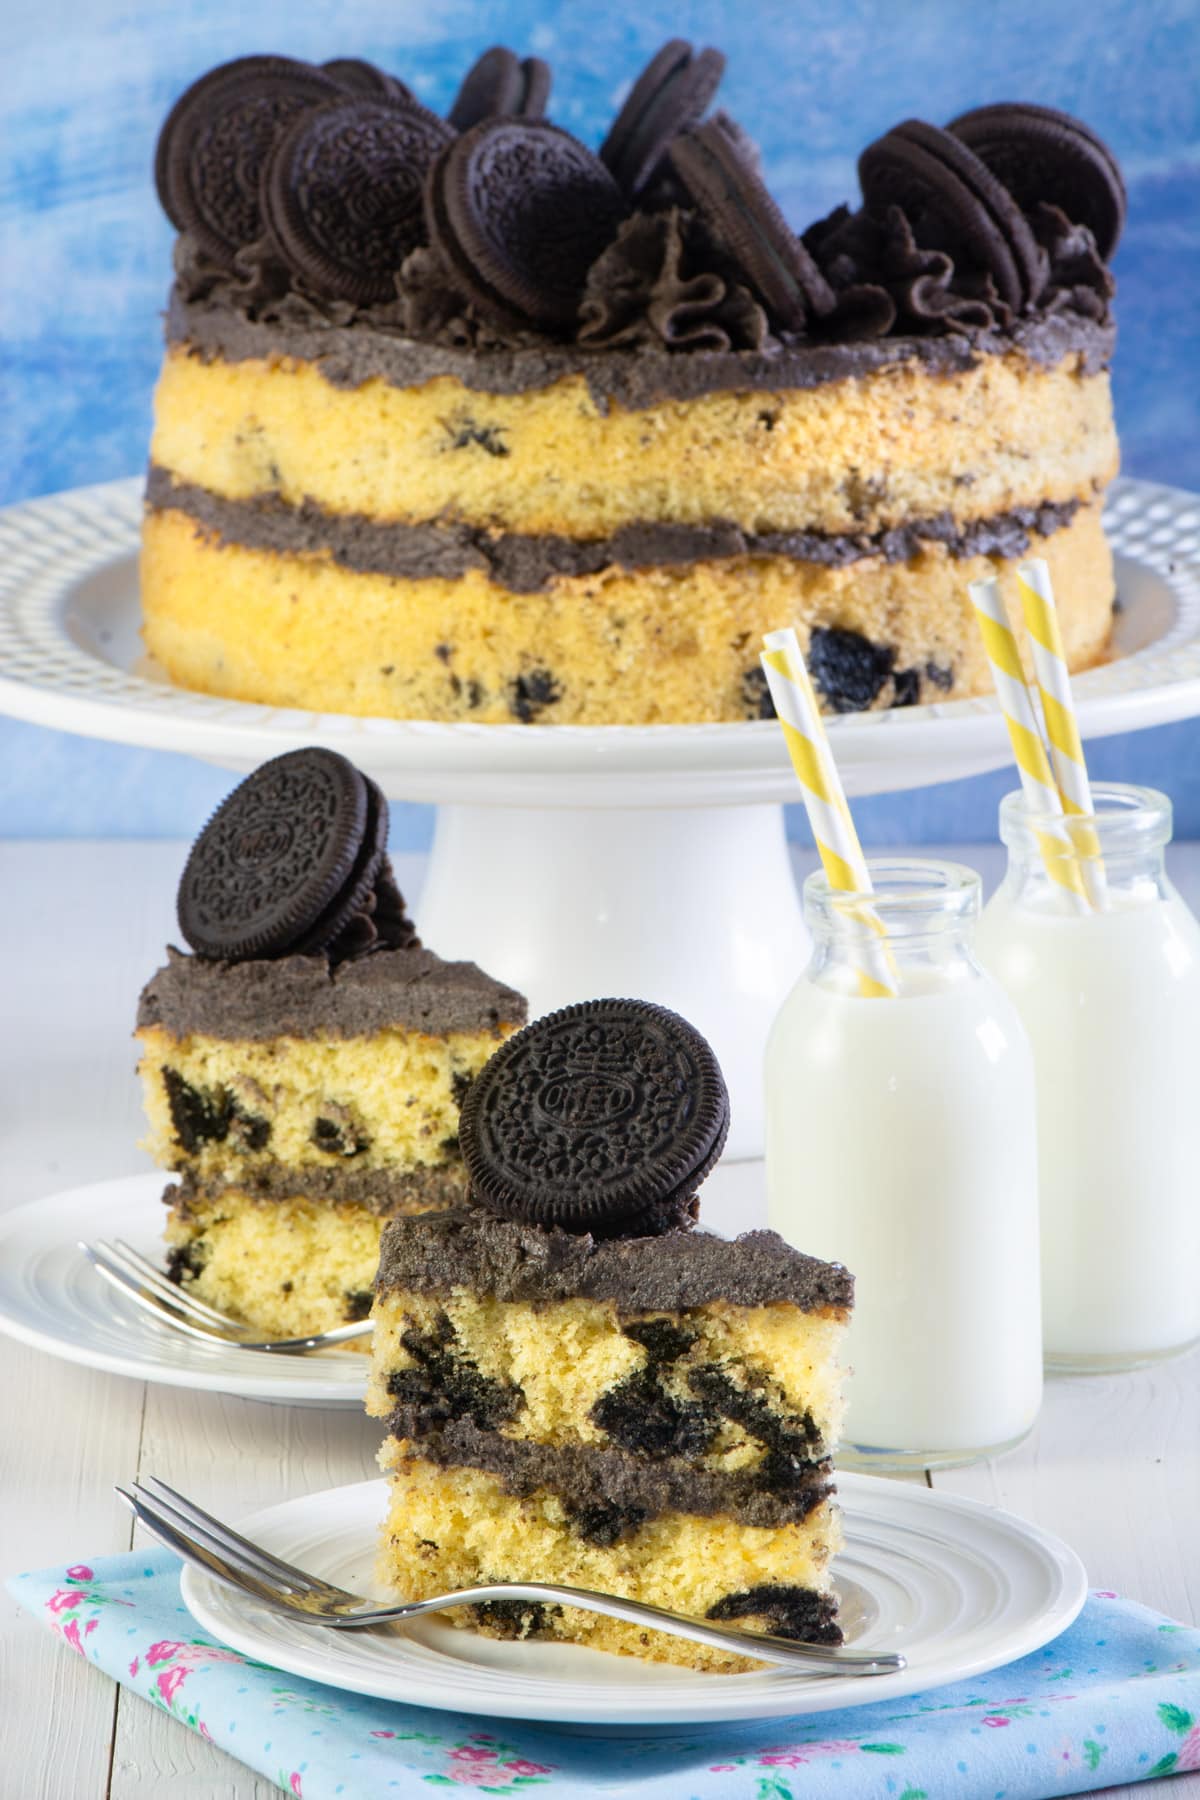
It’s a soft vanilla sponge cake packed full of chopped Oreo pieces, topped with Oreo buttercream and finished with even more Oreos.
I bake my cake in 2x20cm sandwich tins (serves 12 people), but if you’ve got a different size of tin in your cupboard, then take a look below the recipe for how to adjust the ingredients to fit your tin.
Oreo Cake FAQS
If it’s your first time making this recipe or you have a question, please take a moment to have a read through my FAQs for some extra tips and allergen information.
- How long does this cake last and how should it be stored?
- Can this cake be made as cupcakes?
- Can I use different flavours of Oreos in my cake?
- Can this cake be covered in fondant to make an Oreo birthday cake?
- Can this cake be stacked to make tiers?
- Can this cake be made in different shapes and sizes?
- Can I bake this in one deep tin?
- My cake is in the oven and it looks quite bubbly on top. Is this OK?
- I don’t want to add the piped buttercream to the top of my cake, do I need to make as much?
- When should I add my Oreo decoration?
- Other Oreo recipes you might enjoy
- What is this recipe free from? Who is it suitable for?
How long does this cake last and how should it be stored?
The cake will last for about a week when stored in an airtight container. It’ll be fine at room temperature (as long as your room isn’t too warm) and it can also be stored in the fridge.
If you choose to store it in the fridge then I’d recommend allowing it to come up to room temperature before you eat it as it will have a better flavour.
❄️ Suitable for freezing
Just the Oreo sponges or the final cake decorated with buttercream are suitable for freezing.
To freeze the sponges, either wrap them in clingfilm, or place them in an airtight container. I’d suggest placing clingfilm or baking parchment between the layers to ensure they don’t stick together.
To freeze the finished cake, either place it into a freezer-safe, airtight container. Or place the finished cake on a freezer-safe dish uncovered (or loosely covered in clingfilm). Once the buttercream is firm (usually after a couple of hours), wrap the cake in clingfilm.
If you decide to go down the clingfilm route, when you defrost the cake, make sure you remove the clingfilm while the cake is still frozen. If you try and remove to after it has defrosted you’ll find that the clingfilm will stick to the buttercream and you may end up in a bit of a mess!
Can this cake be made as cupcakes?
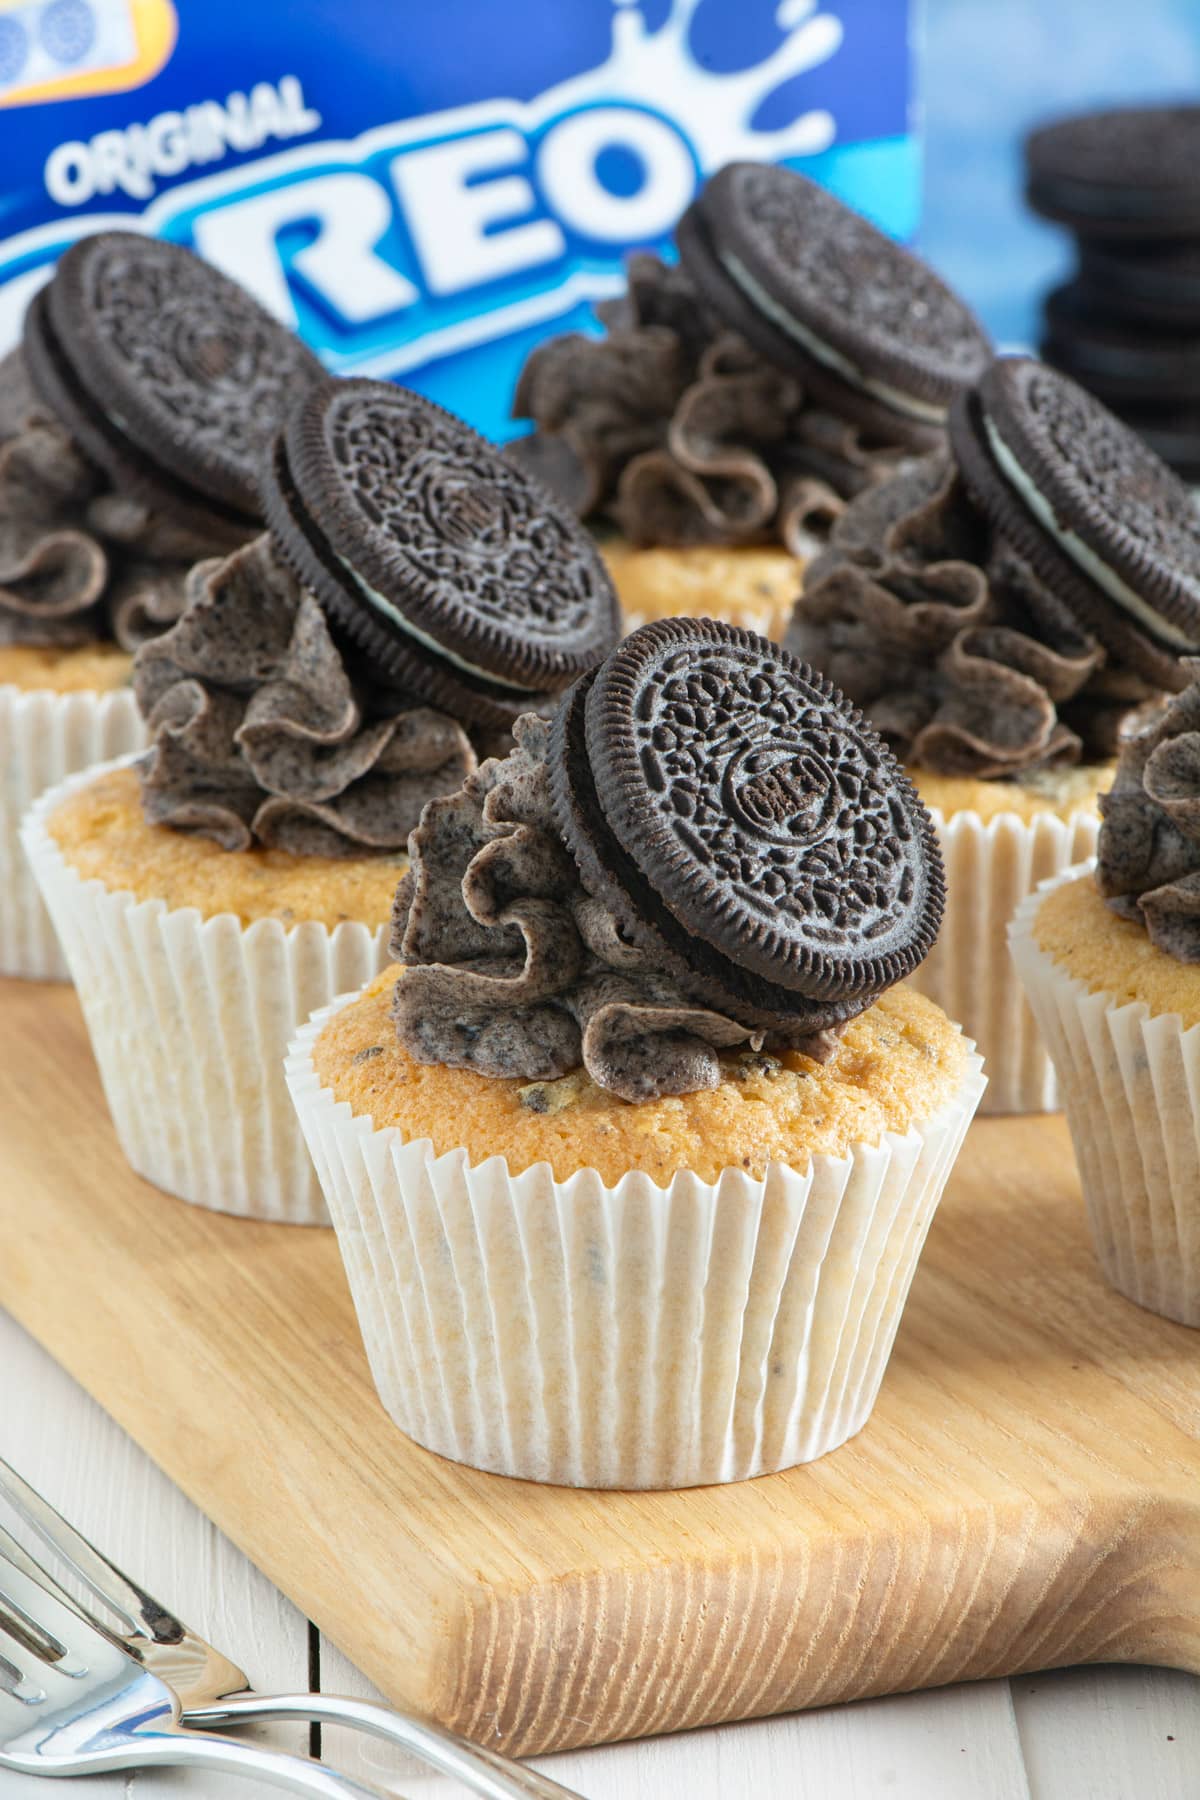
Yes.
To save you the job of adapting this recipe, I’ve also shared it as Oreo Cupcakes.
Can I use different flavours of Oreos in my cake?
Absolutely!
I’ve used original Oreos in my cake, but you can substitute them for any of their other flavours.
Can this cake be covered in fondant to make an Oreo birthday cake?
Yes.
The vanilla sponge recipe used as the base for this Oreo cake is similar to the sponge I use for my vanilla birthday cake, which is perfect for covering with fondant.
If you’d like to cover the cake with fondant, I’d recommend filling and covering the top and sides of the cake in a thin layer of Oreo buttercream first. This layer of Oreo buttercream helps adhere the fondant to the cake and makes it easier to get the fondant nice and smooth. It also adds some extra Oreo flavour.
Can this cake be stacked to make tiers?
Yes.
This cake is suitable for stacking, although due to the lightness of the sponge I wouldn’t go above 2 tiers. If you’re making tiers, then I recommend adding cut straws or dowels into the bottom layer to support the top layer.
Can this cake be made in different shapes and sizes?
Yes.
This cake is easily adapted to fit many other sizes of round, square and rectangular tin. If you have a look below the main recipe you’ll find my ingredient calculator which will tell you the quantities you need for your tin.
Can I bake this in one deep tin?
I split my cake mixture into sandwich tins and that’s what I’d recommend for you too.
This can can be baked in a single, deeper tin. However, as it is a soft sponge, you may find that it doesn’t rise as well as when split, and it is more prone to sinking after baking.
If you do decide to give it a go in a deeper tin, you’ll need to increase the baking time to c. 50 minutes.

My cake is in the oven and it looks quite bubbly on top. Is this OK?
Yes.
The addition of the Oreo pieces in the cake mixture means it can look a little uneven and bubbly whilst it’s in the oven.
Don’t worry, once you’ve removed it from the heat it will flatten out.
I don’t want to add the piped buttercream to the top of my cake, do I need to make as much?
If you’re not planning on decorating your cake with the piped blobs of buttercream then I’d suggest reducing the buttercream ingredients by ⅓ so you don’t have too much (although you could also just add a thicker layer on top and in the middle).
When should I add my Oreo decoration?
I’ve found that if you store the cake in an airtight container with the Oreo decoration, the Oreos on top will go soft. If you would prefer them the still have their crunch, I’d recommend adding them just before serving.
Other Oreo recipes you might enjoy
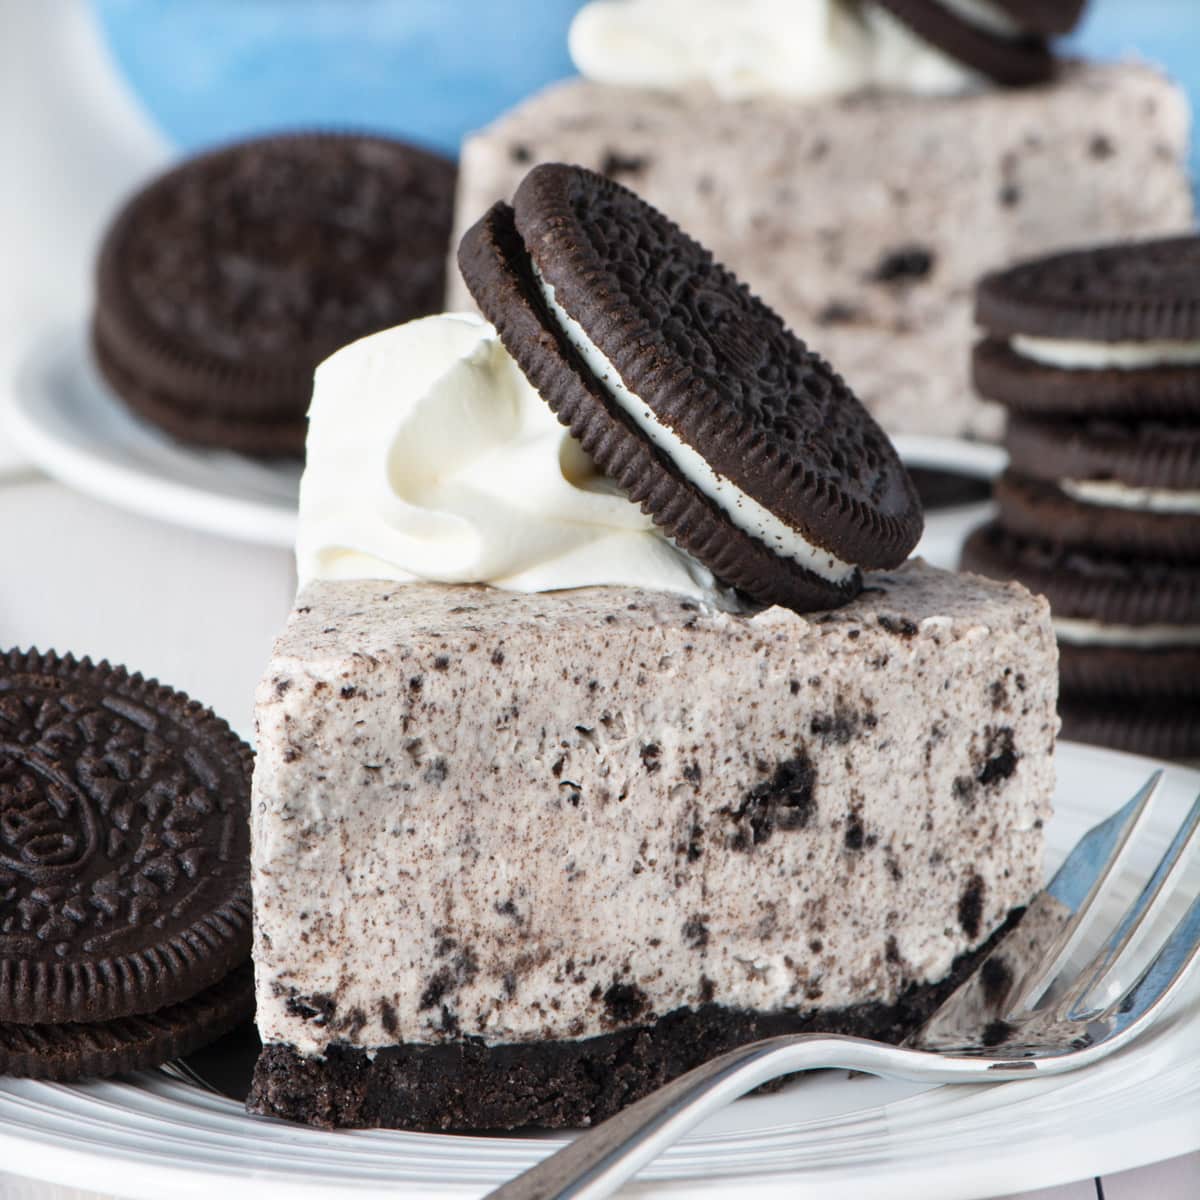
If you’re as much of a fan of Oreos as me then you might also like to try one of my other Oreo recipes, including this delicious no-bake Oreo cheesecake.
What is this recipe free from? Who is it suitable for?
The ingredients I used to make this recipe are all free from the following allergens. However, please check any labels carefully for allergens you need to avoid as brands can vary, and product recipes can change over time.
- Suitable for Vegetarians
- Tree Nut-Free
- Peanut-Free
- Sesame-Free
- Sulphur Dioxide and Sulphite-Free
- Lupin-Free
FREE GRAMS TO CUPS CONVERSION CHARTS
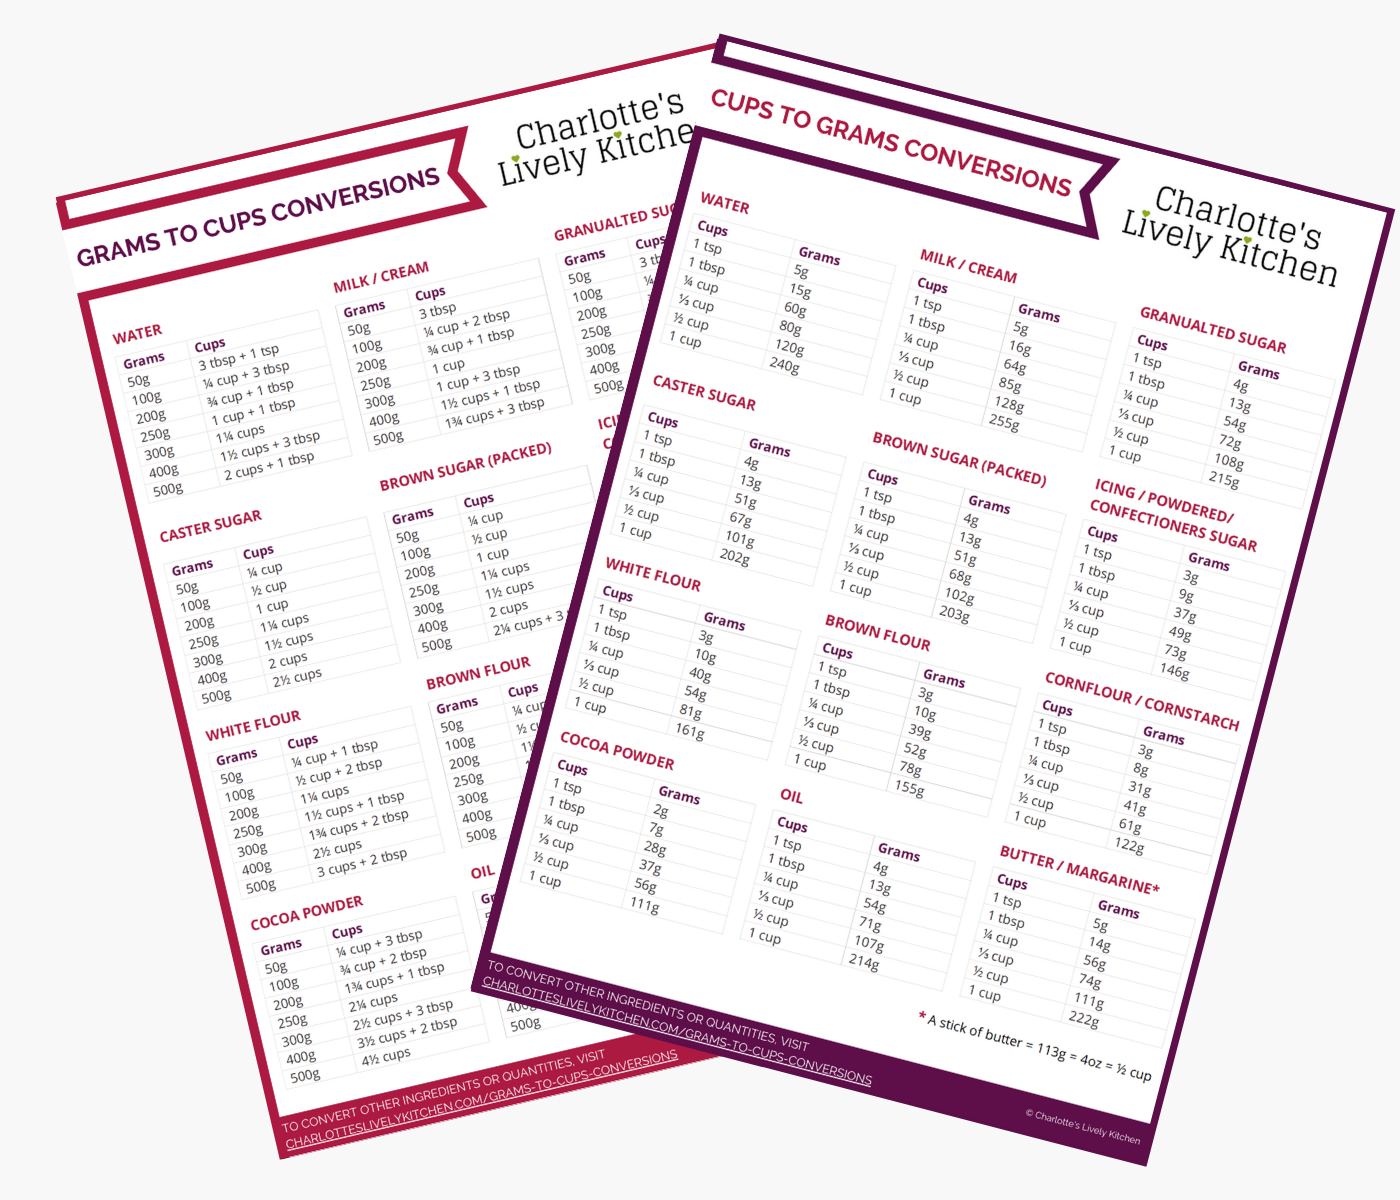
Subscribe to the Charlotte’s Lively Kitchen mailing list to get your FREE printable grams to cups and cups to grams conversion charts for twelve popular baking ingredients
Oreo Cake
INGREDIENTS
Oreo Sponge
- 225 g self-raising flour
- 2 level tsp baking powder
- 225 g caster sugar
- 225 g margarine or butter - if you're using butter make sure it is soft and at room temperature
- 4 medium eggs
- ¼ tsp vanilla extract
- 16 Oreo biscuits - 175g – This is slightly over 1 packet. If you'd rather not buy extra then using 14 Oreos is fine.
Oreo Buttercream
- 28 Oreos - 300g – 2 packets
- 160 g butter - Soft at room temperature
- 250 g icing sugar
- A little milk
To decorate
- 12 Oreos
INSTRUCTIONS
Make the Oreo sponge
- Pre-heat your oven to 160°C/140°C fan.
- Line a 2x20cm sandwich tins with greaseproof paper or reusable baking liners.
- Roughly chop your Oreos (16 Oreos). I cut mine into quarters, but I don't worry if they break up a bit more. It's nice to have some larger and some smaller pieces.
- Put the rest of your ingredients into a large bowl (225g self-raising flour, 2 level tsp baking powder, 225g caster sugar, 225g margarine or butter, 4 medium eggs, ¼ tsp vanilla extract).Beat, either by hand or with an electric mixer on a low speed, until the ingredients are combined and there are no lumps in the margarine/butter.Fold in the chopped Oreos.
- Divide the cake mixture evenly between the prepared tins. Use the back of a spoon or spatula to spread the mixture across the tin and then level the top (it doesn't have to be perfect, just roughly even).
- Bake your cakes for c. 35 minutes, until a skewer inserted into the centre comes out clean.
- Once baked, remove your cakes from the oven. Leave the cakes to cool in their tins for c. 10 minutes before removing them from the tins and placing them on a wire rack to cool completely before decorating.
Make the Oreo Buttercream
- Finely grind your Oreos (28 biscuits) – This is best done in a food processor so that you can grind them finely. However, you could also use a pestle and mortar or pop them into a bag and bash them with a rolling pin.
- Beat your butter (160g) until soft and then gradually add the icing sugar (250g), beating in each addition before adding more.
- Add the crushed Oreos and beat them into the other ingredients. You'll find that the addition of the crushed Oreos makes your buttercream quite stiff. To get the buttercream to a softer, more pipeable consistency and a little milk (1 tsp at a time), beating in each addition before adding more.
Decorate your cake
- Place one sponge on your serving dish.
- Spread ⅓ of the Oreo buttercream over the sponge.
- Add the second sponge.
- Spread ½ of the buttercream of the top.
- Put the remaining buttercream into a piping bag fitted with a star nozzle (I use a JEM1B nozzle). Pipe 12 blobs of buttercream around the edge of your cake.
- Add one Oreo onto each buttercream blob.
- Serve.
NUTRITIONAL INFORMATION
Any nutritional information provided is the estimated nutritional information per serving. Please refer to my guide to Charlotte’s Lively Kitchen nutritional information if you would like to learn more about how this is calculated.
What are the ingredients for a different size of tin?
The main recipe is for a two-layer 20cm round cake (this serves 12 people). However, this recipe is easily adapted to use other sizes of round, square or rectangular tins.
To find the ingredients needed to make this cake in a different size, simply add the dimensions of your tin in centimetres and the number of layers into the boxes below and hit “Calculate”. Please make sure you only enter numbers into the boxes. If you add any other characters the calculator won’t work.
For simplicity, The quantities provided for the buttercream below are for simply filling and topping the cake with buttercream (evenly splitting the quantity in the main recipe between the layers and the top). If you choose to decorate your cake in a different style, the amount you need may vary.
I haven’t included the biscuits to decorate the cake in the calculator as you can choose the right number for you depending on how you want your finished cake to look.
Assuming you continue to use sandwich tins (or a single layer tray for a traybake), the cake will need the same cooking time and temperature as stated in the main recipe.
Round cake
Cake Ingredients
- 0 g self-raising flour
- 0 tsp baking powder
- 0 egg(s)
- 0 g soft margarine or butter
- 0 g caster sugar
- 0 g Oreos
Buttercream Ingredients
- 0 g butter
- 0 g icing sugar
- 0 g Oreos
Square or rectangular cake
Cake Ingredients
- 0 g self-raising flour
- 0 tsp baking powder
- 0 egg(s)
- 0 g soft margarine or butter
- 0 g caster sugar
- 0 Oreos
Buttercream Ingredients
- 0 g butter
- 0 g icing sugar
- 0 g Oreos


Liel says
Thank you for sharing this recipe. I made this for my son’s birthday and if was absolutely delicious. I had a bit change with the buttercream coz it was bit much buttery but it worked out. The boys on the party said they never had a better cake!
So thank you again. I definitely will try more of your recipes. ❤️
Nadia Ahmed says
Can I use this as a middle layer in between you easy chocolate cake recipe?
I was going to sandwich it between white chocolate buttercream?
Charlotte Oates says
I can’t see why not, that sounds delicious!
Bridie says
Hi Charlotte
Your cake looks delicious. Your using baking powder with self-raising flour . I taught you didn’t need to use baking powder when using self-raising flour
Charlotte Oates says
If you look over at this post > How To Make Self-Raising Flour From Plain Flour, it explains why I use both in my cake and cupcake recipes.
Nic | Nic's Adventures & Bakes says
Thanks for sharing, this cake looks lovely 🙂
Chloe Edges says
Looks gorgeous, I’m so intrigued by incorporating crunchy biscuit into soft sponge and to see how it turns soft so I’ll def be trying this at somepoint!
Charlotte Oates says
The biscuit softens as it bakes so it ends up with the same texture as the sponge, just giving you a hit of Oreo flavour to contrast the vanilla.