
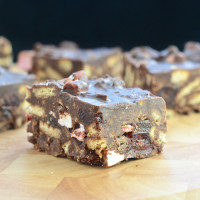
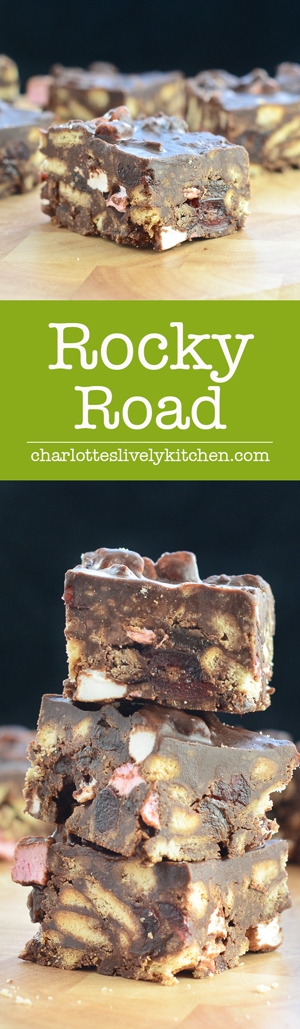
Whoever came up with the idea for rocky road was a genius. It requires no baking, contains lots of delicious ingredients and no one expects it to look picture perfect!
Having made several batches of rocky road, much to the delight of my two boys, I have four tips to make the perfect recipe:
- Don’t break the biscuits too small. If you do the rocky road lacks a bit in crunch.
- Freeze the marshmallows before-hand. The first couple of times I made the recipe, when I added the marshmallows to the chocolate mixture (even after allowing the chocolate to cool for a few minutes) they melted. The recipe still tasted great, but the marshmallow flavour and gooey texture got a bit lost.
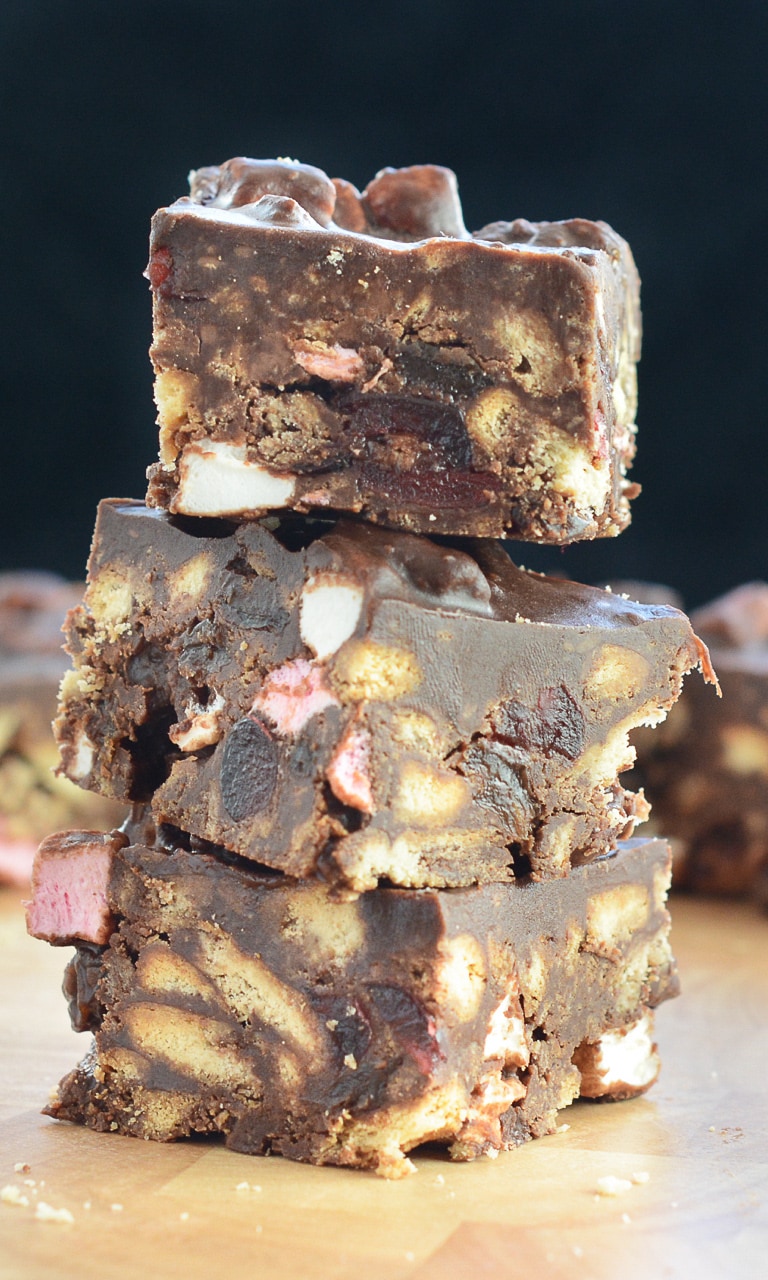
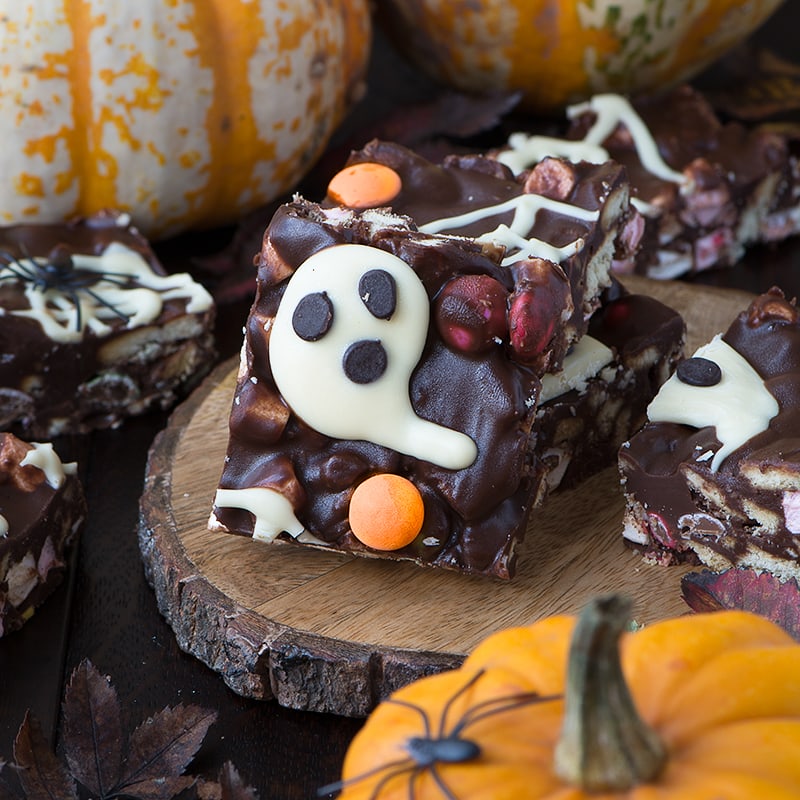
- Set aside some melted chocolate for the end. Once you have laid out your final mixture in a tray, pouring over this chocolate helps to fill in any gaps and gives a slightly smoother look on top.
- Use a combination of dark and milk chocolate. Use all dark chocolate and the recipe tastes too rich, all milk chocolate and the recipe is too sweet.
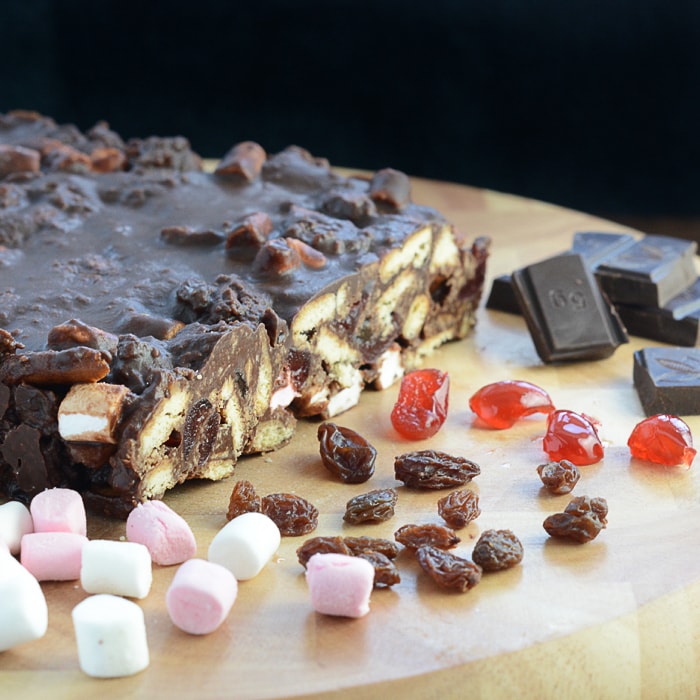
There are lots of variations of rocky roads. Marshmallows and biscuits are generally included in all, but then different versions include adding in nuts (brazil, walnut, pistachio, coconut) or various berries (cranberries, blueberries, strawberries).
For this version I opted for raisins and cherries. I like the sweetness and slightly different texture they add.
Rocky Road FAQs
If it’s your first time making this recipe or you have a question, please take a moment to have a read through my FAQs for some extra tips and allergen information.
- What is the best chocolate to use for rocky road?
- What is the best way to melt chocolate?
- Why has my chocolate gone grainy?
- What is the best method to cut rocky road neatly?
- How long will rocky road keep for?
- Can rocky road be frozen?
- What is this rocky road free from? Who are the suitable for?
- Other rocky road recipes you might enjoy
What is the best chocolate to use for rocky road?
For this recipe I use a mix of dark and milk chocolate for the perfect balance of sweet and bitter.
I always buy my chocolate in the baking aisle as that way I know it’s suitable for melting. I tend to use Lindt, Dr Oetker, Green & Black’s or Aldi own brand (which is much cheaper and melts brilliantly).
Some varieties from the confectionary aisle would be fine but it’s more risky, Cadbury’s for example seizes very easily if you try and melt it.
What is the best way to melt chocolate?
In this recipe I melt both types of chocolate (milk and dark) in a saucepan over a very low heat along with the golden syrup and butter.
As the chocolate starts to melt, it is a good idea to keep stirring the mixture to make sure nothing catches and burns on the bottom or sides of the pan.
Melting chocolate in the microwave
You can also microwave the chocolate mixture in short bursts making sure to stir after each round of heat.
Start with 30 second intervals and move to 10 second bursts as the everything starts to come together. Remember that you can always put it back in the microwave but you can’t undo what is already done so err on the side of caution.
Melting chocolate in a double boiler.
If you are nervous or wish to be extra cautious, you can melt the chocolate in a double boiler. This will take longer than meting everything directly in the pan which I suggest.
To do this, place the chocolate etc into a heatproof bowl and set that over a pan of simmering water. Make sure that the bowl does not touch the water. Continue stirring until everything is melted together.
Why has my chocolate gone grainy?
The chocolate that I use has never taken on a grainy texture or seized up but occasionally a reader will tell me that this has happened to them. These are the things to check to ensure this doesn’t happen:
- As mentioned above, consider the type of chocolate you are using – not all chocolate is suitable for melting.
- Melt the chocolate along with the butter and golden syrup. Adding cold ingredients into warm melted chocolate can cause it to seize because of the temperature difference.
- Make sure to keep the temperature low while the ingredients are melting together.
- Keep stirring as the chocolate is melting.
What is the best method to cut rocky road neatly?
Make sure that the rocky road is properly chilled – I recommend at least 2 hours in the fridge. It needs to be actually cold and not just room temperature.
Use the sharpest and largest knife you own. Start cutting with the tip and push the blade down in the the rocky road using the palm of your other hand. Cutting in one smooth motion will give a much neater result than making multiple jagged cuts.
Be careful with the knife but remember that most injuries are caused my knives not being sharp enough and slipping as a result. So don’t be scared to use a good sharp knife.
How long will rocky road keep for?
Rocky road will keep in the fridge for at least a week in an airtight container.
Can rocky road be frozen?
This rocky road is suitable for freezing. Store it in an airtight container with greaseproof paper between any layers of the rocky road to keep the separated. Defrost in the fridge before eating.
What is this rocky road free from? Who is it suitable for?
The ingredients I used to make this recipe are all free from the following allergens. However, please check any labels carefully for allergens you need to avoid as brands can vary, and product recipes can change over time.
- Egg-Free
- Tree Nut-Free
- Peanut Free
- Sesame-Free
- Lupin-Free
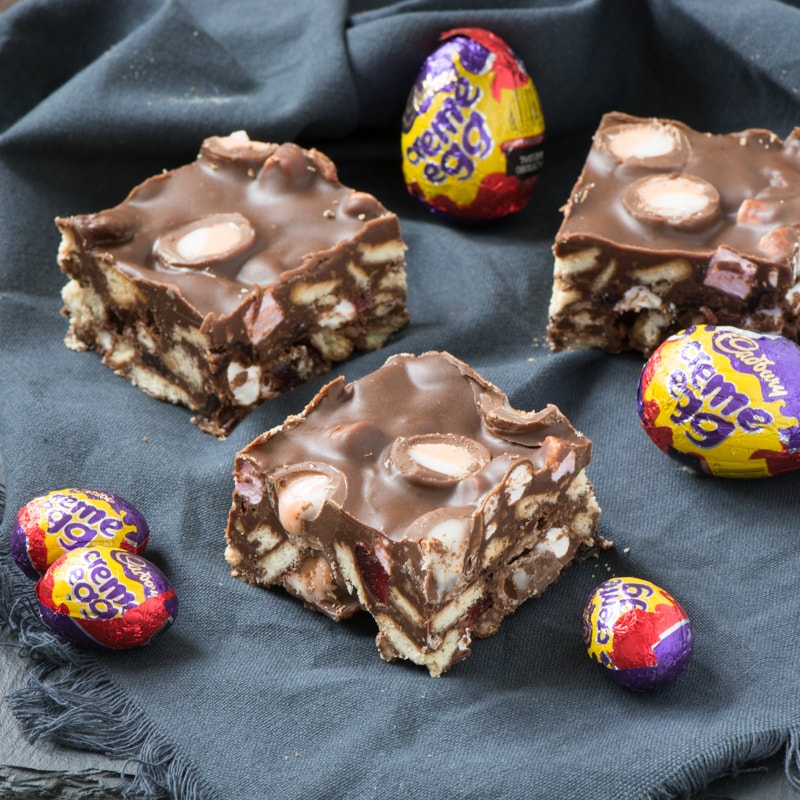
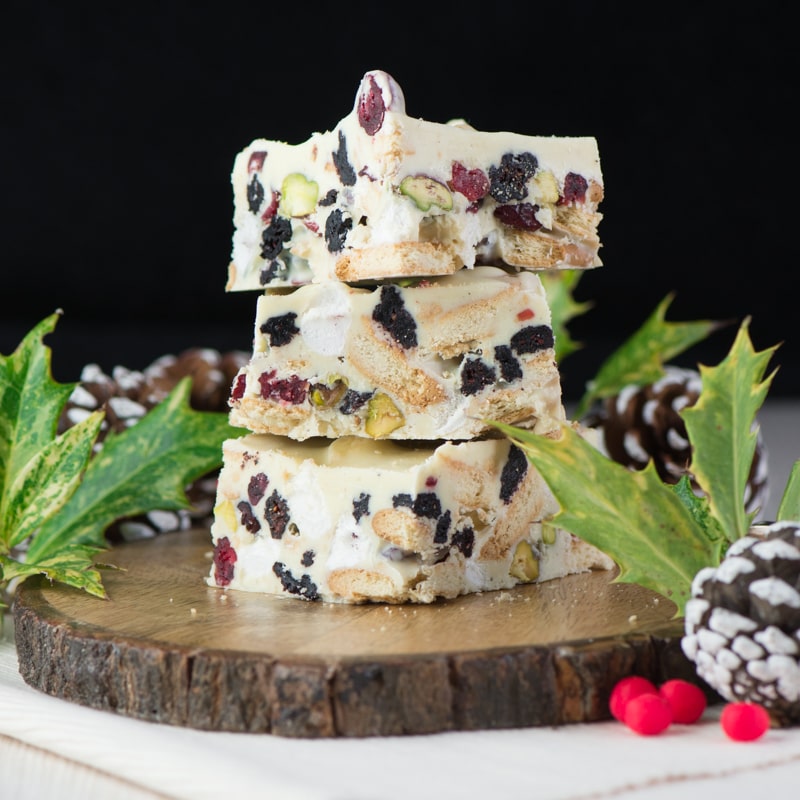
Other rocky road recipes you might enjoy
FREE GRAMS TO CUPS CONVERSION CHARTS

Subscribe to the Charlotte’s Lively Kitchen mailing list to get your FREE printable grams to cups and cups to grams conversion charts for twelve popular baking ingredients
Rocky Road
INGREDIENTS
- 100 g butter
- 175 g milk chocolate
- 85 g dark chocolate
- 3 tbsp golden syrup
- 150 g rich tea biscuits
- 50 g mini marshmallows - preferably frozen for a couple of hours
- 50 g raisins
- 40 g glacé cherries
RECIPE VIDEO
INSTRUCTIONS
- If you want the marshmallows to hold their shape, then put them in the freezer a couple of hours before starting your recipe (I also like to ensure they are separated from one another).
- Melt in a pan on a low heat butter (100g), milk chocolate (175g), dark chocolate (85g) and golden syrup (3 tbsp).
- Once melted set aside 100ml of the melted chocolate mixture to be used later, leave the rest in the pan but turn off the heat.
- Crush the biscuits (150g) into small pieces (take a look at the video for an idea of the size you want) and fold into the chocolate mixture in the pan.
- Chop the cherries (40g) into halves or thirds depending on their size and add to the pan. Also mix in raisins (50g) and mini marshmallows (50g).
- Lay out the baking parchment onto a tray (approx 20cmx26cm) and spoon the mixture onto it. Press down firmly on the mixture to compress it and form an even layer.
- Pour the 100ml of melted chocolate which you set aside earlier evenly across the top of the mixture. The idea is to fill in any gaps with it, and create a slightly smoother top surface. The liquid should only just cover all of the surface, so you may need to spread it with a spoon to distribute it evenly.
- Finally put it in the fridge to set. It will be set enough to eat in about two hours, but I prefer to leave it overnight to give it a enough time to fully harden.
NOTES
NUTRITIONAL INFORMATION
Any nutritional information provided is the estimated nutritional information per serving. Please refer to my guide to Charlotte’s Lively Kitchen nutritional information if you would like to learn more about how this is calculated.
Leave a Reply