 When I was little I always loved the cakes that my mum made for my birthday. We had a book called Cake Magic and my sister and I could choose from it which cake design we wanted her to make for each birthday. I still look back on pictures of those cakes and smile, and it’s important to me that I can give my boys those same memories. My approach to cake decorating is a little different – I don’t work from a book, I simply let them pick a theme and from there on in I just make it up as I go along, but I have to say I’m really proud of the cakes I’ve managed to come up with.
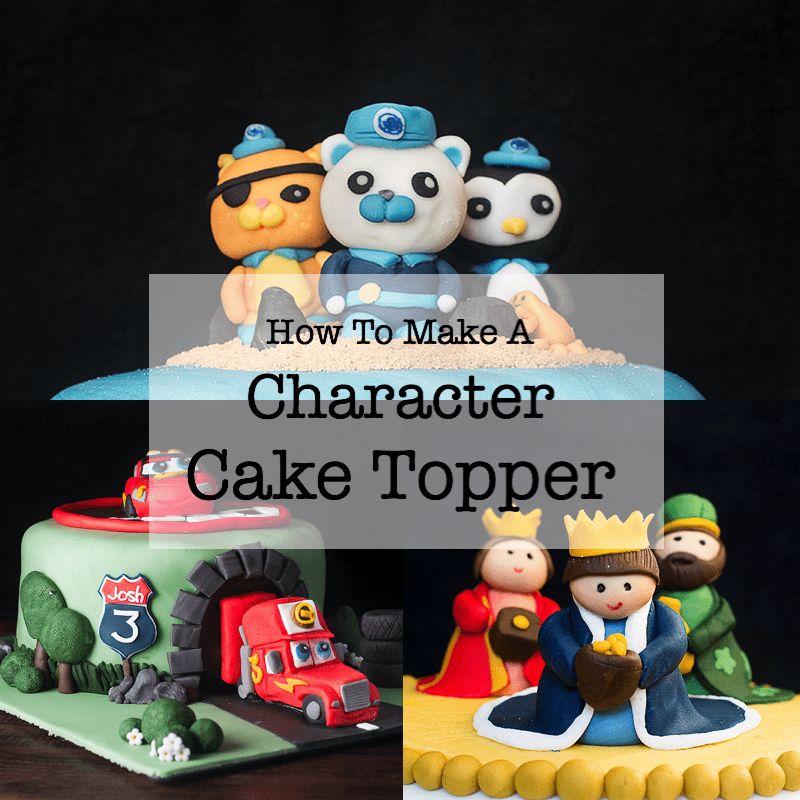
 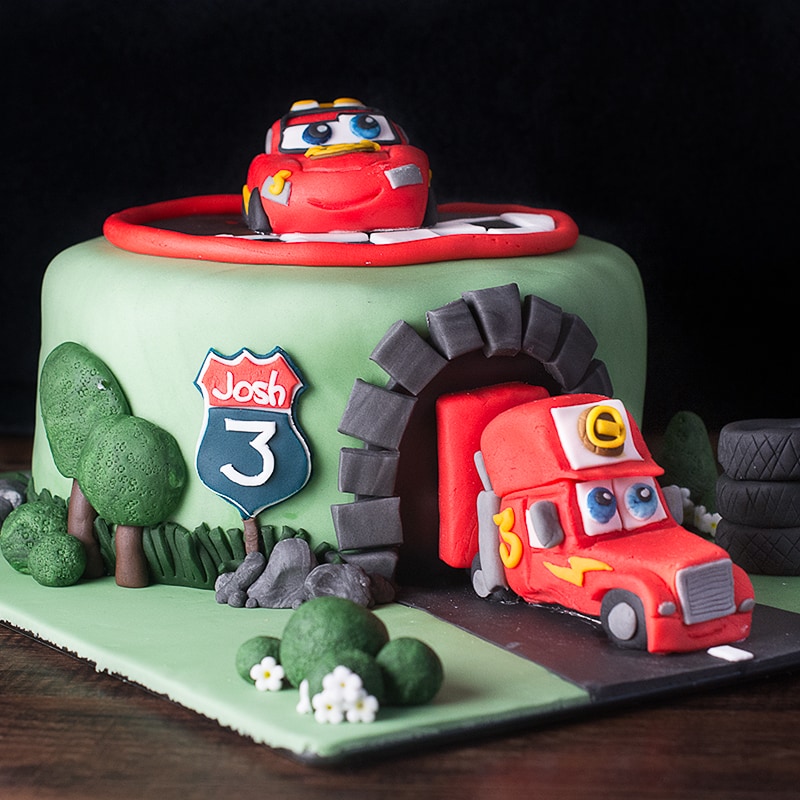 A while ago I was asked on Facebook how I went about making the characters that I use to top my boys’ birthday cakes. It wasn’t a request for a specific character, more a question about the general approach that I take, so here it is…
What are the characters are made from?
I always make my characters with fondant. I tend to use fondant simply because I can pick it up in the local supermarket rather than having to make a special trip to my local cake decorating shop to get some modelling paste. You’ll notice that all of my characters are quite short and fat – this works best with fondant as it means that characters are less likely to collapse, it also removes the need for wires inside the figures (to give them a particular shape). I’ve tried using wires a few times in the past and gotten in a terrible muddle trying to get the fondant formed around the wires and looking good so I avoid using them when I can. 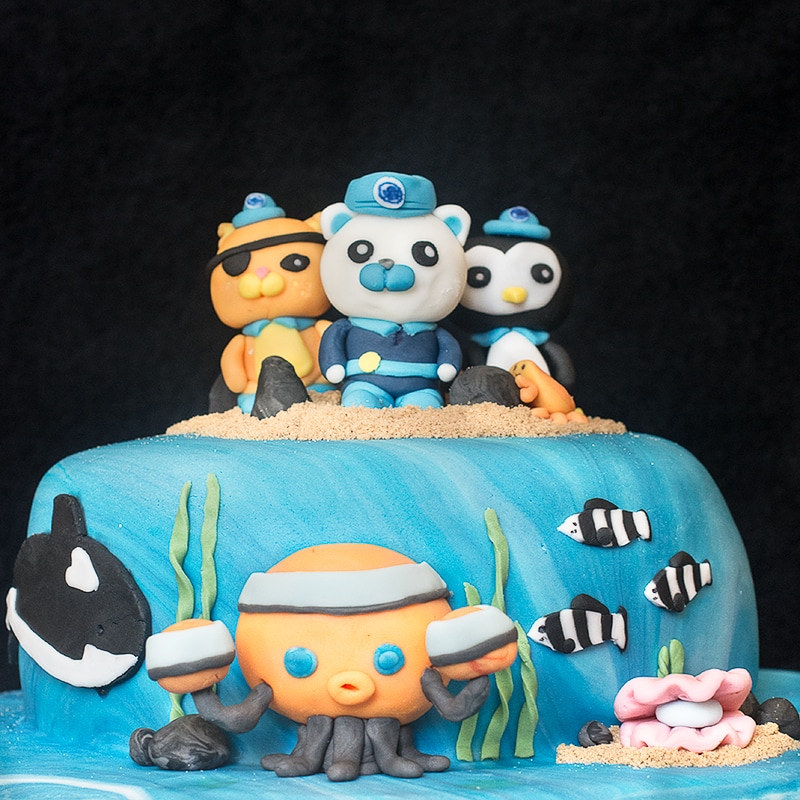
How is the fondant coloured?
I always buy white fondant and then colour it myself with concentrated food colours. You can buy coloured fondant (which saves time), but when you’re making characters you’ll find you only need a tiny bit of a few of the colours so will have a lot more waste than colouring it yourself. It’s also difficult to buy ready coloured fondant in all the shades you’ll want to use so you’d end up trying to mix different colours together to get what you want. I use concentrated colours as it’s easier to get the intensity of colour I want without making the fondant too soft and sticky. If I add a lot of colouring (for example if you’re colouring your fondant black) I find that it gets a bit too sticky to work with. If that happens then I simply knead in a little icing sugar and it ‘s fine to work with again. When I’m colouring fondant I always make sure I wash my hands between each colour otherwise I end up getting into a mess! I draw details such as eyes and mouths using food colouring pens. If you don’t have these then you could use a cocktail stick dipped in food colouring instead.
What tools do I use?
There are a few tools I’d recommend, they’re all really inexpensive so worth getting if you’re planning on making a few cakes in future
- A sugarcraft tool kit for shaping your fondant
- A decorating brush set – you can use these to paint a design onto your cake if you’d like to, but I mostly use mine to paint on a little water to stick various parts of my figures together.
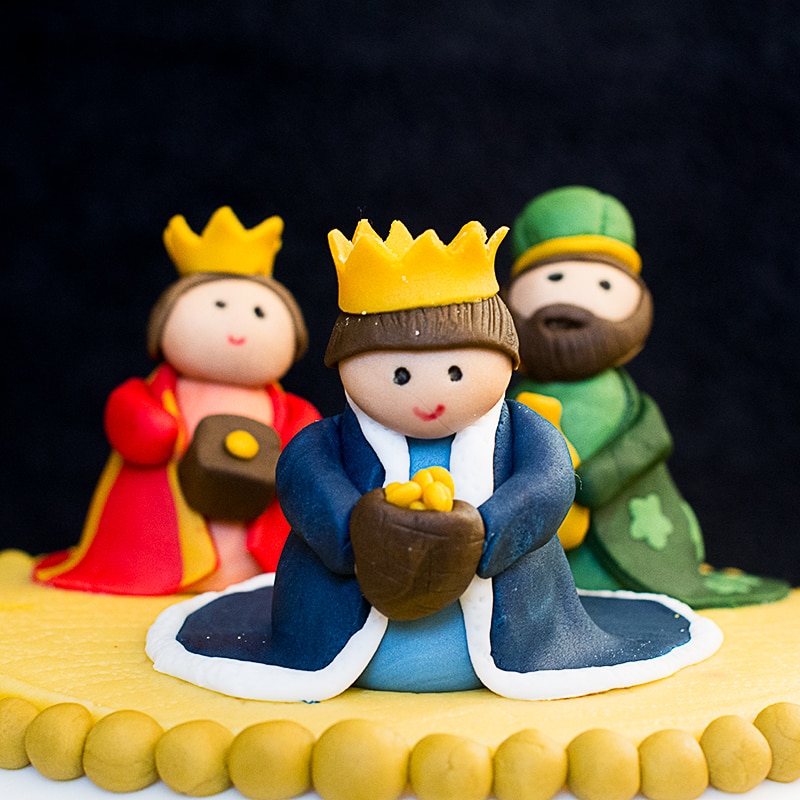
- I have a little rolling pin which is useful for making clothing, such as the cloaks on my wise men (OK not cartoon characters, but still cute little cake toppers).
- A small sharp knife – I just use the smallest knife from my knife block, there’s also a cutting tool in the tool kit I mentioned above that you can use too.
How are the characters stuck together?
Water makes fondant sticky so if I want to join two bits of fondant together I simply wet it a little. You can buy specialist edible glue but I’ve always found that water does the job just fine.
How do I get the characters looking right?
For me getting the character to look right is all about copying the originals as much as possible. Rather than making it from memory I like to keep a little plastic toy version next to me to use as a reference as I go along, or failing that I’ll use pictures I’ve found online or in magazines. It’s quite tricky to describe the general process I follow so I’ve recorded myself making a little fondant Peppa Pig cake topper and explained my process as I’ve gone along.
Some of the key tips from the video are… Always focus on the character’s most distinguishable feature, which for many cartoon characters is the head, and then build from there. Try your best to match the colours and keep everything in proportion, for example Peppa Pig’s head is bigger than her body so don’t make the body too big. Pay attention to shapes – on these Octonauts, Captain Barnacles and Peso have round eye, whereas Kwazii’s are oval. If I’d simply given him round eyes like the other characters he wouldn’t have looked right. 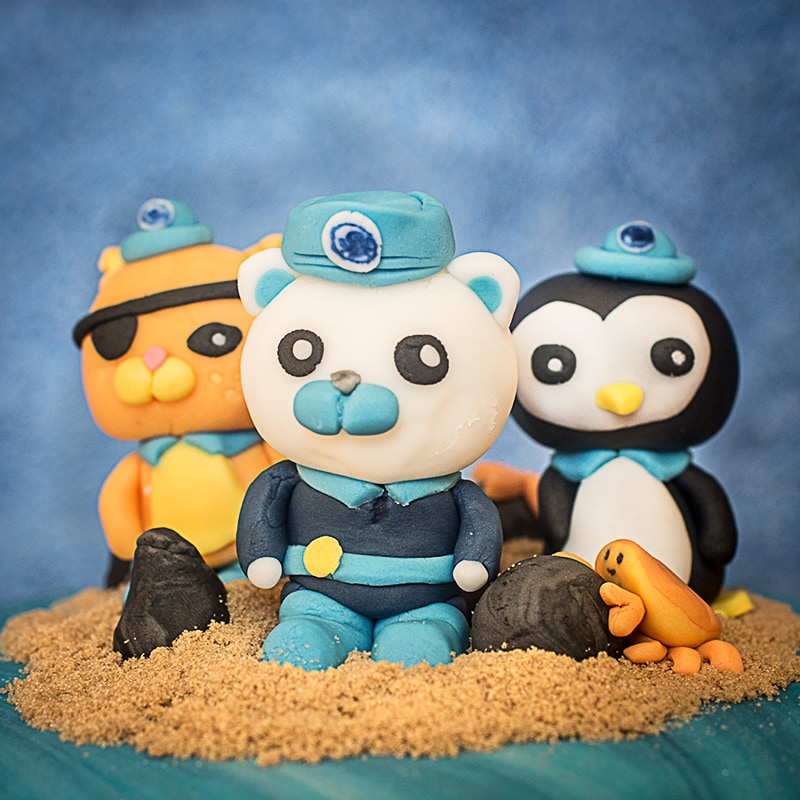 I always avoid making body parts too thin. Fondant collapses under too much weight so thin legs and arms wouldn’t hold their shape. For Peppa Pig I stuck her arms down by her sides rather than sticking out and I replaced her thin legs with boots perfect for jumping in muddy puddles! If there’s a detail you think will be tricky to replicate then think about whether it’s really essential to making the character recognisable. Peppa Pig has a purple rim around the outside of her eyes which I thought would be easy to get wrong. I simply left it off and I suspect that noone would notice it was missing without going back and comparing my fondant figure to the original character. If you’re sticking on little details (e.g. ears or arms) make a little hole to insert them into rather then just sticking them on. This helps them to stay in place and will keep the point where the join is looking neater. Finally, make your characters first and then design the cake around them. This means that if your characters turn out a little bigger/smaller than you’d originally intended you can tweak the design of the main cake around them. When I made the Cars cake, Mac (the lorry) turned out taller than I’d expected as I simply couldn’t squeeze the detail onto something smaller. So I could still have it coming out of a tunnel on the side of the cake, I simply made an extra layer of sponge when I was baking, making the cake taller and meaning that Mac was the perfect size. Making the characters first also means you can make them a few days in advance when you’re relaxed rather than trying to rush them the night before your childs birthday party when you’ve got lots of other things to finish too.
FREE GRAMS TO CUPS CONVERSION CHARTS
Subscribe to the Charlotte’s Lively Kitchen mailing list to get your FREE printable grams to cups and cups to grams conversion charts for twelve popular baking ingredients
Leave a Reply