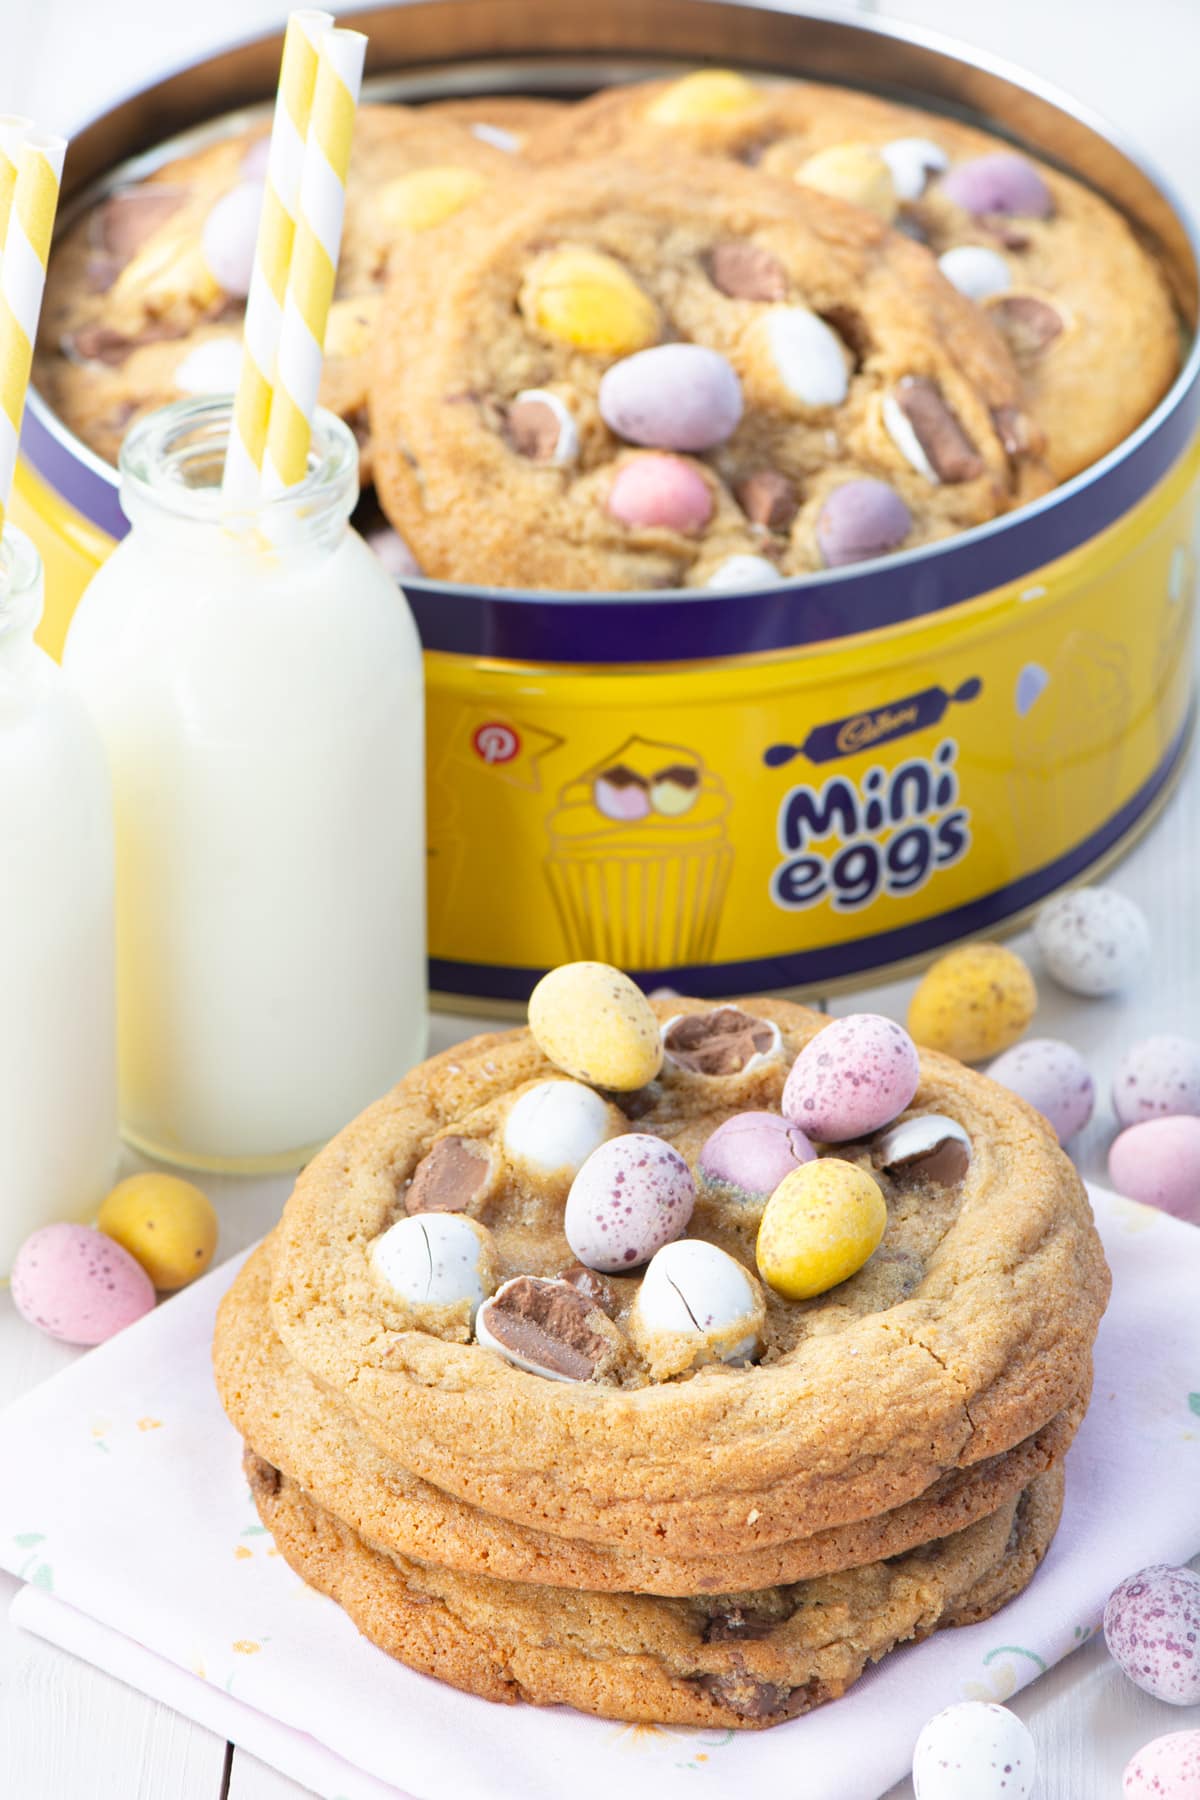
Mini Egg Cookies – An Easter twist on my delicious chocolate chip cookies, crunchy on the outside and soft in the centre, and packed with Cadbury’s Mini Eggs.
Skip to the recipe | Recipe FAQs

Easter is just around the corner, so I thought I’d create an Easter version of my chocolate chip cookies by packing them full of Cadbury’s Mini Eggs.
Mini Egg Cookies FAQs
If it’s your first time making this recipe or you have a question, please take a moment to have a read through my FAQs for some extra tips and allergen information.
- How long do these cookies last and how should they be stored?
- How do I freeze the unbaked cookie dough?
- How do I bake the cookies after freezing?
- How can I refresh a cookie that was frozen after baking?
- How should these cookies look before baking?
- I can’t find any Mini Eggs, what can I use as an alternative?
- What is this recipe free from? Who is it suitable for?
- Other Easter recipes you might enjoy
How long do these cookies last and how should they be stored?
These cookies last for about 5 days stored in an airtight container.
❄️ Suitable for freezing
These cookies can be frozen either baked or unbaked.
If you freeze the unbaked cookies then they can either be baked straight from the freezer or defrosted and then baked.

How do I freeze the unbaked cookie dough?
To freeze the unbaked cookie dough, follow the recipe to step 5. Skip step 6 (there’s no need to pre-heat the oven when you’re not baking them yet).
Instead, place them on to a freezer-safe tray (no need to spread them out) and follow step 7 of the recipe to add the Mini Eggs (whole and crushed).
Once you’ve added your mini eggs, cover the tray with clingfilm and freeze the cookies on the tray for a couple of hours until they’re firm. Once they’re firm you can then pop them into a freezer-safe container or bag until you’re ready to bake them.
You can also freeze the unbaked “sausage” of cookie dough. If you do this, you’ll need to defrost it thoroughly and then add the Mini Eggs before baking.

How do I bake the cookies after freezing?
You have two choices here. Either you defrost the cookie dough and then continue following the instructions in the original recipe, or if that takes too long for you, they can also be baked straight from frozen.
To bake the cookies from frozen:
- Pre-heat your oven to 170°C/150°C fan. While your oven is heating, remove the cookies you want to bake from the freezer.
- Place the cookies onto a baking tray. Allow space between each one as they will increase in size by about 1½ times.
- Cook them for 13 minutes.
- Remove them from the oven. Allow them to cool for a couple of minutes on the tray before moving them onto a wire rack to cool completely.
The secret to baking cookies from frozen is using a lower temperature and a longer cooking time (the original recipe is baked at 170°C fan for 9 minutes, whereas they are baked at 150°C fan for 13 minutes from frozen).
Using a lower temperature allows the cookies to bake in the centre without burning the edges.

How can I refresh a cookie that was frozen after baking?
If you freeze your cookies after baking you’ll most likely find that they have lost some of their crunch around the edges. Fortunately this is easy to get back.
To refresh your frozen cookie to get a soft middle and crunchy edges you need to:
- Pre-heat your oven to 190ºC/170ºC fan.
- Place your frozen cookies onto a baking tray (there’s no need to space them out, you’re just warming them through).
- Bake for 4 minutes.
- Remove them from the oven and pop them onto a rack to cool.
You can also refresh a cookie that hasn’t been frozen but has lost its crunch in the same way. The only difference is that you need to brush the cookie with a little water before popping it into the oven.
How should these cookies look before baking?
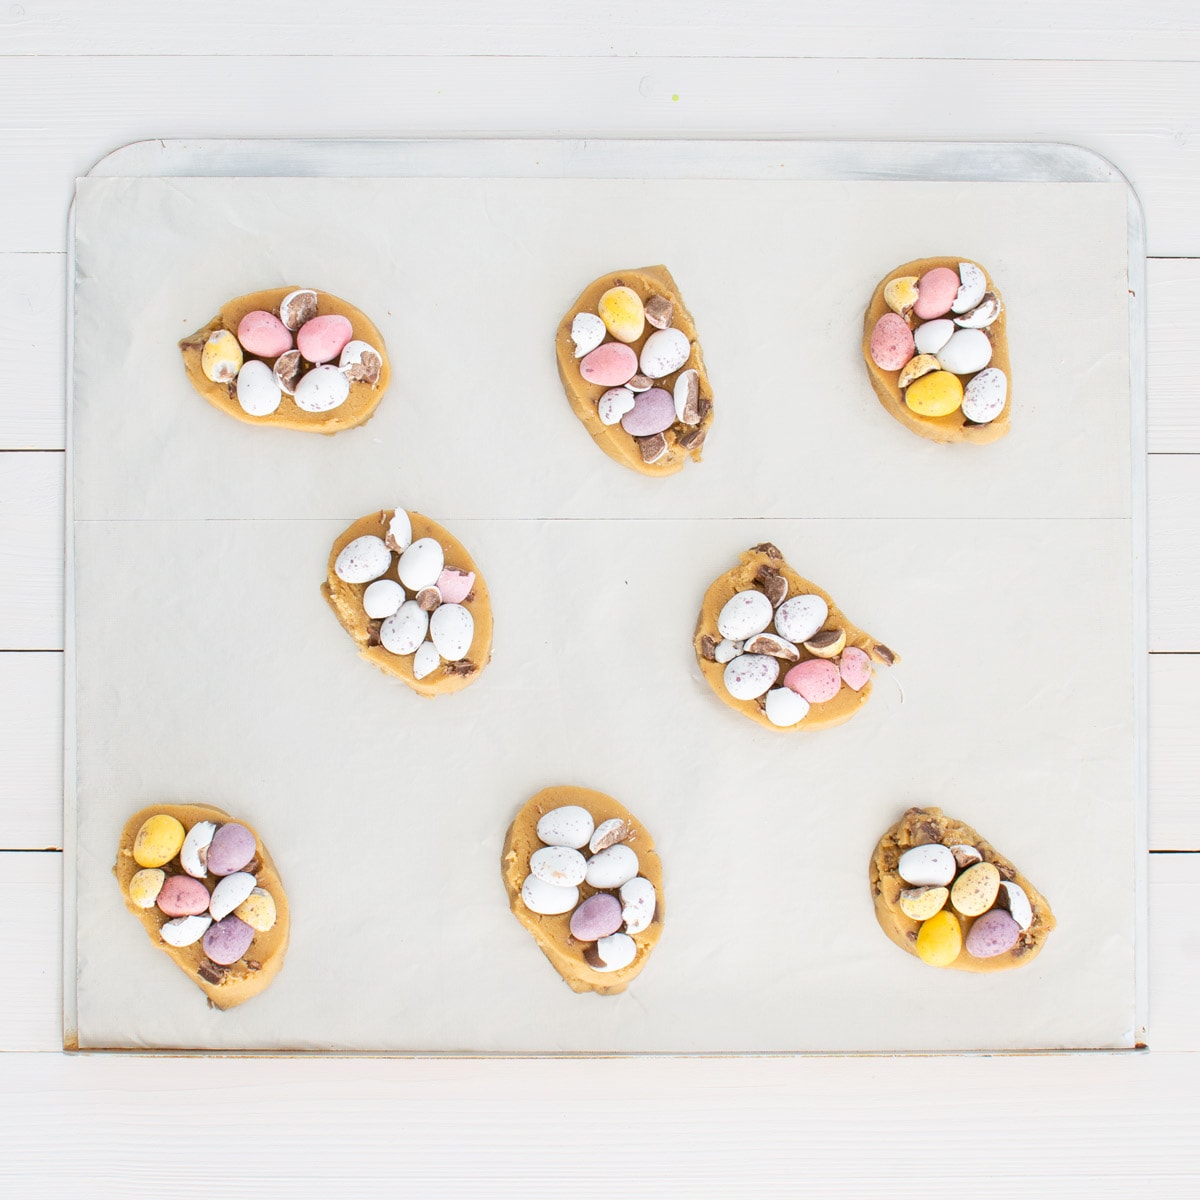
I’ve mentioned in the main recipe that the cookies should look overloaded with Mini Eggs before baking. It may seem like a lot when you’re making them, but as they double in size in the oven, by filling every available space before baking, you end up with a good distribution of eggs.

I can’t find any Mini Eggs, what can I use as an alternative?
If you can’t get hold of any Cadbury’s Mini Eggs, there are plenty of Easter treats that would work well in this recipe such as Smarties Mini Eggs, Aero Eggs or Chocolate Orange Mini Eggs.
You can also steer away from Easter and opt for less seasonal alternatives such as Smarties or M&Ms.

What is this recipe free from? Who is it suitable for?
The ingredients I used to make this recipe are all free from the following allergens. However, please check any labels carefully for allergens you need to avoid as brands can vary, and product recipes can change over time.
- Suitable for Vegetarians
- Tree Nut-Free
- Peanut-Free
- Sesame-Free
- Sulphur Dioxide and Sulphite-Free
- Lupin-Free
Other Easter recipes you might enjoy
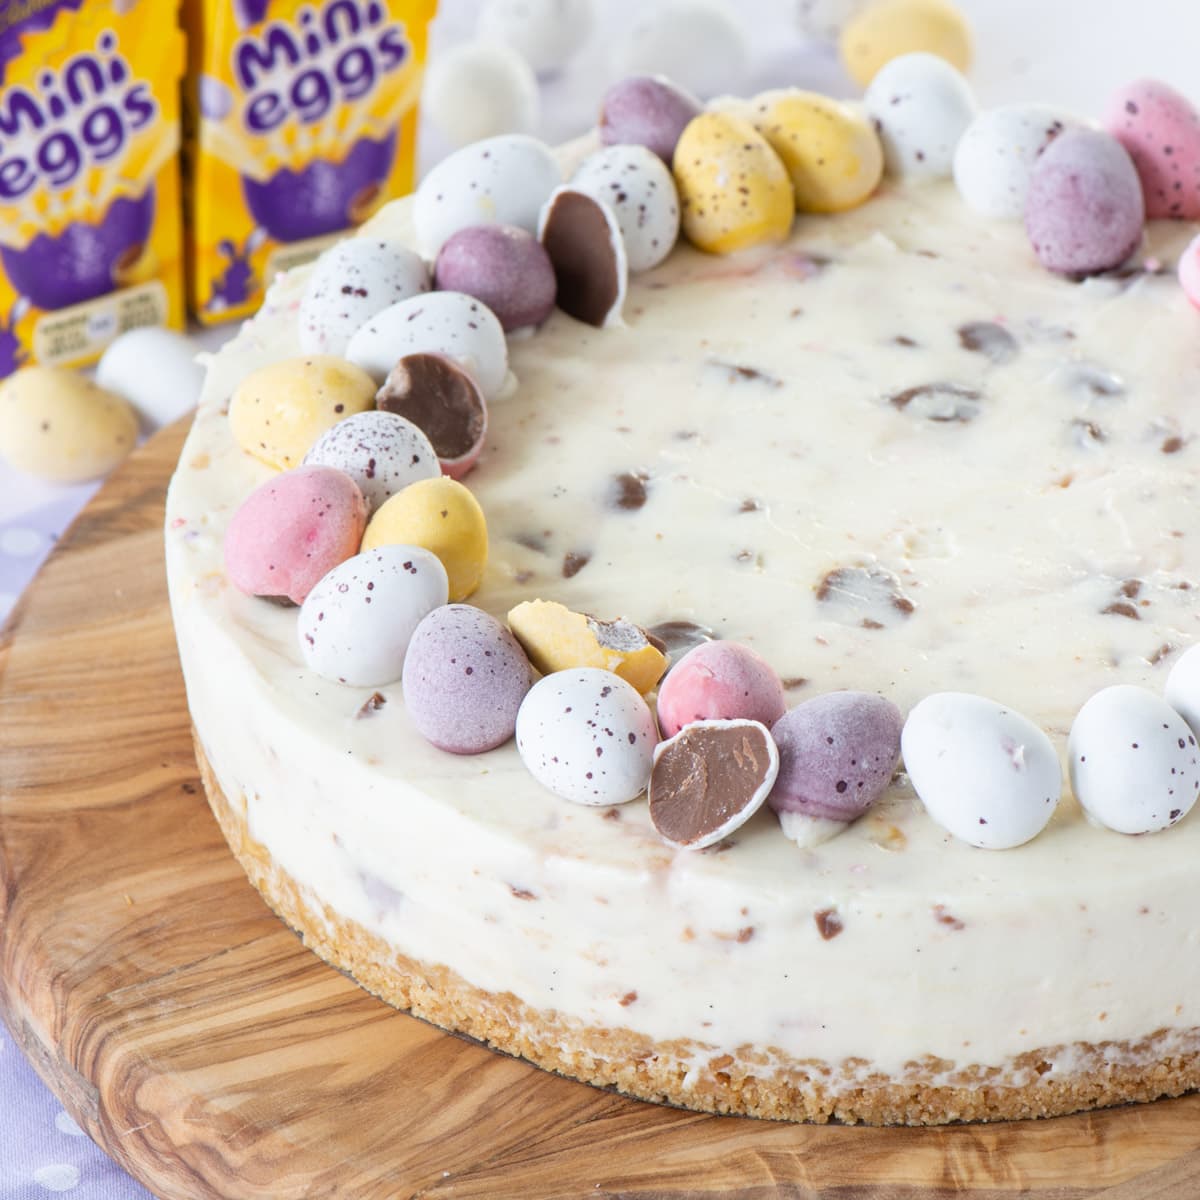
If you’re after some more Easter baking inspiration then take a look at my Easter recipes index. Including my popular white chocolate Mini Egg cheesecake.

FREE GRAMS TO CUPS CONVERSION CHARTS

Subscribe to the Charlotte’s Lively Kitchen mailing list to get your FREE printable grams to cups and cups to grams conversion charts for twelve popular baking ingredients

Mini Egg Cookies
INGREDIENTS
- 200 g unsalted butter - soft at room temperature
- 90 g soft dark brown sugar - You can also use light brown sugar or muscovado sugar
- 110 g caster sugar
- 1 large egg
- 1 egg yolk
- 1 tbsp vanilla extract
- 300 g plain flour
- 1½ tsp bicarbonate of soda
- ⅛ tsp salt
- 100 g milk chocolate chunks/chips - you can switch these for dark or white chocolate (or a mix) if you prefer
- 300 g Cadbury's Mini Eggs
INSTRUCTIONS
- Beat together the butter (200g) and sugars (90g soft dark brown sugar, 110g caster sugar) until fully combined and lighter in colour (this should take 2-3 minutes with an electric mixer).
- Add the egg (1 whole large egg + 1 yolk) and the vanilla extract (1 tbsp) and beat until fully combined.
- Sift in the dry ingredients (300g plain flour, 1½ tsp bicarbonate of soda, ⅛ salt) and mix together until fully combined.
- Finally, mix in the chocolate chunks (100g) until they are evenly distributed in the mixture.
- Roll the dough into a sausage shape about 5cm in diameter (I find it easiest to split the dough into two and make two sausages) and wrap it in cling film. You may find it easier to use the clingfilm to help you get an even sausage shape as the dough will be a little sticky. Refrigerate your dough for at least 1 hour (up to 5 days).
- When you're ready to bake your cookies, preheat your oven to 190°C/170°C fan. Remove your cookie dough from the fridge and using a sharp knife slice it into round cookies about 1½cm thick. Place them onto a baking sheet (lined with greaseproof paper or a non-stick baking sheet). Leave space between each one as they'll double in size as they cook.
- Push 3-4 Mini Eggs into each cookie. Put the remaining Mini Eggs into a pestle and mortar and bash them a few times to break them into large chunks. If you don't have a pestle and mortar then you could also put them into a plastic bag and bash them with a rolling pin.Push the broken pieces of Mini Egg into your cookies in any gaps around the whole ones.At this point your cookies should look overloaded with Mini Eggs (I've included a picture in the FAQs to show you what they should look like).
- Bake your cookies for 8-9 minutes until golden and crisp around the edges but still pale in the middle. If you're using two trays then swap them around after about 7 minutes. You may also want to rotate your trays at the same time to help the cookies bake evenly.
- Once cooked, remove them from the oven. Leave them to cool for a few minutes on the tray before moving them to a wire rack to cool completely.
NUTRITIONAL INFORMATION
Any nutritional information provided is the estimated nutritional information per serving. Please refer to my guide to Charlotte’s Lively Kitchen nutritional information if you would like to learn more about how this is calculated.


Georgina Davies says
Made today they are amazing the kids love them. Will definitely make again.
Chris David says
Really delicious recipe. I love it yummy!!! It’s really awesome. Will surely try this. You can also try this one
Carol Mclean says
Fantastic recipe, easy to follow and great results. Everyone was raving about the cookies
Linda Drake says
I made these a couple of days ago and they were amazing. My granddaughters loved them and I am a very popular Nanny for these. Fabulous recipe xx
Nic | Nic's Adventures & Bakes says
Thanks for sharing, this cookies look a lovely treat for Easter 🙂