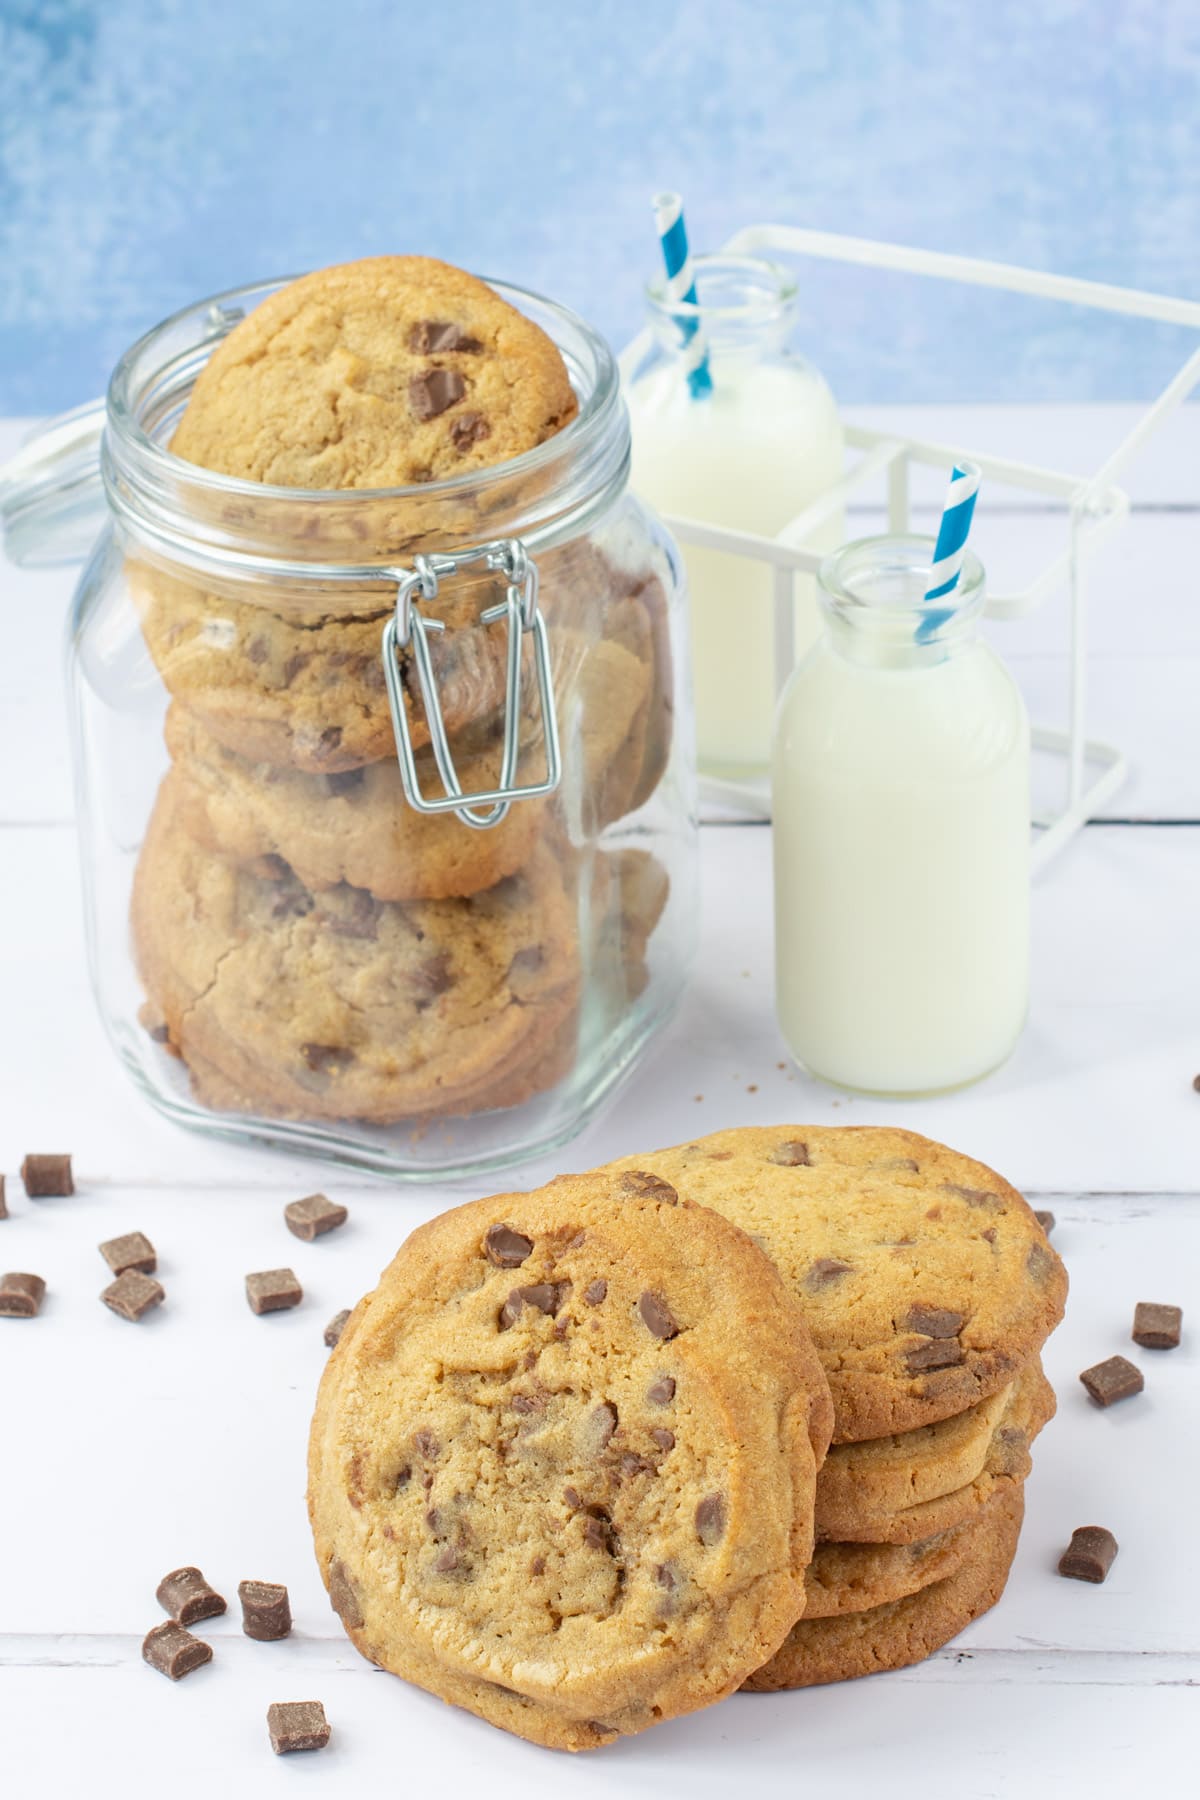
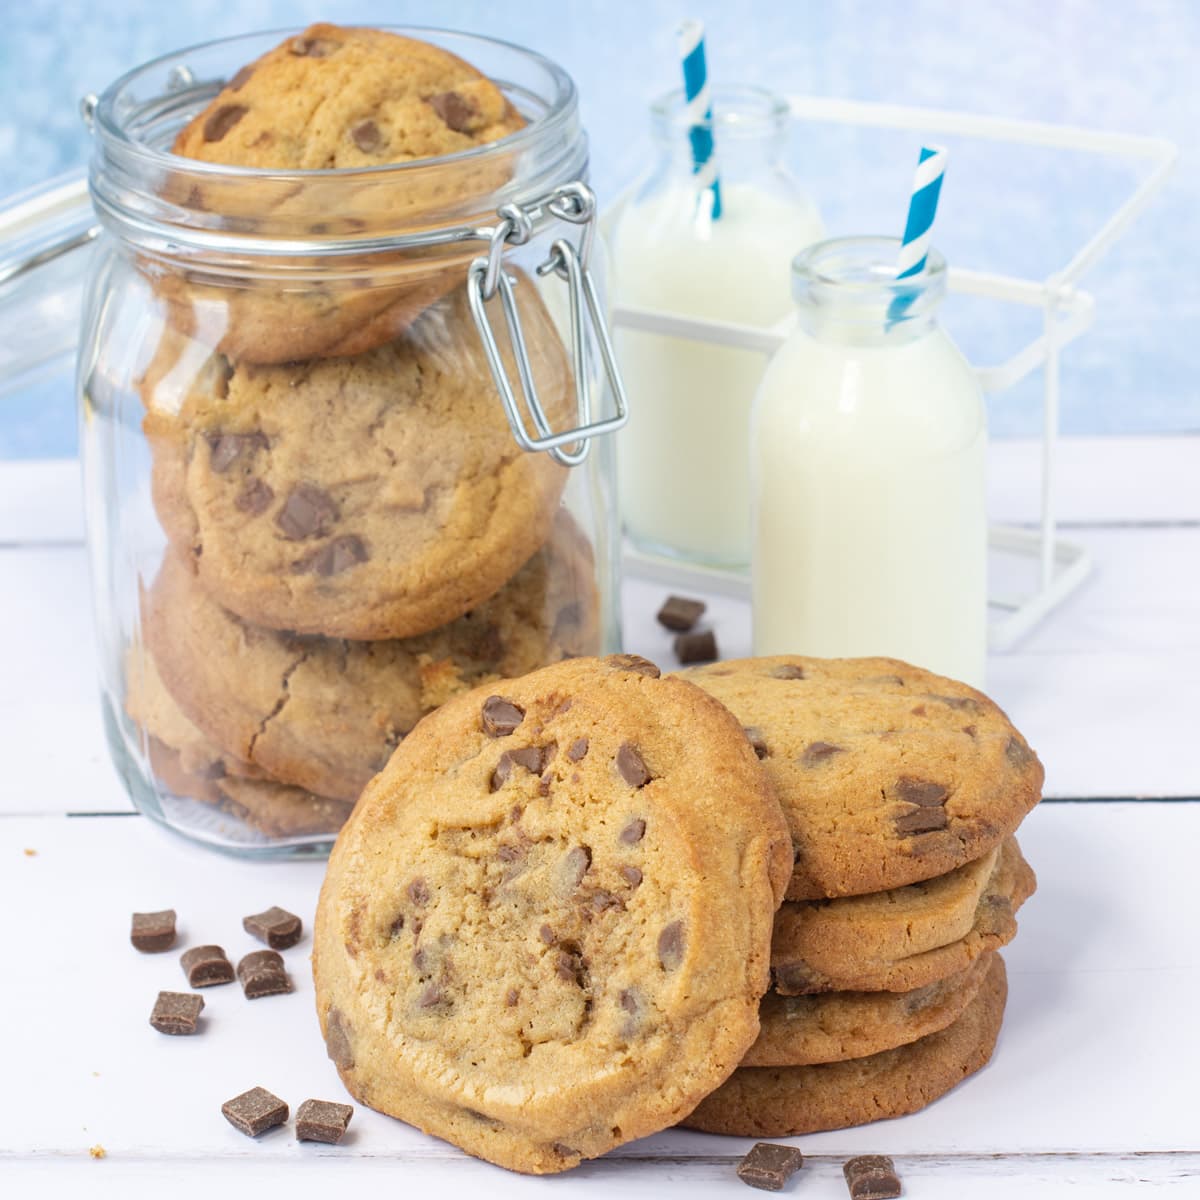
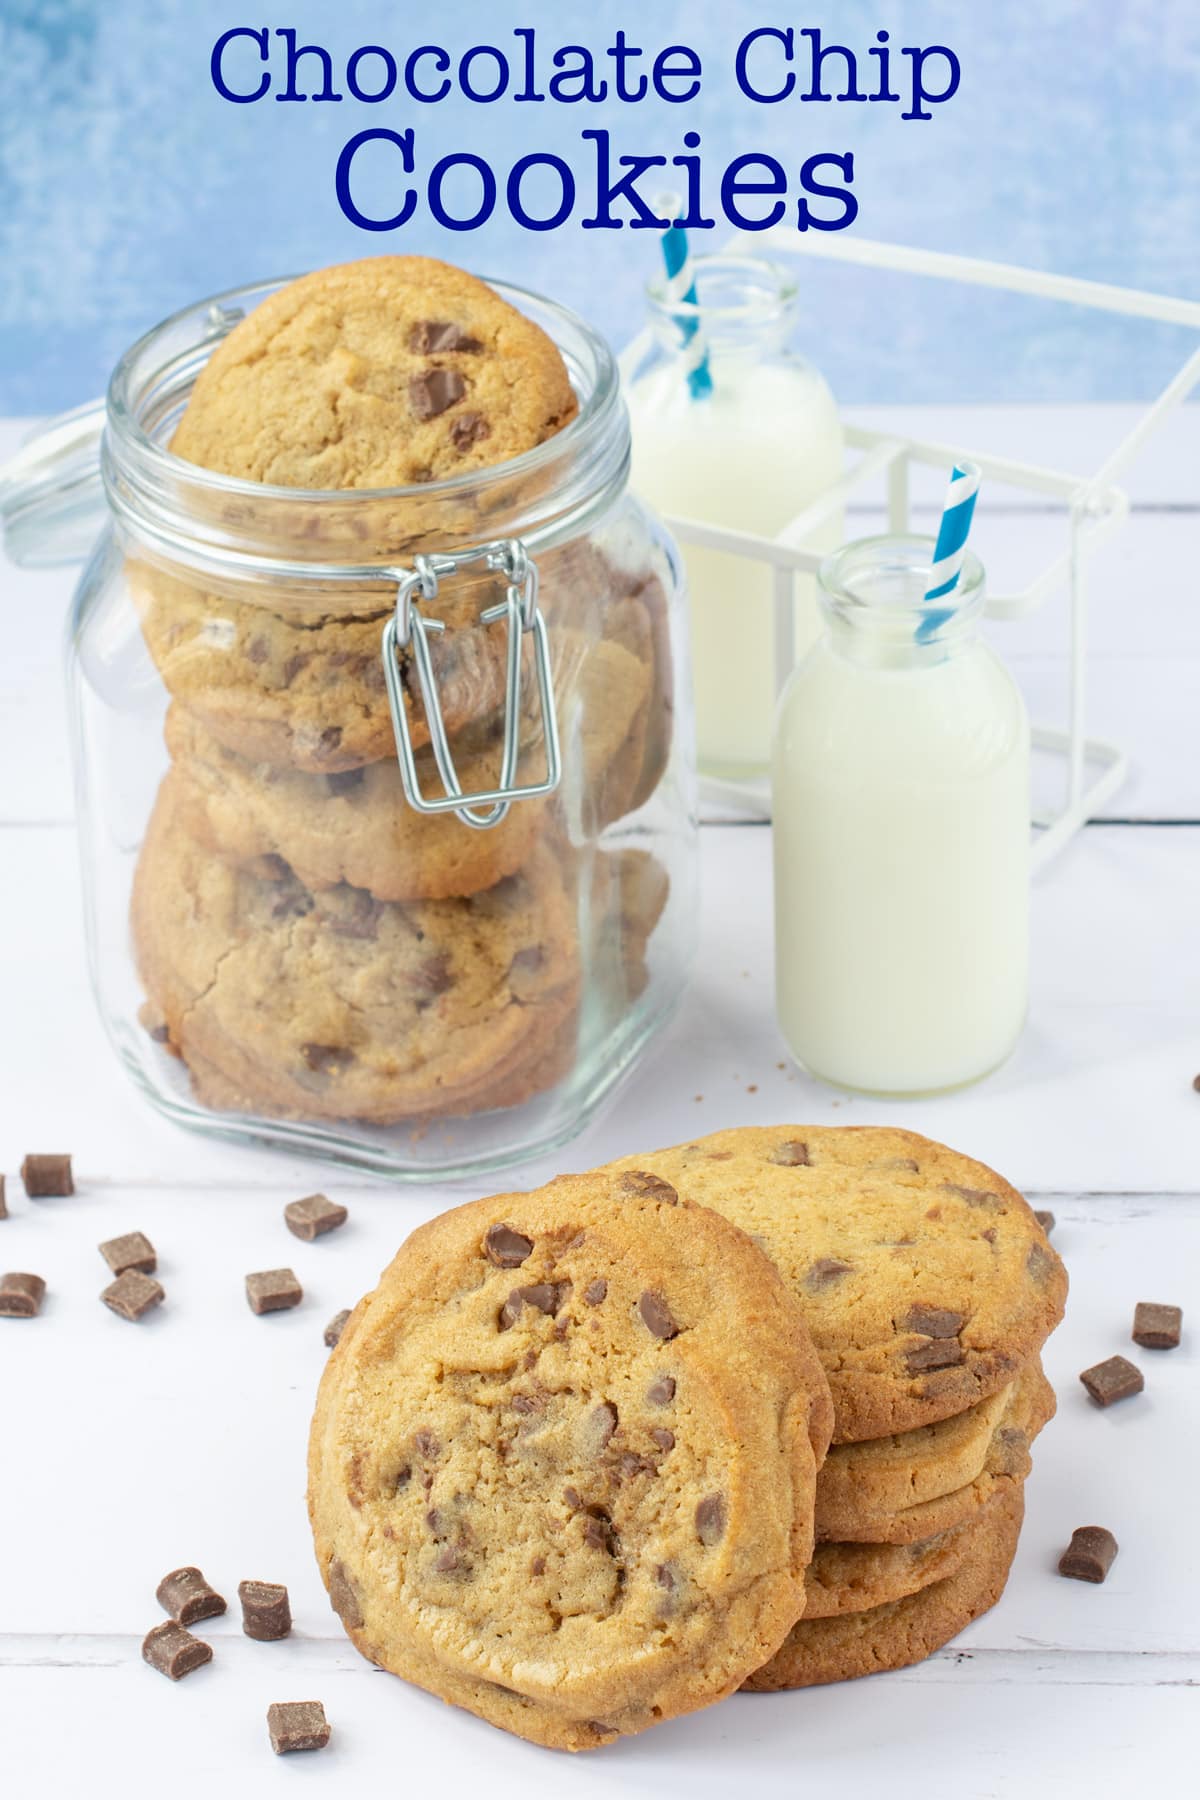
Delicious chunky chocolate chip cookies that the cookie monster would go crazy for. Soft in the middle, crunchy at the edges and packed full of milk chocolate chunks.
PLUS – how to revive a cookie that’s gone soft and how to bake these cookies from frozen.
One food that’s guaranteed to disappear in my household is cookies. My youngest in particular is a little Cookie Monster and Starbucks Chocolate Chunk Cookies are one of his favourites.I decided to challenge myself to create my own copycat version of this classic cookie at home. One that is crunchy around the edges and soft and slightly cakey in the middle, just like their Starbucks inspiration. They’re also jam-packed full of chocolate chunks.
During my biscuit experiments I also discovered how to freeze cookie dough and then bake cookies from frozen. Whether you can freeze cookies after they’ve been cooked (yes you can and there’s a little trick you need to get them back to their just-baked freshness), and the best way to revive a cookie that’s gone soft and lost its crunch. I’ve gone into more detail about all of these beneath the recipe so make sure you head down the page for a read.
FREE GRAMS TO CUPS CONVERSION CHARTS
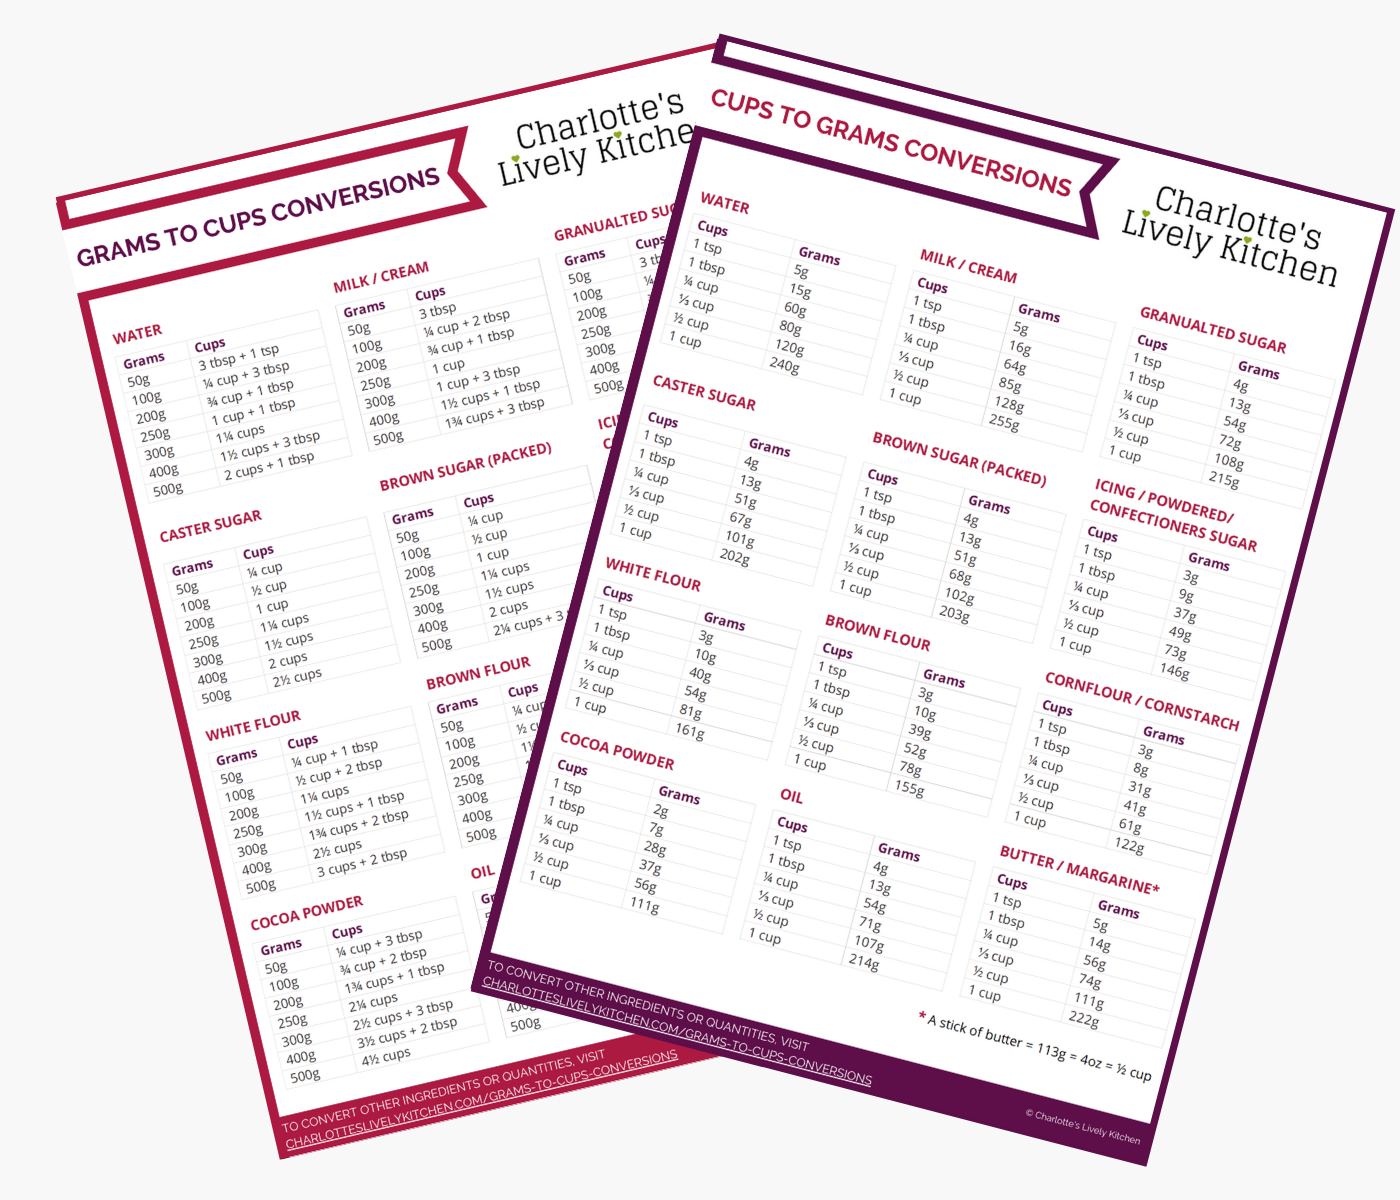
Subscribe to the Charlotte's Lively Kitchen mailing list to get your FREE printable grams to cups and cups to grams conversion charts for twelve popular baking ingredients

Chocolate Chip Cookies
INGREDIENTS
- 200 g unsalted butter - soft at room temperature
- 90 g soft dark brown sugar - You can also use light brown sugar or muscovado sugar
- 110 g caster sugar
- 300 g plain flour
- 250 g milk chocolate chunks - you can switch these for dark or white chocolate (or a mix) if you prefer
- 1 large egg
- 1 egg yolk
- 1 tbsp vanilla extract
- 1½ tsp bicarbonate of soda
- ⅛ tsp salt
INSTRUCTIONS
- Beat together the butter (200g) and sugars (90g soft dark brown sugar, 110g caster sugar) until fully combined and lighter in colour (this should take 2-3 minutes with an electric mixer).
- Add the egg (1 whole large egg + 1 yolk) and the vanilla extract (1 tbsp) and beat until fully combined.
- Sift in the dry ingredients (300g plain flour, 1½ tsp bicarbonate of soda, ⅛ salt) and mix together until fully combined.
- Finally mix in the chocolate chunks (250g) until they are evenly distributed in the mixture.
- Roll the dough into a sausage shape about 5cm in diameter (I find it easiest to split the dough into two and make two sausages) and wrap in cling film. You may find it easier to use the clingfilm to help you get an even sausage shape as the dough will be a little sticky. Refrigrerate for at least 1 hour (up to 5 days).
- When you're ready to bake your cookies, preheat your oven to 190°C/170°C fan. Remove your cookie dough from the fridge and using a sharp knife slice into round cookies about 1½cm thick. Place them onto a baking sheet (lined with greaseproof paper or a non-stick baking sheet). Leave space between each one as they'll double in size as they cook. Cook for 8-9 minutes until golden and crisp around the edges but still pale in the middle.
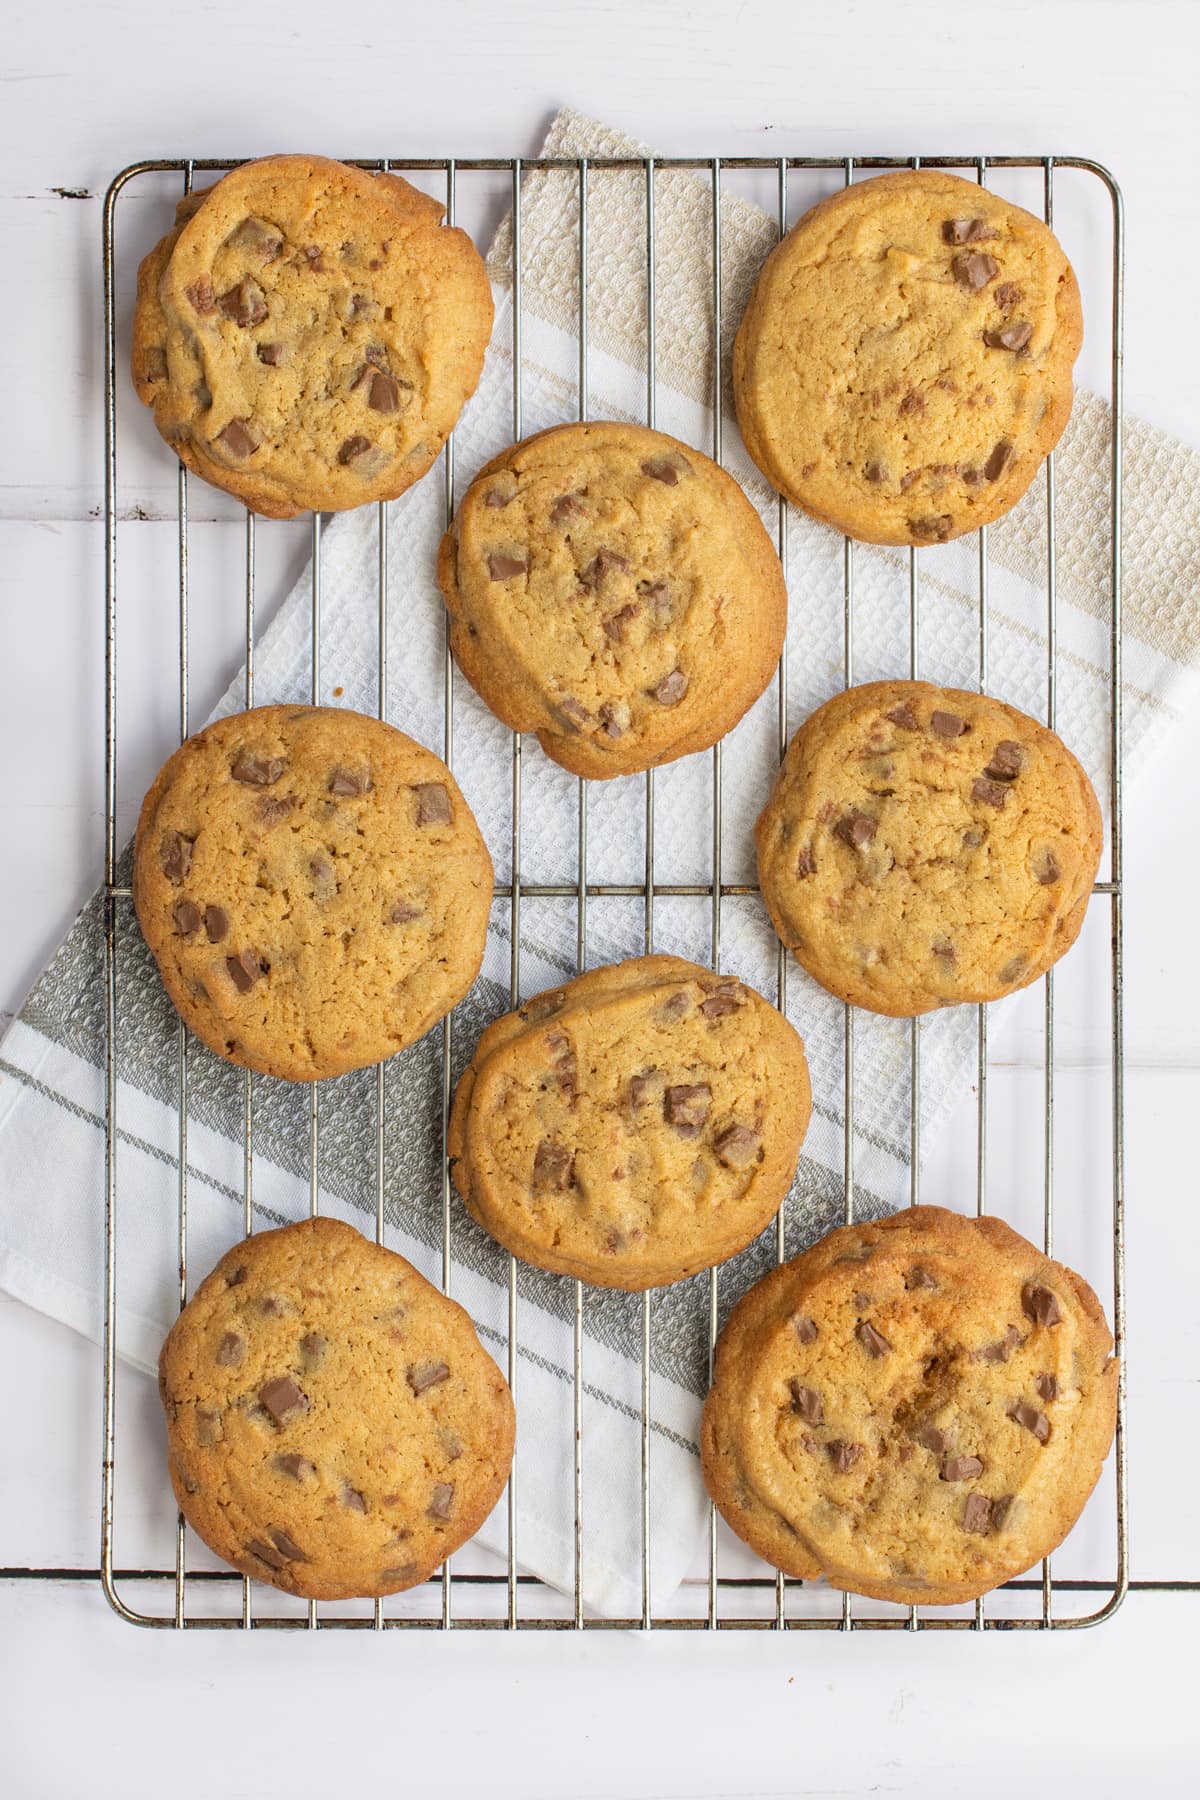
- Once cooked, remove them from the oven. Leave them to cool for a few minutes on the tray before moving them to a wire rack to cool completely.
- Enjoy!
NOTES
NUTRITIONAL INFORMATION
Any nutritional information provided is the estimated nutritional information per serving. Please refer to my guide to Charlotte’s Lively Kitchen nutritional information if you would like to learn more about how this is calculated.
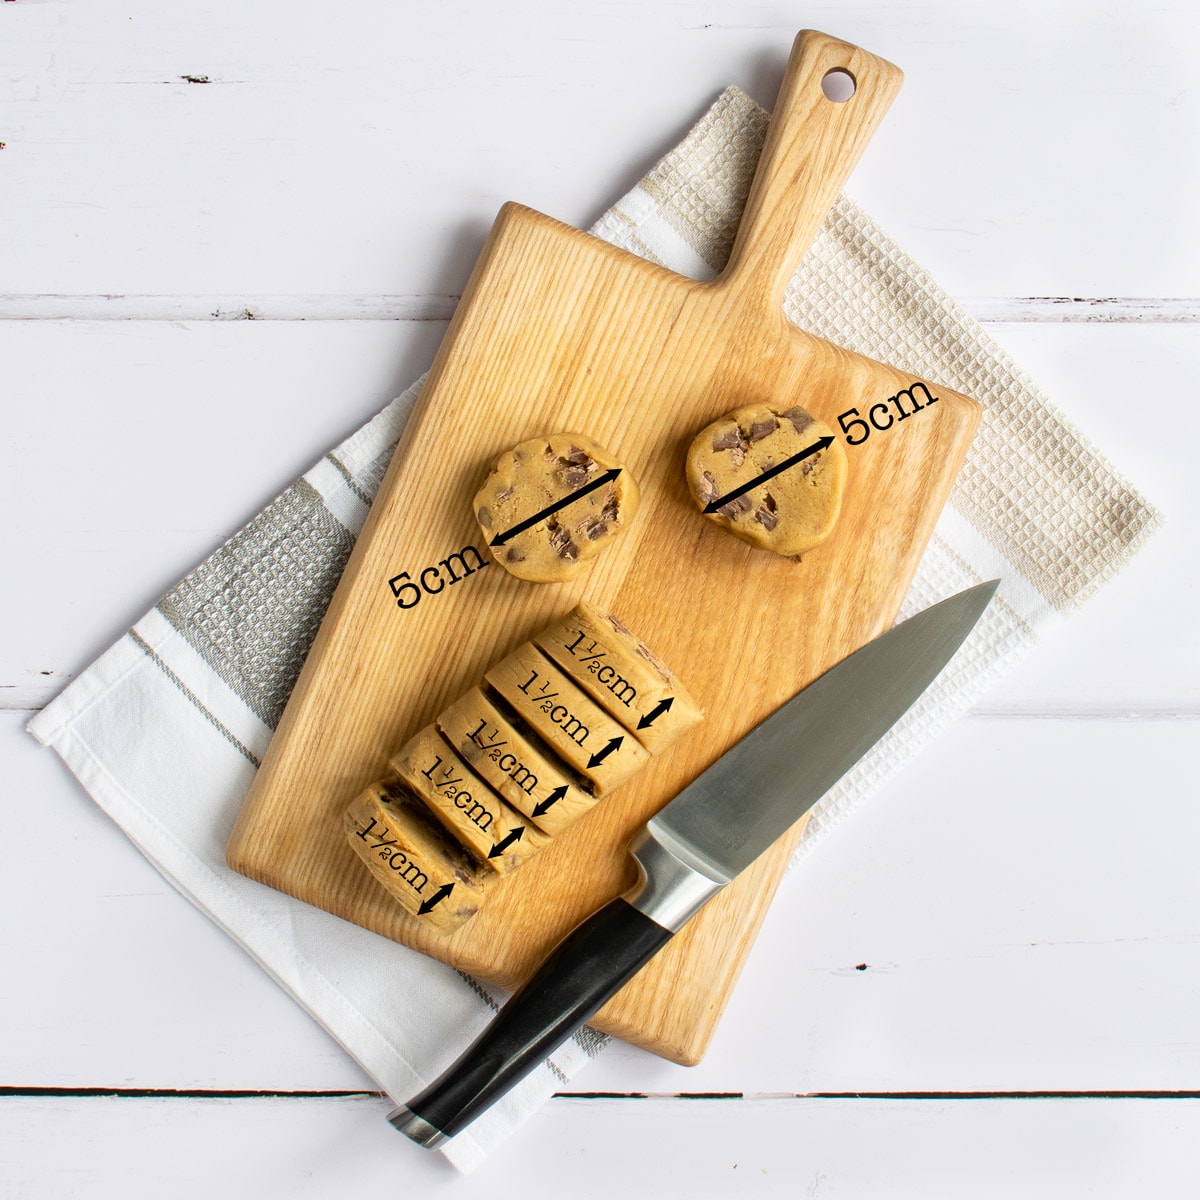
Slicing my chocolate chip cookie dough
How to freeze cookie dough
If you want to freeze the cookies to bake later (perfect for only baking a couple at a time whenever you’re in need of a treat), then here’s what you need to do.
Follow the recipe to step 5 and then either…
- Spread the cookies out on a tray (no need to space them out too much as long as they’re not touching). Cover them with cling film and pop them into the freezer for a couple of hours. Once they’re firm you can then remove them from the tray and put them into a freezer bag or tub. Freezing them on the tray first will help stop them sticking together.
OR
- Once you’ve sliced the cookies, put a small piece of baking parchment between each one to keep the separated. Wrap in clingfilm and freeze.
You can also freeze the unsliced sausage of cookie dough, but you’ll need to defrost it before slicing and cooking.
How to bake chocolate chip cookies from frozen
You have two choices for baking your cookies from frozen.
- Defrost the cookie dough in the fridge and then cook as per the original recipe instructions
OR if you’re not that patient
- Cook them from frozen.
To cook them from frozen…
- Pre-heat your oven to 170°C/150°C fan. While your oven is heating remove the cookies you want to bake from the freezer.
- Place the cookies onto a baking tray. Allow space between each one as they will increase in size by about 1½x.
- Cook them for 13 minutes.
- Remove them from the oven. Allow them to cool for a couple of minutes on the tray before moving them onto a wire rack to cool completely.
The secret to baking cookies from frozen is to lower the temperature compared to cooking unfrozen cookies. If you cook them at the higher temperature specified in the original recipe, you’ll find that the bottom of the cookie browns too much leaving them too crisp with a slightly burnt flavour.
Can you freeze Chocolate Chip Cookies after they’ve been baked
Yes you can.
However, once defrosted you’ll find that they’ll have lost their crispy edges and will have taken on a bit of a freezer flavour.
Fortunately the solution to both these problems is simple. All you need to do is…
- Pre-heat your oven to 190ºC/170ºC fan.
- Place your frozen cookies onto a baking tray (there’s no need to space them out, you’re just warming them through).
- Bake for 4 minutes.
- Remove them from the oven and pop them onto a rack to cool.
Can I make a soft cookie crunchy again?
These chocolate chip cookies are best eaten with 24 hours of baking. That way they’ll keep their crunchy edges and soft middle.
If they’re left for longer you’ll find they start to soften and you’ll loose the crunchiness. Fortunately it’s very simple to revive them.
I got the idea for this from a viral Facebook video I spotted for reviving crunchy bread, where you wet the bread and then bake it.
I tried exactly the same approach with these cookies, but apparently running them under cold water is not a great idea. All you get is a very soggy cookie. The solution is to be more subtle, brushing them with water rather than running them under the tap.
- Pre-heat your oven to 190ºC/170ºC fan.
- Place your cookies onto a baking tray (no need to space them out, you’re just warming them through). Brush each cookie with a little cold water.
- Bake for 4 minutes.
- Remove them from the oven and pop them onto a rack to cool.
Free From/Suitable For…
The ingredients I used to make this recipe are all free from the following allergens. However, please check any labels carefully for allergens you need to avoid as brands can vary and product recipes can change over time.
- Suitable for Vegetarians
- Tree Nut-Free
- Peanut-Free
- Sesame-Free
- Sulphur Dioxide & Sulphite-Free
- Lupin-Free


jessica says
hi
hope you’re well..
I was wondering if I wanted to make mini cookies (for my children) would I have to change the amount of time I bake them for?
Charlotte Oates says
It depends. If you’re keeping the thickness the same then the cooking time should be about the same. If you’re going to make them thinner then you’ll need to reduce it. I’d keep a close eye on them until they look crust at the edges and slightly soft in the middle.
fatima says
hi
I was wondering if I wanted to make a ‘cookie cake’ (more about the size than the recipe etc) I was wondering how long id put it in the oven?
many thanks x
Charlotte Oates says
I’ve not tested this as a cookie cake so I’m not sure – sorry.
Karen says
Baked half and froze half . Crispy on the outside and soft inside. Delicious- Thankyou Charlotte
Amee says
I’ve forgotten the salt, would it be too late to sprinkle it over the top of the cookies before baking? The sausage shape is in the fridge now…
I’ve made these before and they are delicious.
Charlotte Oates says
I’d leave it out. It just brings out the flavour a little, but they’ll still taste good.
Wanda says
Turned out perfectly. Not too sweet. My yardstick are the family and how quickly the cookie jar empties. Great recipe but will from now keep half the cookies in the larder and try to spread them out!
Cath says
Fantastic, best choc chip cookies I’ve made and I’ve frozen some. Great tips too
Thank you
Leah says
Oh no! My cookies have risen more than expected and are kind of ‘cakey’! What did I do wrong? (I definitely used plain flour!)
Charlotte Oates says
These cookies are designed to be a little cakey in the middle and crispy around the edges. However, they should spread rather than rising (as you can see in the before and after pictures the depth is about the same). It sounds as though there’s too much raising agent. My first thought was that you used self-raising flour, but I can see you’ve confirmed it’s plain. How did you measure your bicarbonate of soda? Did you use a level teaspoon or heaped, did you use measuring spoons or regular kitchen teaspoons?
Jo says
I’ve just made these and I cooked 1 slice to see how it would turn out but the size hasn’t really doubled and no where near as big as yours Any ideas, other than cutting slightly thicker slices and squashing them.
Charlotte Oates says
How long did you chill the cookies for? The colder they are the less they’ll spread in the oven.
Kate - Gluten Free Alchemist says
Yum. Love these Charlotte and great tips too…. I wonder if the same would work for GF cookies? x
Charlotte Oates says
I’m not too sure but I suspect it would.
All That I'm Eating says
These do look really good, really generous with the chocolate chips too which is always a bonus!
Charlotte Oates says
What’s the point of chocolate chip cookies if they’re not packed full of chocolate 🙂