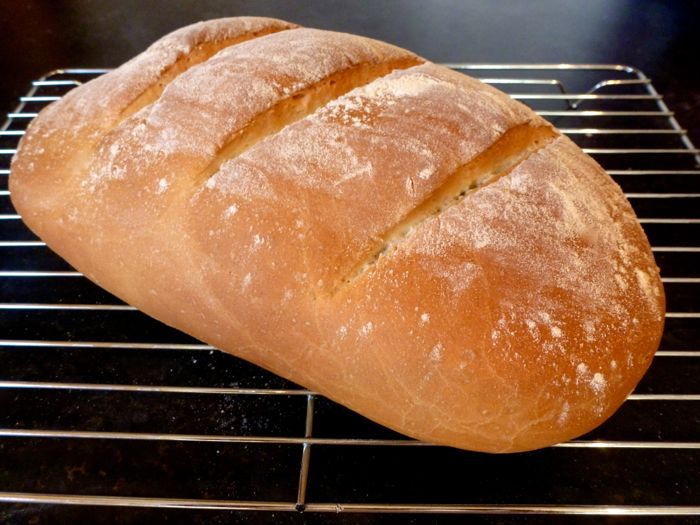
Bread is one of my favourite things to make and with this basic white bread recipe it’s really simple to make and tastes delicious.
Bread is one of my favourite foods to make. It’s quick to make (proving aside), I find kneading the dough great for relaxing and de-stressing, it fills your house with a lovely fresh bread aroma, and I don’t know if it’s just me but I always feel quite pleased with myself when I return to the dough after an hour or so to find it’s risen.
This recipe is for a small white loaf which is what I prefer to make, but you can easily double the recipe to make a larger loaf, or make two at a time and pop one in the freezer.
If you prefer to make your bread in a tin, for this recipe I would recommend using a 1lb loaf tin.
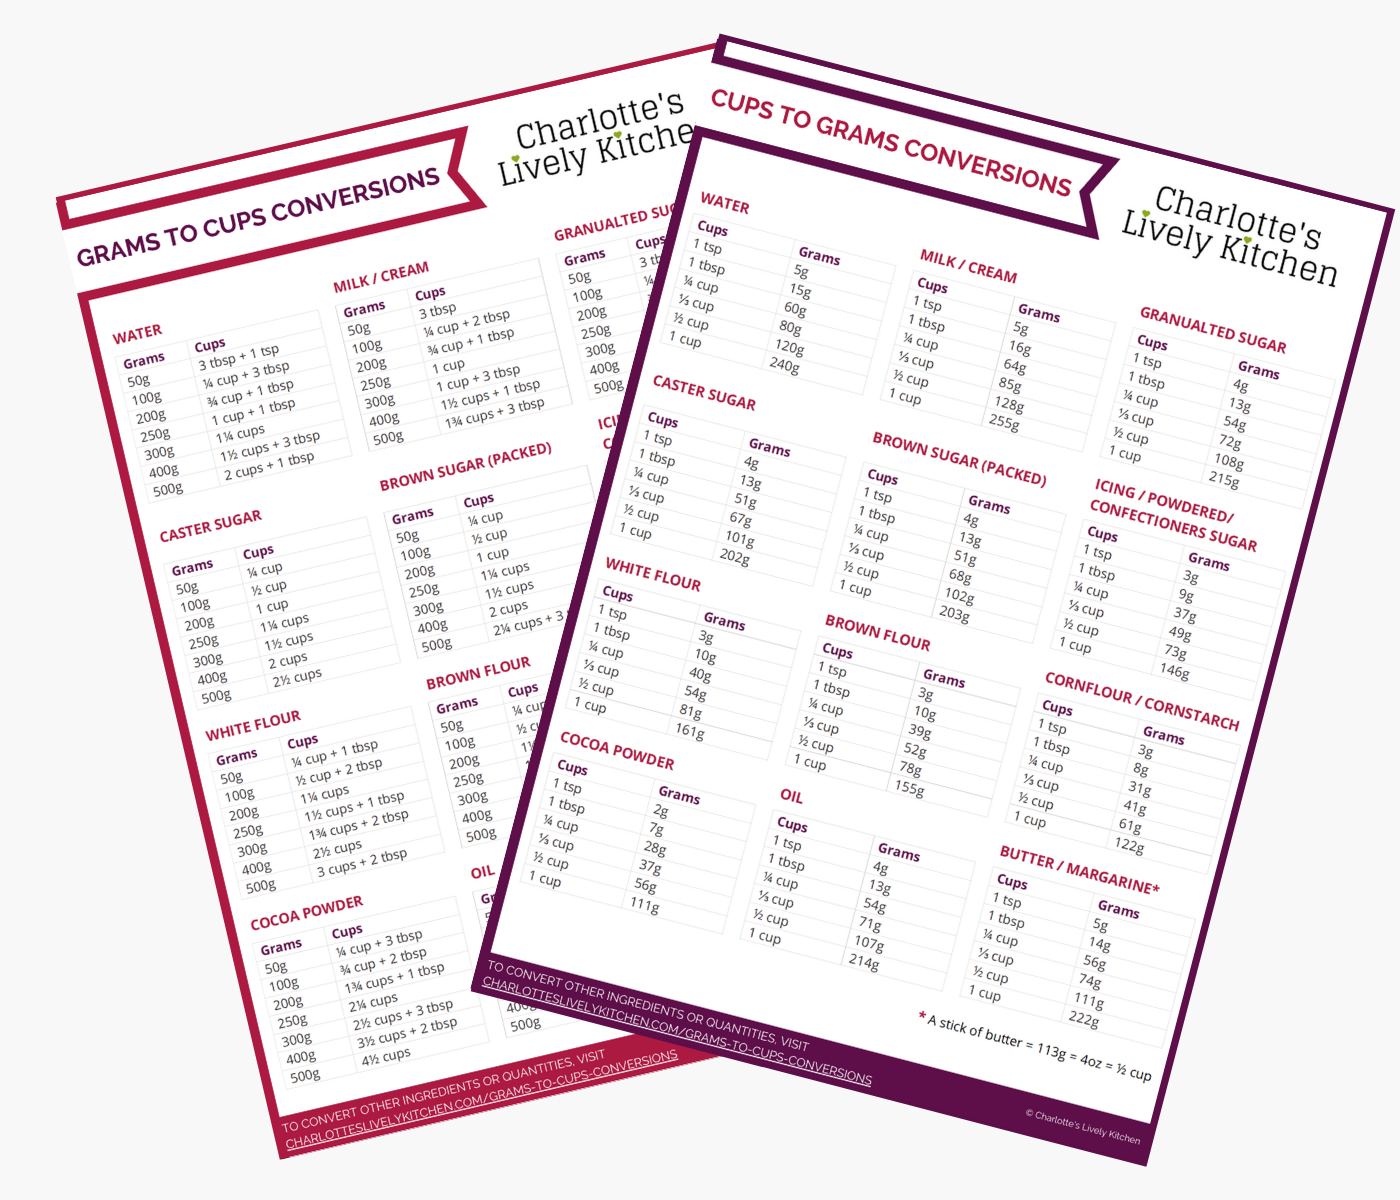
FREE GRAMS TO CUPS CONVERSION CHARTS

Subscribe to the Charlotte's Lively Kitchen mailing list to get your FREE printable grams to cups and cups to grams conversion charts for twelve popular baking ingredients

Basic white bread
INGREDIENTS
- 300 g strong white bread flour
- 150 ml tepid water - approx.
- 1 tsp fast action dried yeast
- 1 tsp salt
- 1 tbsp olive oil
INSTRUCTIONS
- Put the flour (300g), yeast (1 tsp) and salt (1 tsp) into a large bowl - Put the salt and yeast on opposite sides of the bowl to prevent the salt killing the yeast before it's had a chance to work.
- Make a well in the centre and add half the water (75ml), mix well with your hands.
- Keep adding water a little bit at a time until all of the flour has been incorporated into the dough. The dough should be slightly sticky but not sloppy - You may not need to full 150ml listed, keep adding a little water at a time until all the flour is incorporated into the dough. If you accidentally add too much water add a sprinkle of flour and combine until you have the right consistency.
- Spread a little of the olive oil onto a clear work surface and knead the dough in the oil, keep adding a little oil until the full 1 tbsp has been incorporated - The olive oil helps to prevent the dough from sticking to the surface and adds flavour to the loaf. The dough can sometimes get sticky while kneading, keep persevering, it will improve, and don't be tempted to add more flour or you'll end up with a dry, heavy loaf.
- Keep kneading the dough until it is smooth, springy and if you stretch it in front of a light source you'll be able to see the light coming through without the dough breaking.
- Put the dough into a lightly oiled bowl and cover with cling film. Leave to prove for 1-1½ hours (or overnight in the fridge) until the dough has doubled in size - The important thing here is the dough doubling in size, not the time. The amount of time the dough needs to prove can vary according to the temperature of the room, so if it's not doubled in size, leave it a bit longer.
- Once the dough has doubled in size, remove it from the bowl and knead a couple of times to knock out all of the air.
- Shape the dough into an oval shape and place on the tin you're planning to cook the loaf on.
- Loosely cover with a tea towel and leave to prove for a further hour until it has doubled in size.
- Pre-heat the oven to 220°C/200°C fan
- One the loaf has doubled in size, sprinkle with a little flour and using a very sharp knife make a few shallow diagonal cuts across the top, being careful not to knock out any of the air - These cuts are important as when the bread cooks air will escape. The cuts allow this to happen. If there are no cuts the bread will crack during baking.
- Bake in the oven for roughly 30 minutes. To check if the loaf is cooked, turn the loaf over and tap the bottom - it should sound hollow.
- Once the loaf is cooked leave to cool on a wire rack
NOTES
NUTRITIONAL INFORMATION
Any nutritional information provided is the estimated nutritional information per serving. Please refer to my guide to Charlotte’s Lively Kitchen nutritional information if you would like to learn more about how this is calculated.
Free From/Suitable For…
The ingredients I used to make this recipe are all free from the following allergens. However, please check any labels carefully for allergens you need to avoid as brands can vary and product recipes can change over time.
- Suitable for Vegetarians and Vegans
- Egg-Free
- Dairy-Free
- Tree Nut-Free
- Peanut-Free
- Sesame-Free
- Soya-Free
- Sulphur Dioxide & Sulphite-Free
- Fish-Free
- Crustacean-Free
- Mollusc-Free
- Celery-Free
- Mustard-Free
- Lupin-Free


Sarah says
I first found this recipe when searching for a loaf for a 1lb tin. It was a hit with the family. Since then I have made it a lot as it is just the right size for making kid’s school sandwiches. I have made it successfully with substitutions for variation such as 7g soft unsalted butter instead of oil, milk instead of water which I do when making it with some wholemeal/rye flour added. I find keeping it up to a third wholemeal flour allows it to remain soft and good for sandwiches. When using wholemeal or rye flour I add a 1/2 tsp of golden sugar. The only issue I have is stopping it being eaten before the sandwiches can be made!
June says
The first time I have been successful at making bread, they usually don’t rise and the texture has been a bit solid. Great to see a recipe for a smaller loaf and it worked exactly and taste and texture were great. Will definitely make again. My only complaint – far too moreish, it didn’t last long!