Advertising Feature
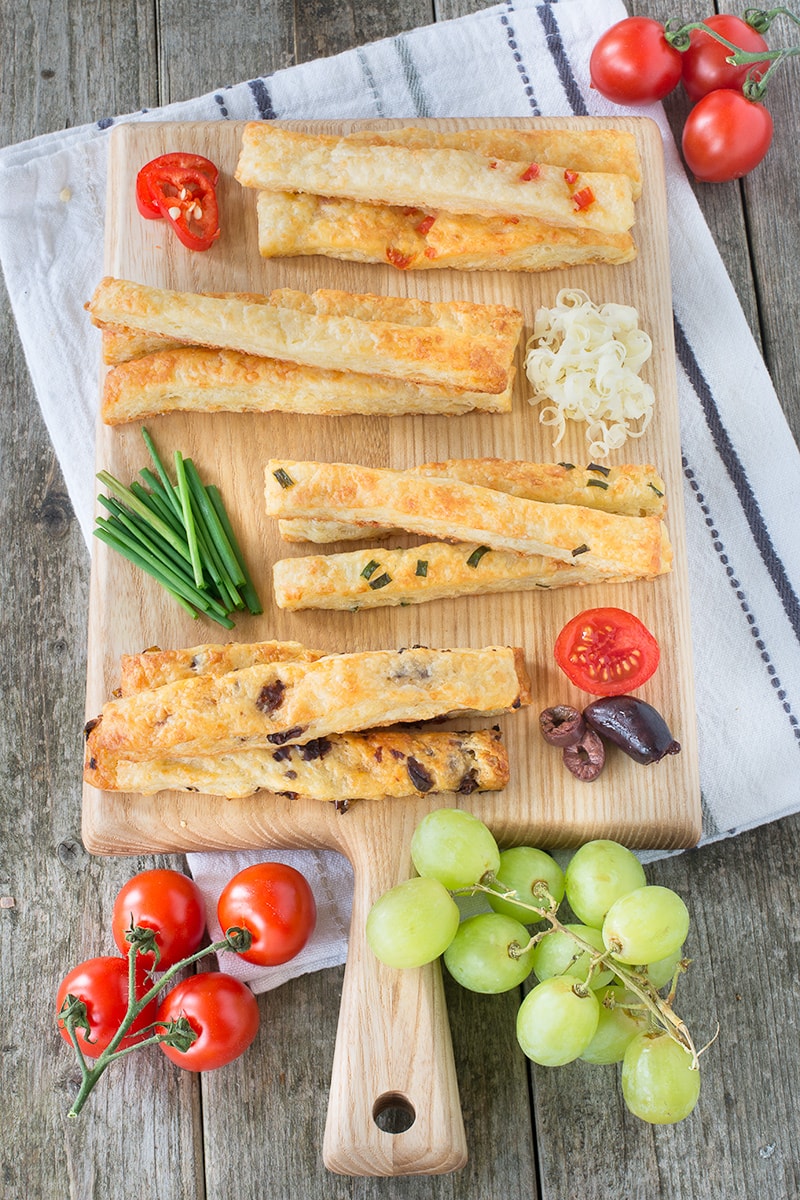
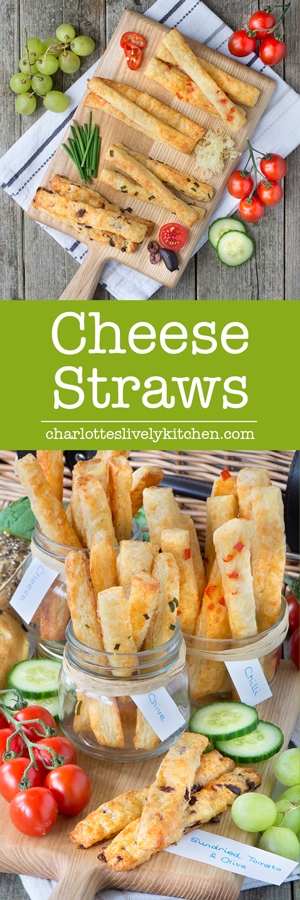
The best cheese straws you’ll ever taste with homemade flaky pastry and delicious Comté cheese. Plus three extra flavours – chilli, chive and sun-dried tomato & olive.
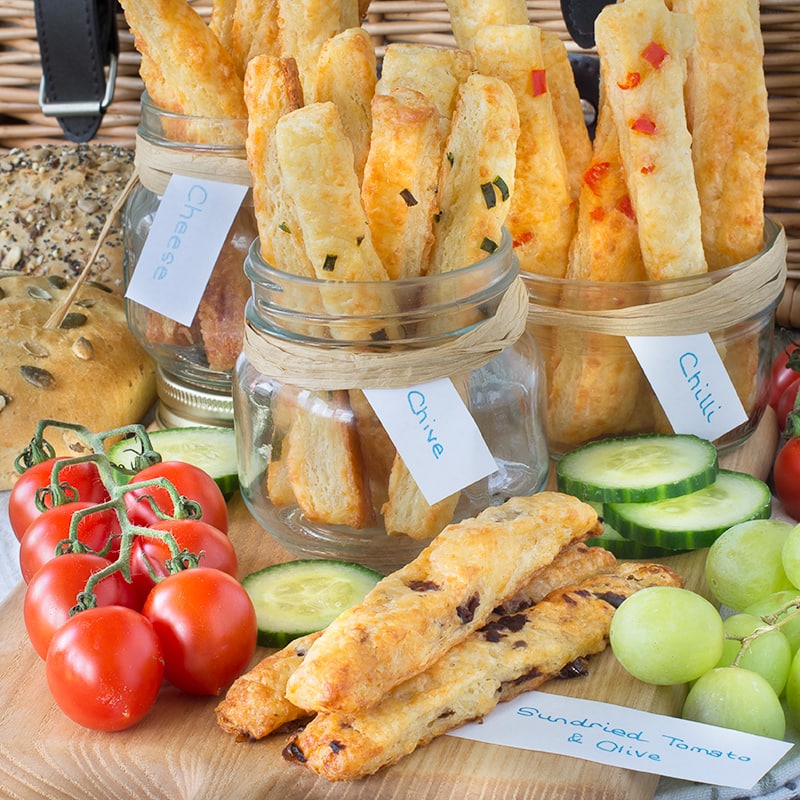
As it’s Father’s Day I also wanted to create something that my boys (who are 4 and 6) could get involved in making, so nothing too complicated or involving too much sharp or hot equipment. I decided that cheese straws would be perfect as we all love to eat them and they can be made in a big batch and either stored in an airtight container or even frozen until you want to eat them.
They’re also not too dangerous to make with a bit of grating (which either an adult can do or you could invest in a grater which is easier for little ones to use) and putting it in and out the oven. The rest is measuring, mixing and cutting them into shapes (and there’s no rule that they have to be straws, go wild with any cookie cutters you have in the house!).
What makes these the best cheese straws ever?
It’s not often I’ll go all out in a recipe title and claim that I’ve made “the best” of something (although I genuinely love every recipe I share on here), but I’m extremely proud of these cheese straws. They’re simply the best I’ve ever tasted – I love them (and so does my family).
But what makes them the best?
Firstly I think it’s the pastry. I’ve moved away from all the other recipes I’ve spotted online (which use either ready-made puff pastry or a pastry similar to shortcrust as their base) and gone with flaky (or rough puff) pastry. In my opinion this is the perfect pastry for cheese straws, as you get the lovely, crisp texture of puff pastry, but as the pastry is made from scratch you can get the cheese right into the mix meaning you really up the cheesiness. It also gives you the opportunity of adding some extra flavours if you like too.
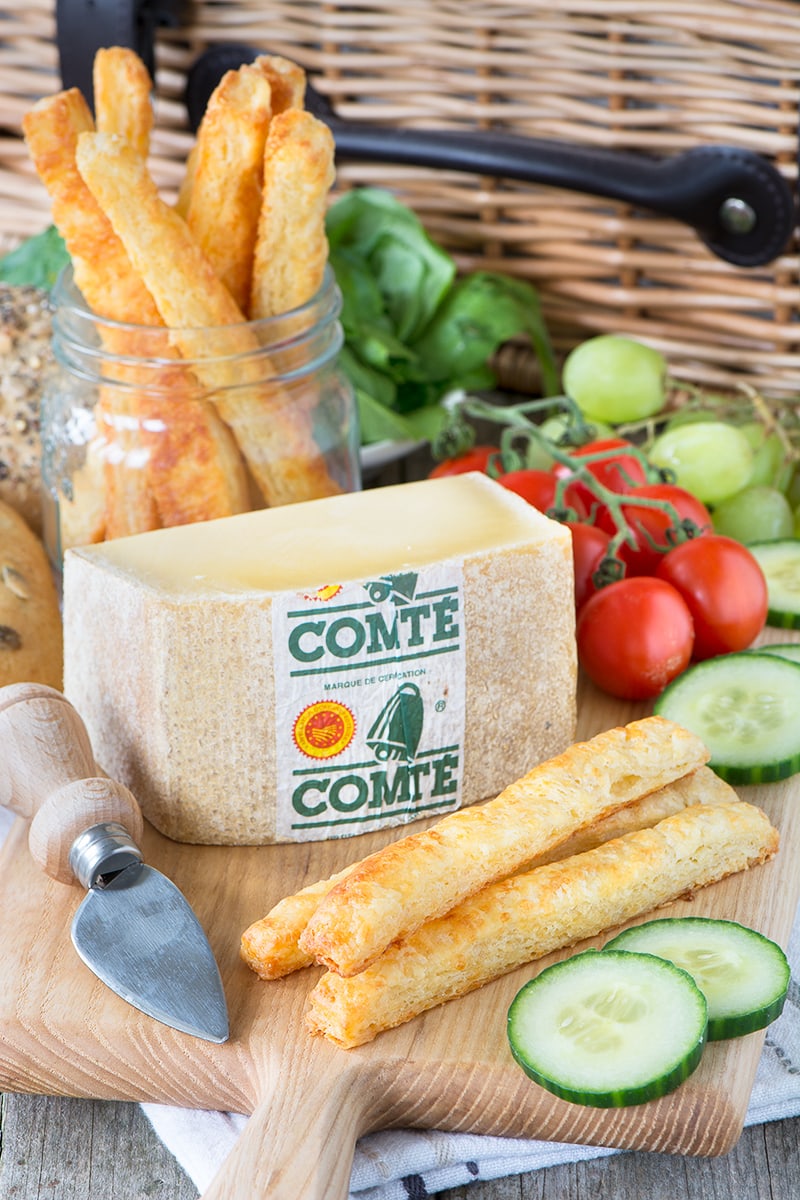
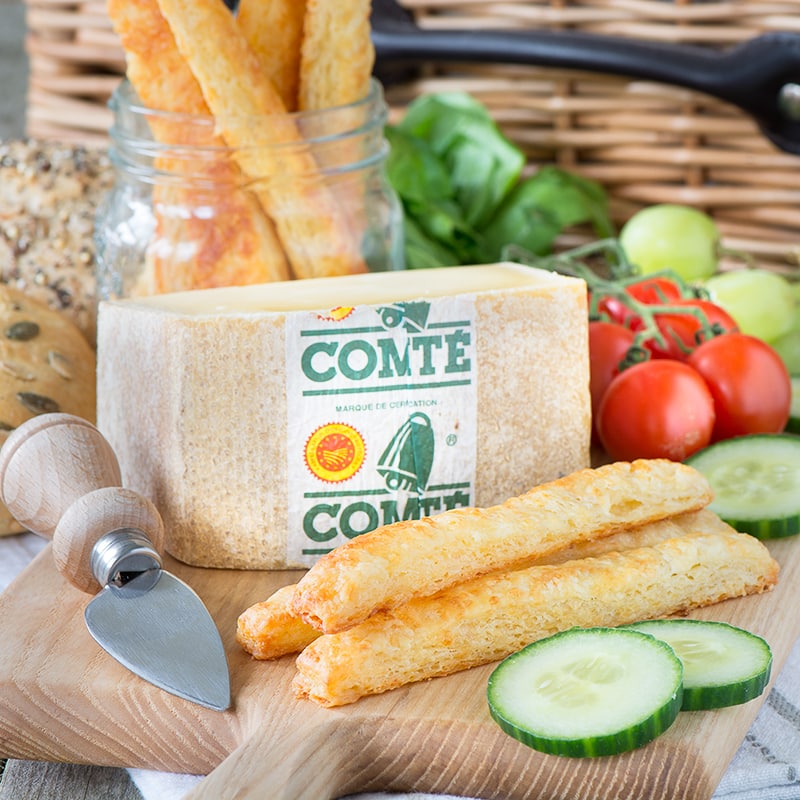
Secondly it’s the cheese. The Comté cheese I’ve used is perfect for cheese straws as it’s quite a hard cheese (harder than cheddar but not as hard as parmesan) which means it doesn’t go greasy when it melts, so your cheese straws stay crisp and not soggy. It also means that the cheese doesn’t try and ooze out all over the tray when they’re baking. In addition it has a lovely strong flavour that really shines through the flaky pastry. A milder cheese could get a bit lost, which given they’re cheese straws would be a bit rubbish.
Finally, not only are they delicious but they’re also straightforward to make, if my boys can do it then anyone can!
So what is Comté cheese?
I’m going to confess that I’m pretty new to Comté cheese as it tends to be a bit more hidden away in supermarkets compared to some of the better known cheeses, so it hadn’t been something I’d grabbed on impulse to try in the past. If you’re like me and a new to it then I’d really recommend seeking it out as it’s delicious, I’m completely converted. I’m looking forward to trying it in pasta and risottos as I think it will work really well in those.
It originates from the village of Jura Massif in Eastern France and for more than ten centuries the villagers there have lovingly crafted Comté cheese. This stunning region of mountains is home to over 2,700 family farms dedicated to producing the highest quality of raw milk that is required to create Comté. Today, Comté’s methods of production are still based on the original co-operative approach (owned by farmers) and artisan traditions that it was founded on over 1,000 years ago.
Montbéliarde and French Simmental of Jura Massif are the only cows allowed for the production of Comté milk. They must only be fed with natural feed and have at least 2.5 acres of grazing pasture. The terroir is where the cows eat grass and flowers in the summer and hay in the winter, which gives a very special and unique taste to Comté.
Each day it is crafted in around 153 small village cheese dairies, called fruitières. The freshly made cheese wheels are pre-ripened for a few weeks before moving to one of the 16 maturing cellars. Here the affineurs look after them for 4 to 18 months or more; regularly turning, salting and rubbing each one with brine solution. There are no less than 83 natural flavours that can be detected when tasting Comté. Because of this range of flavours and because it melts easily, Comté can be added to all sorts of mouth-watering recipes and not just saved for the cheese board. Comté is also one of the few cheeses that pairs well with a wide range of red and white wines.
If you’d like to find out more about Comté cheese then take a look at their website where you’ll find more about the cheese’s history and lots of recipes to try, I’m particularly intrigued by the cheesy desserts section. You can also follow them on Facebook, Twitter or Instagram.
FREE GRAMS TO CUPS CONVERSION CHARTS
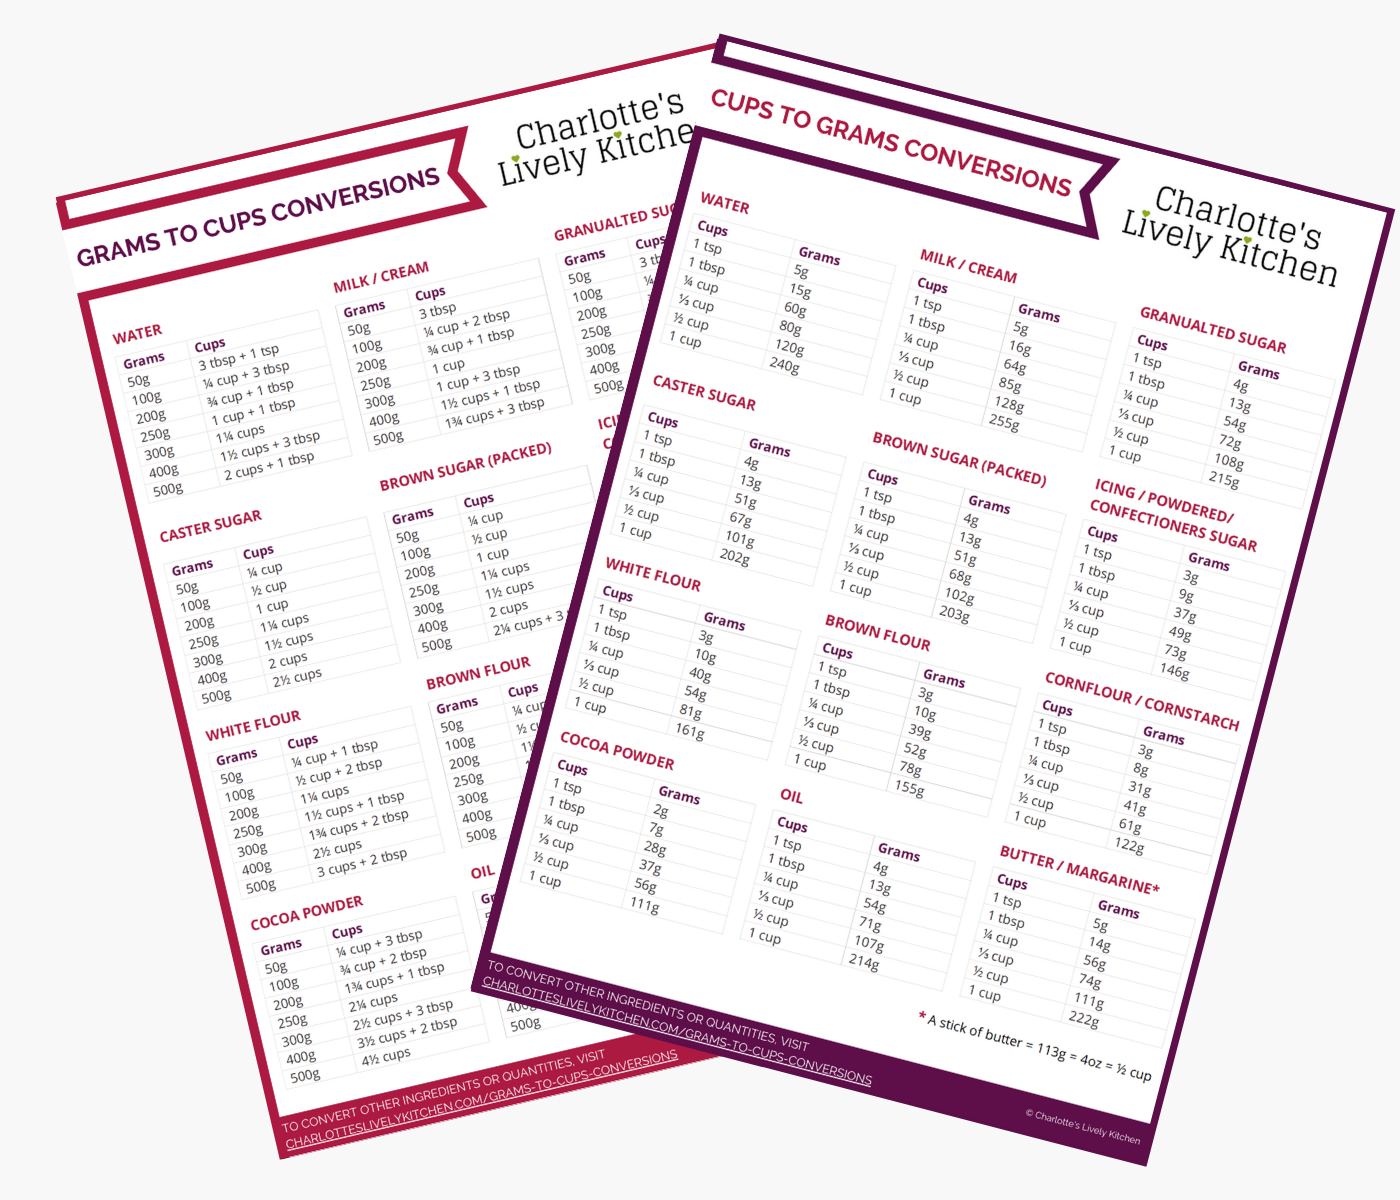
Subscribe to the Charlotte's Lively Kitchen mailing list to get your FREE printable grams to cups and cups to grams conversion charts for twelve popular baking ingredients

The Best Cheese Straws
INGREDIENTS
- 150 g plain flour
- 100 g unsalted butter - frozen
- 100 g Comté cheese
- ½ tsp salt
- 80 ml cold water - approx
Optional
- 2 sun-dried tomatoes and 6 olives - OR
- 3-4 chives - OR
- ¼ red chilli - feel free to add more if you like it spicy!
INSTRUCTIONS
- Sift the plain flour (150g) into a large bowl, Add the salt (½ tsp). Grate the Comté cheese (100g) and frozen butter (100g) and add them to the bowl.
- If you're using one of the optional extras then finely chop these and also add them to the bowl.
- Using a dinner knife, cut through the ingredients. You want to get the butter and cheese coated in the flour.
- Once the butter and cheese are coated add the cold water (80ml) 1 tbsp at a time. After each addition cut through the mix, you'll start to see it coming together in lumps. As each addition of water is absorbed into the pastry add more, and when it starts coming together switch from using a knife to using your hands to bring the pastry together and collect up any stray flour in the bottom of the bowl. You want to add just enough water that there's no stray flour but no more, otherwise you'll have a wet sticky dough.
- Once you've brought your pastry together, wrap it in cling film and then pop it into the fridge for half an hour.
- While the pastry is chilling, pre-heat your oven to 190ºC/170ºC fan.
- Remove the pastry from the fridge and roll it out so that it's about ½cm thick and about 13cm high. Use a knife to cut the pastry into straws about 2cm wide. Place these onto a baking tray (I line mine with a non-stick baking mat to stop them sticking, if you don't have one then grease the tray with a little butter instead).
- Cook for around 13 minutes until golden brown and crisp. Remove the straws from the oven and leave them to cool on the tray for a few minutes before moving them to a wire rack to cool completely.
NOTES
NUTRITIONAL INFORMATION
Any nutritional information provided is the estimated nutritional information per serving. Please refer to my guide to Charlotte’s Lively Kitchen nutritional information if you would like to learn more about how this is calculated.
Free From/Suitable For…
- Corn-Free
- Egg-Free
- Nut-Free
- Soy-Free
The ingredients for this recipe are easily available free from all these allergens. However, please ensure you double-check allergen information for all ingredients.



Daniel Lyward says
Far too much butter for me also.
Mine ended up like a fried flatbread.
Charlotte Oates says
Unfortunately it sounds like your ingredients (butter and water) may not have been cold enough when the dough was made and/or the dough wasn’t chilled enough. If working slowly or in a warm room to cut the straws, it may be worth chilling the straws again on the baking tray before baking.
Nicole H says
In my excitement to make these, I omitted the water. I don’t have a freezer and I believe a fridge will do to get the right temperature for the butter. I used French butter for this recipe. The cheese straws still worked out perfectly and I’m happy to have found another delicious snack to pop into my daughter’s lunchbox. Just want to add if you can, get the exact amount of cheese from the cheese counter (unless you use it in other recipes). Comté is an expensive cheese and due to the taste not something you’d nibble on to eat up any leftovers. It works well for these cheese straws as the taste is subtle and not too cheesy.
Kerrie says
If freezing would you do this before baking or after please?
Charlotte Oates says
I’d freeze them after baking. If after defrosting you find they’ve lost a little of their crunch, pop them back into the oven for about 3 minutes and this should revive them.
Emma says
I used to make cheese straws very regularly years ago (and had the recipe memorised) but needed to remind myself on quantities this time. These are absolutely swimming in butter, and have ended up fried rather than baked because of it 🙁
Charlotte Oates says
I’m sorry to hear that. I’ve not had the same problem when I’ve made them so I’m not too sure what could have happened. Was your butter frozen when you mixed it with the other ingredients? It needed to be cold before baking otherwise it will “leak” out and could cause the problem you’ve described.
Susan @ Culinary Envy says
I will take a dozen of each flavor to go please! I wish…these look SO yummy and cute. Pinned!
Elinor Hill aka Beach Hut Cook says
Perfect treats for a picnic or beach hut after sea swim treats! Elinor x