How to make homemade cake release. Perfect for ensuring your cakes don’t stick in even the trickiest of tins.
Skip to the recipe | Recipe FAQs
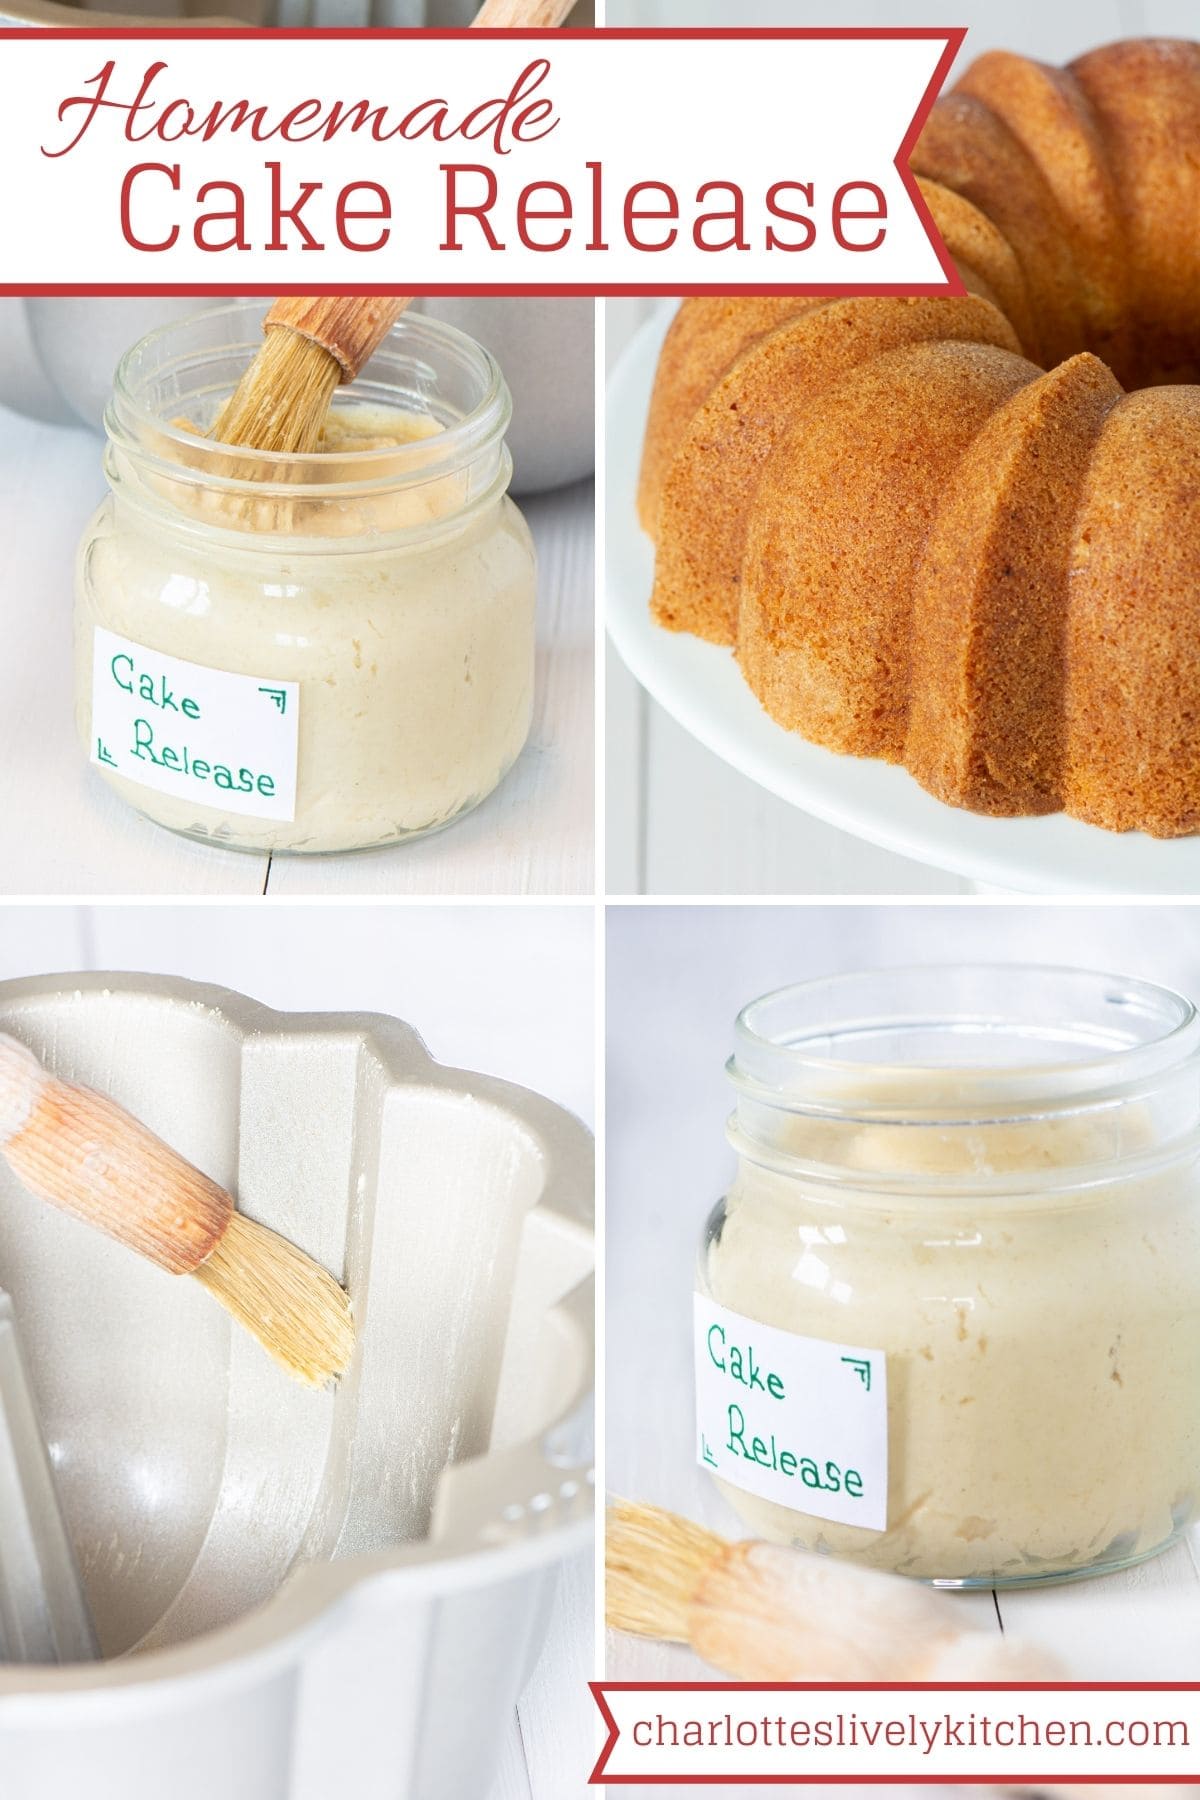
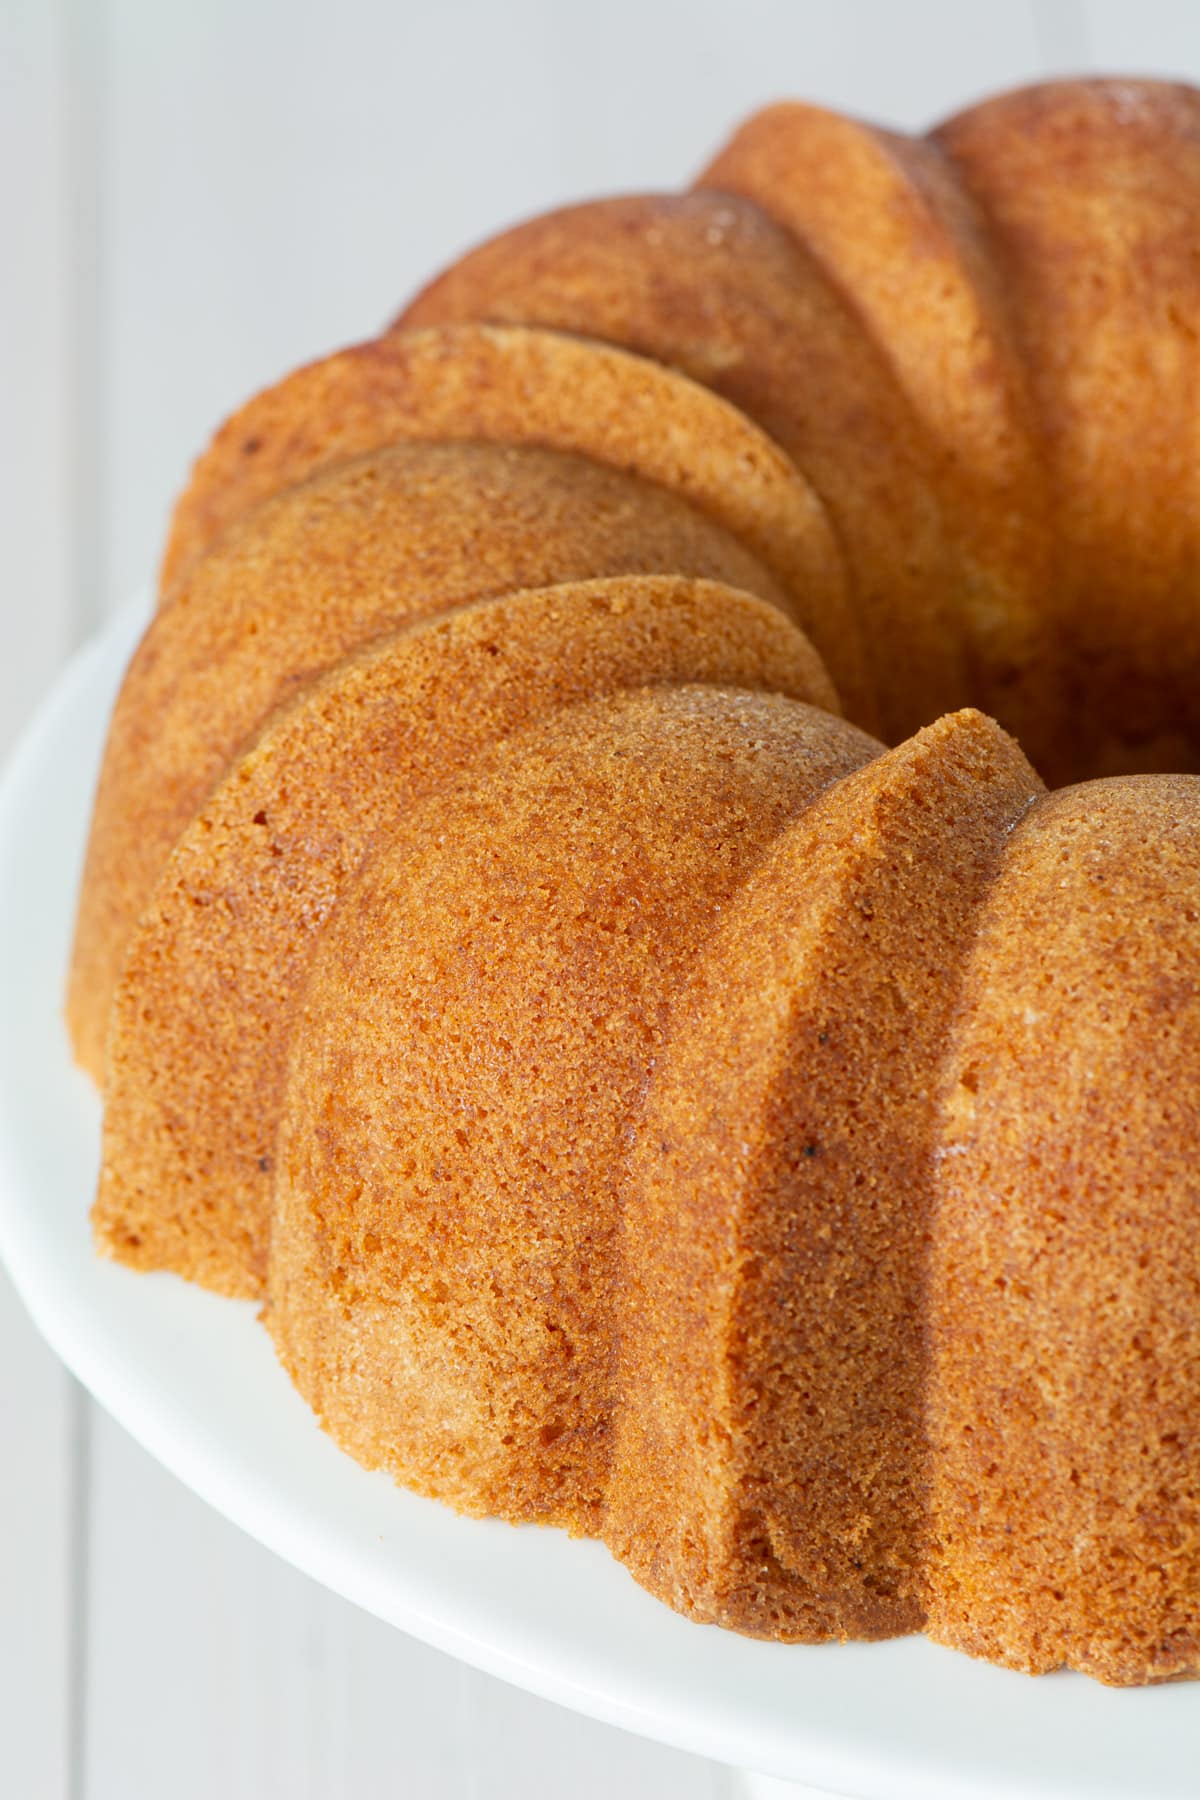
One type of cake that until now has been missing from my site is a bundt cake. The reason for this is simple – I find the idea of them a bit scary. Pouring lots of love and ingredients into making a cake, only to find that it won’t come out of the tin 😬.
I decided that the solution was to get experimenting and find the ultimate homemade cake release. One that would give you a cake that rises well, tastes great and, most importantly, doesn’t stick.
This cake release can be used for pretty much any type of tin, so if you want to make a beautiful bundt, case-less cupcakes, or a cake shaped like a dinosaur, then keep reading as this is just what you need.
Homemade Cake Release FAQs
If it’s your first time making this recipe or you have a question, please take a moment to have a read through my FAQs for some extra tips and allergen information.
- Why do cakes stick?
- What goes into making homemade cake release?
- How do you use cake release?
- Is this cake release suitable for all types of cake?
- Bundt cake ideas
- How long does this cake release last and how should it be stored?
- I don’t have all of the ingredients listed in the recipe. Is there something else I can use instead?
- What is this recipe free from? Who is it suitable for?
- Can this cake release be made gluten-free?
- Other cake release recipes use a greater quantity of oil. Why is yours lower?
- Why do you mix the shortening and flour together before adding the oil?
Why do cakes stick?
The liquid in cakes acts as a glue which sticks the sponge to the inside of the tin. Cake release works by creating a barrier between the wet cake mixture and the tin so that the cake cannot glue itself onto the tin.
The thing is that from a cake perspective, sticking to the pan isn’t necessarily a bad thing. The cake mixture adhering to the sides helps the cake to rise by giving it something to cling on to. If the sides of your tin are too greasy, the cake will keep slipping down them and not rise properly. Don’t believe me then have a quick watch of The Great British Bake Off Season 4, Episode 1 where they made Angel Food Cake (for which you shouldn’t use any tin liner at all).
*SPOILER ALERT* (although its years old so you should have watched it by now!)
The ones who greased the tins had a much flatter, denser cake and did not do well in the challenge.
All of my testing suggests that using a combination of flour and fat (butter, shortening or oil) is a great way to create a barrier between the cake mixture and the tin. The fat provides a protective coating, keeping the wet mixture away from the sides of your tin and the flour gives the cake something to grip onto so that it still rises well, as well as absorbing some of the moisture from the cake around the edges.
What goes into making homemade cake release?
If you search the internet, you’ll find loads of suggestions for the best way to line a tin to ensure that your cake doesn’t get stuck. These range from simply coating the tin in butter, to more unusual ideas like using ground almonds or sugar.
My cake release recipe uses a combination of vegetable shortening, plain flour and vegetable oil.
The shortening provides the slipperiness needed to ensure the cake leaves the tin easily, the flour provides something for the cake to grip onto so it still rises well, and finally the oil helps soften the mixture so that it’s easy to coat the tin.
How do you use cake release?
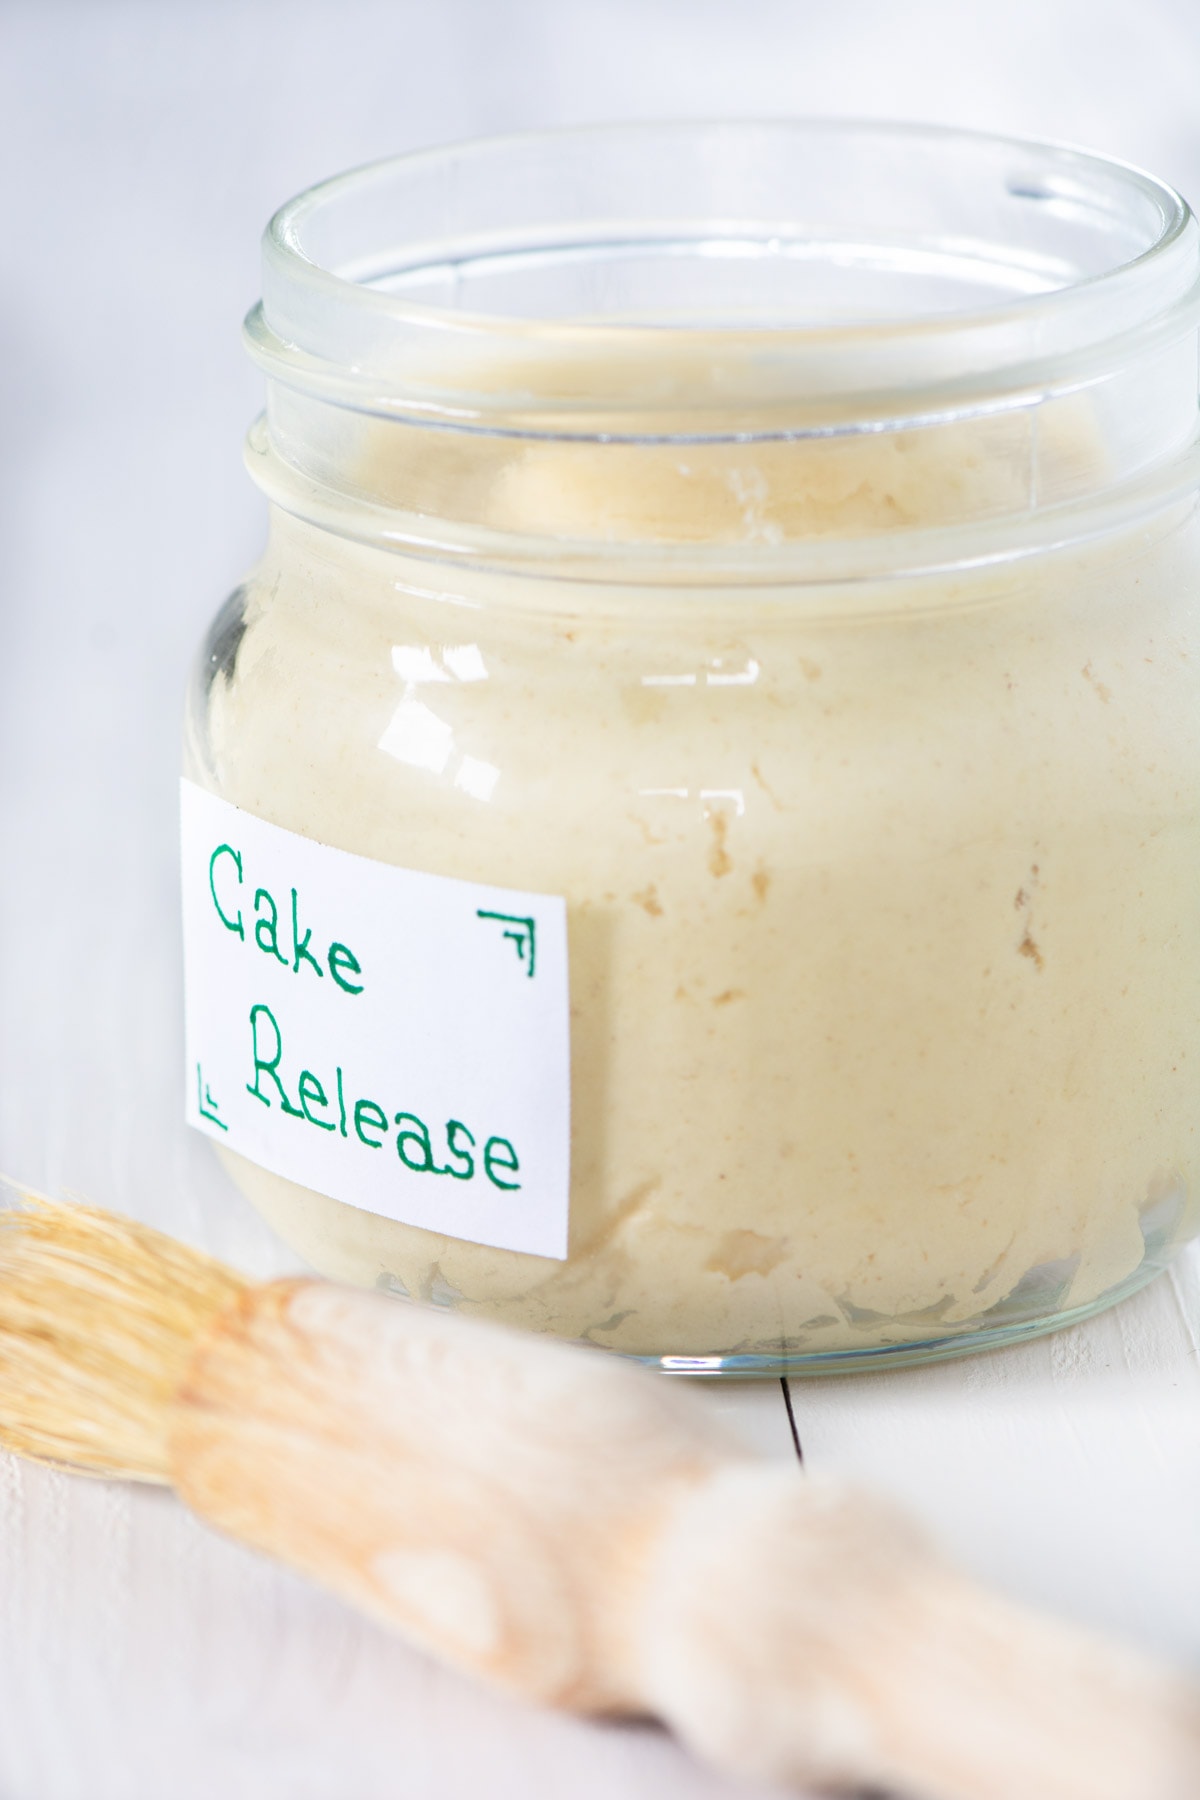
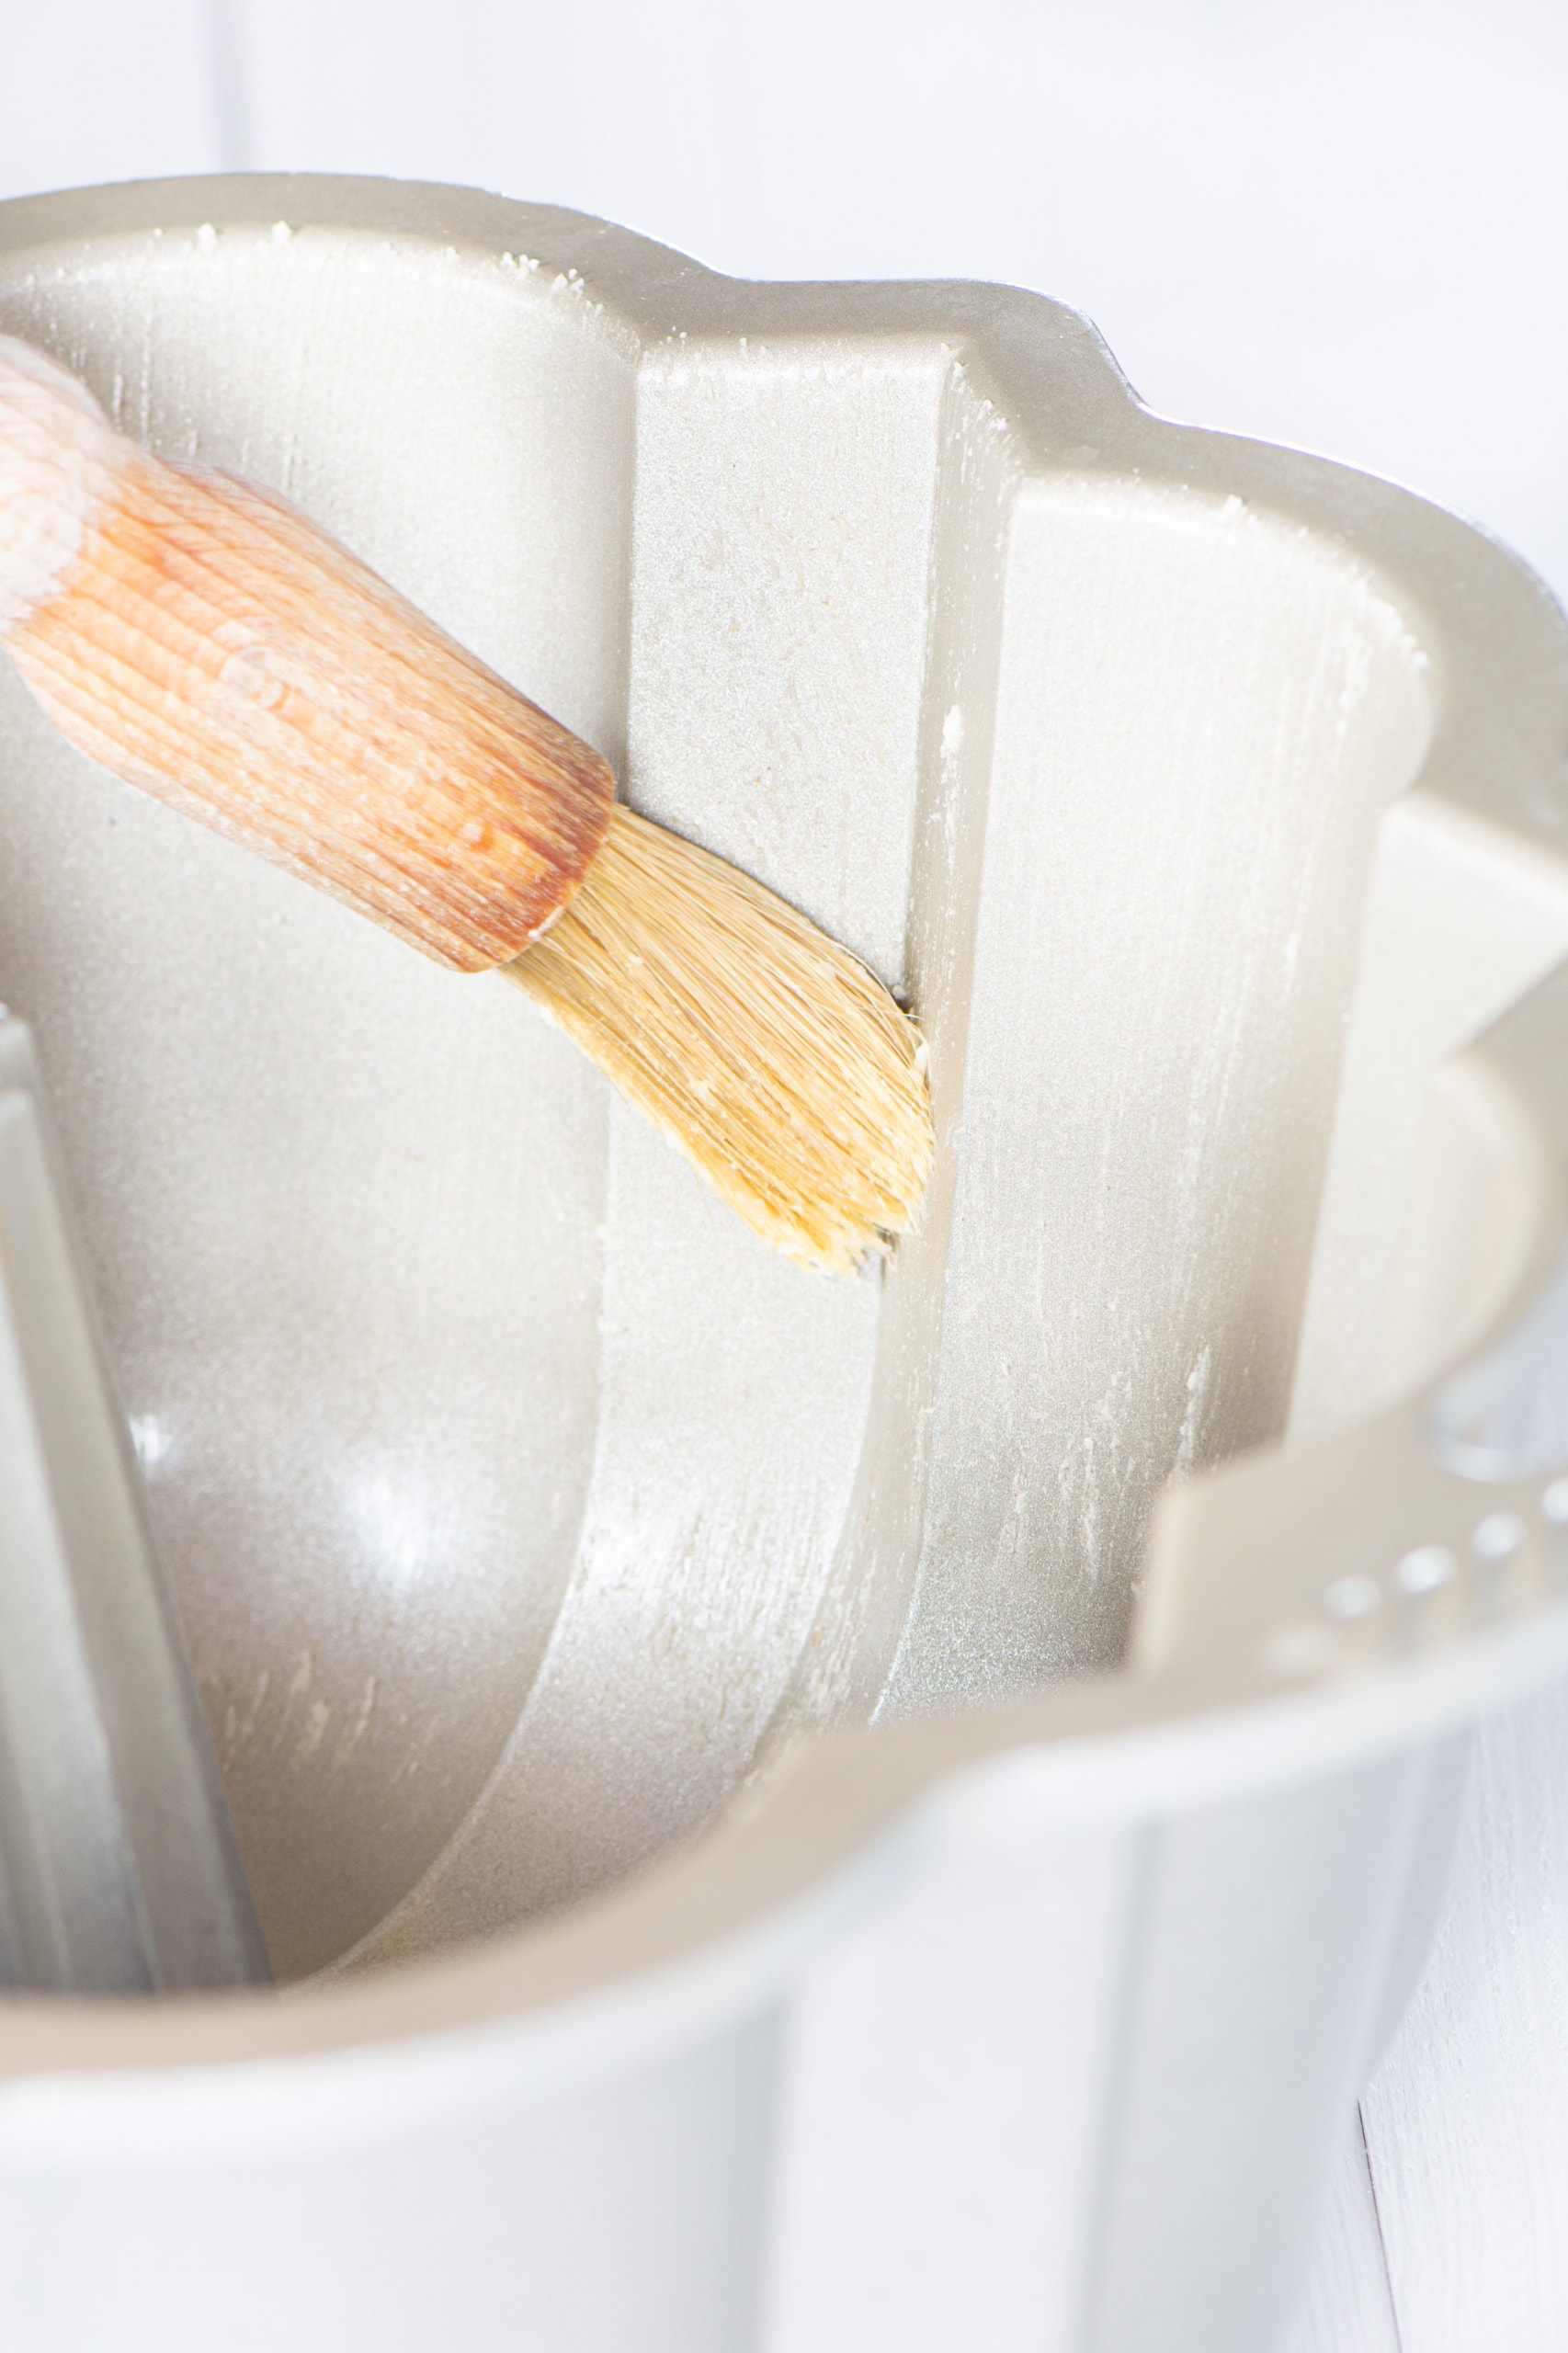
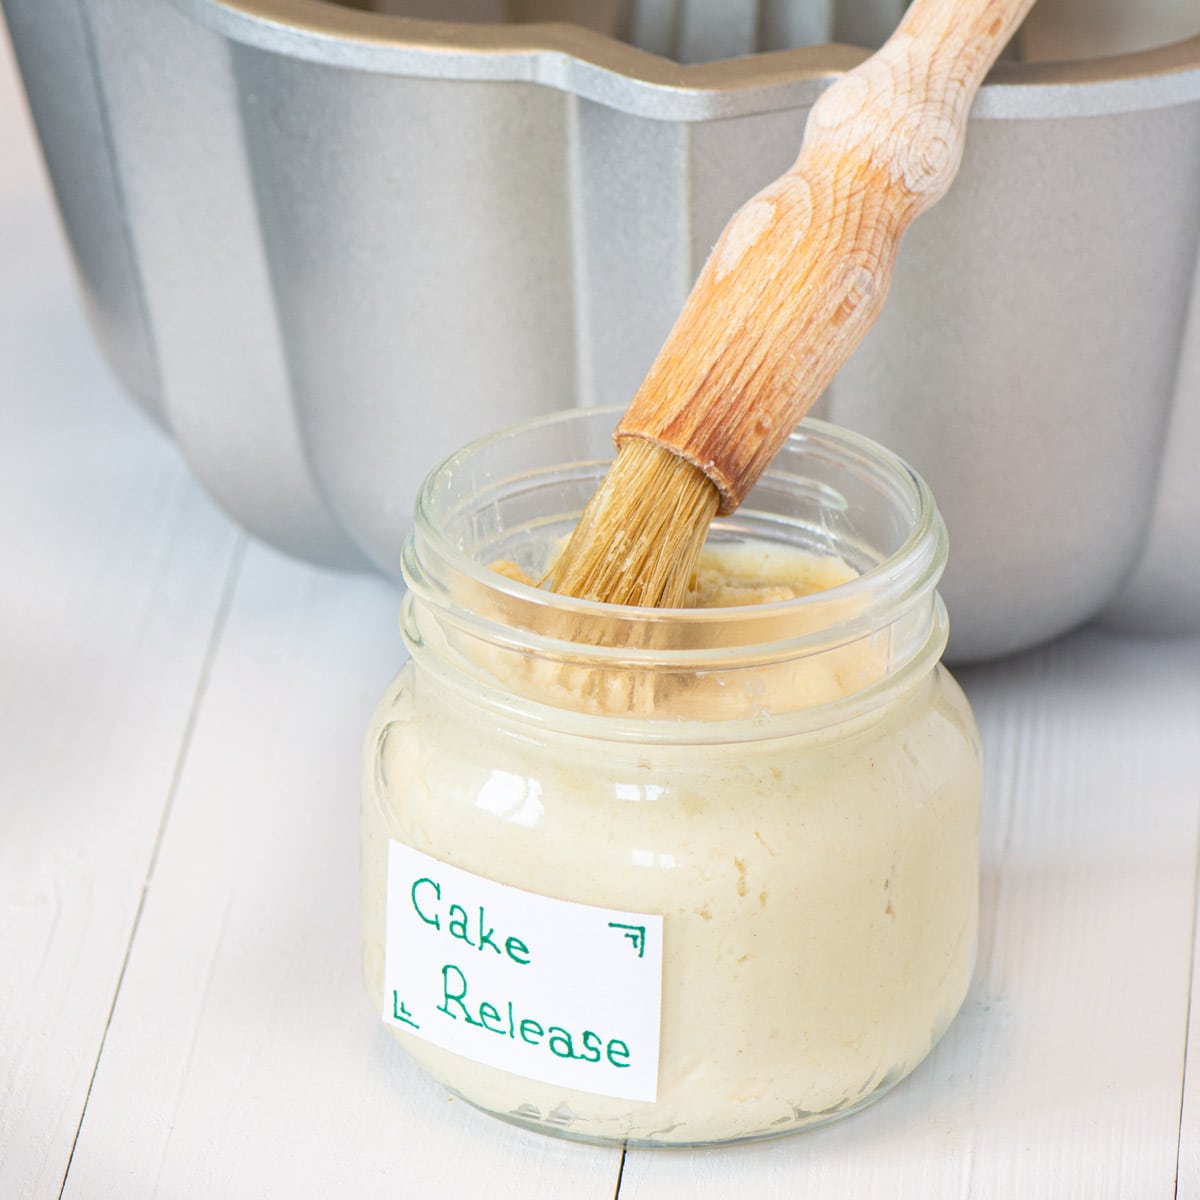
Unlike the cake release spray you can buy in the shops, this homemade version needs to be brushed over the inside of your baking tin.
Make sure that your coating isn’t too thick otherwise you may find that you can still see little patches of it on the outside of your cake once it’s baked. If you do spot any patches, once your cake has cooked, gently brush the outside of your sponge with your pastry brush and you’ll remove any excess.
Is this cake release suitable for all types of cake?
Whilst I’d like to say “yes, use it for everything!”. I’ve definitely found that it works better with some cake recipes than others.
Firstly, you want to only use it on pale-coloured sponges. If you use it for a chocolate cake (for example), you’ll find you get patches of lighter colour on the outside of the cake (it’ll work fine and taste fine, it just might not be very pretty). I’m working on a chocolate version, that I hope to share with you soon.
Secondly, some sponges are softer than others and more prone to sticking. I would therefore only use it for cakes that are recommended as for being suitable for baking in a bundt tin (or other unusually shaped and impossible to line with greaseproof paper-type tins).
So, can you suggest some cakes I can use it for?
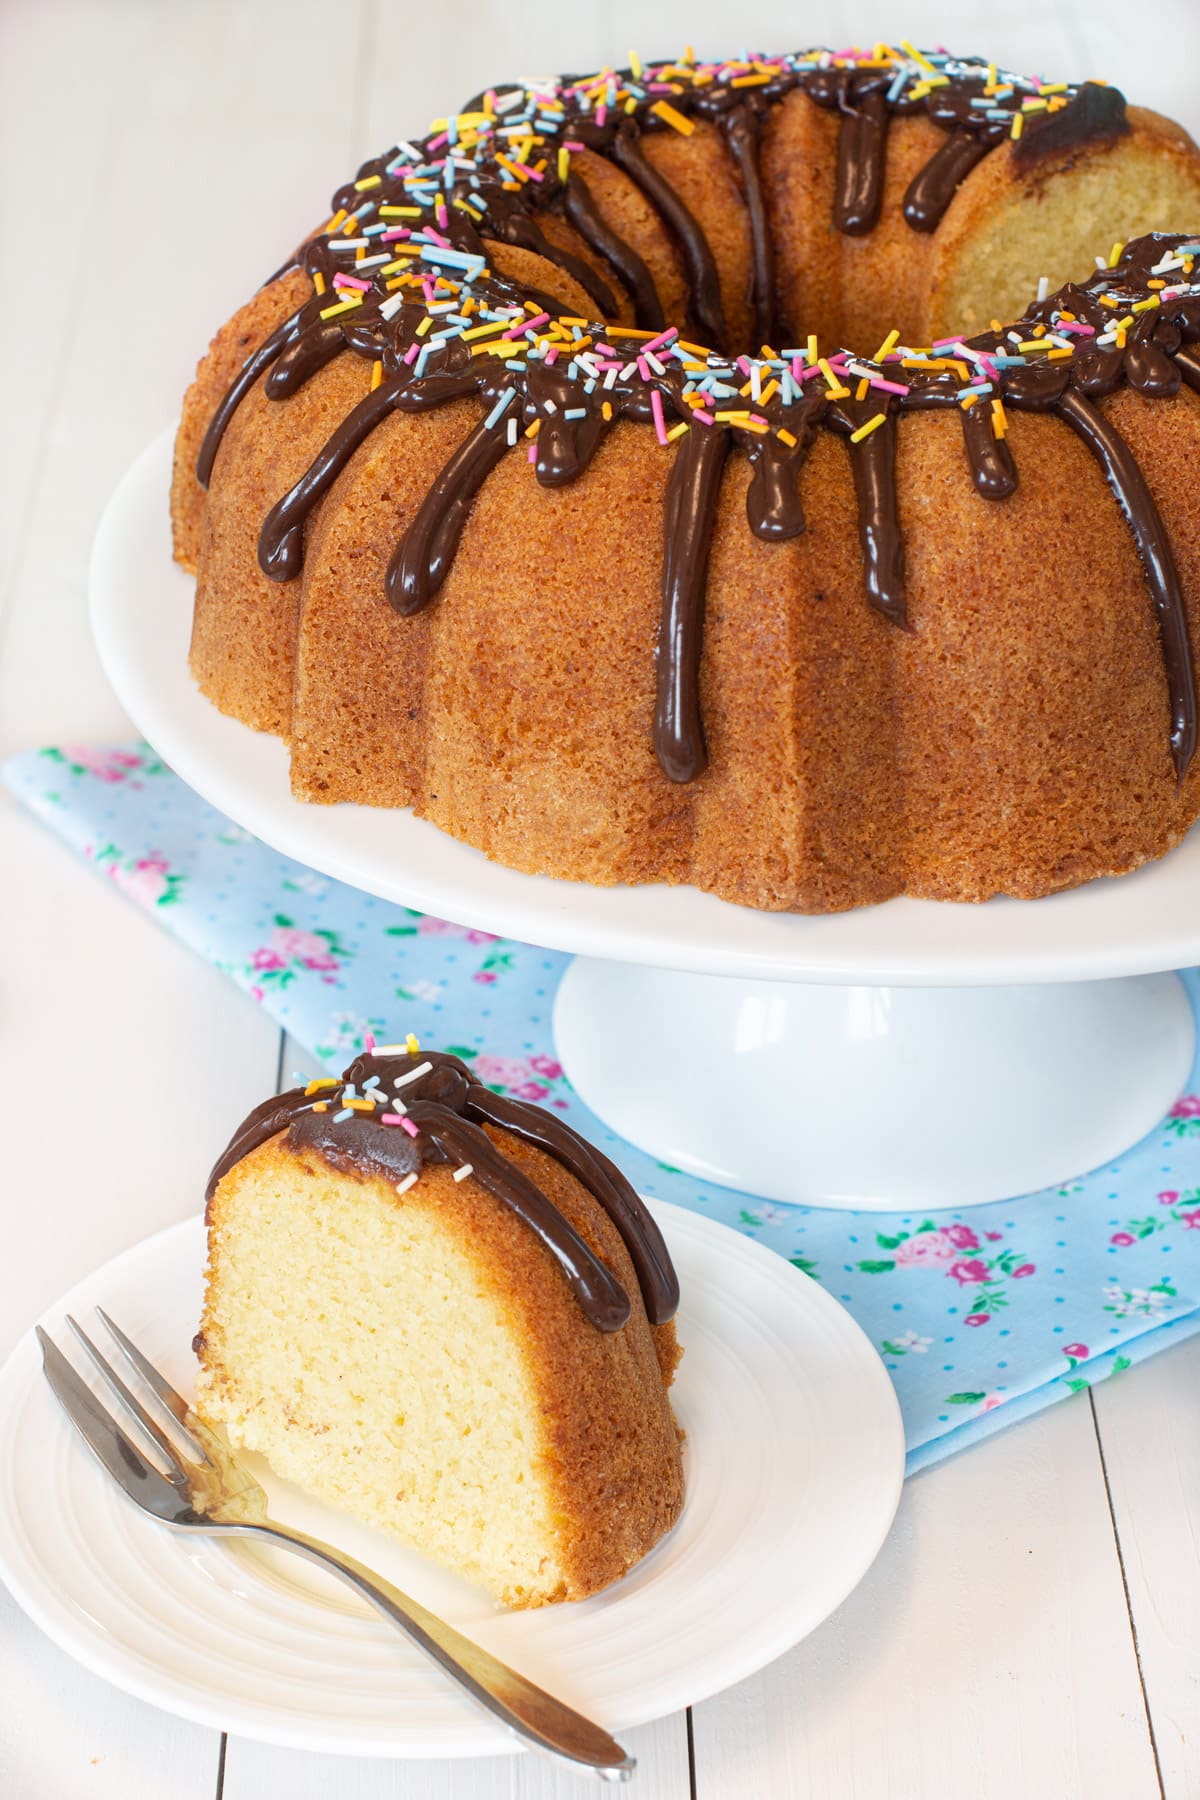
Of course, here’s a selection of delicious Bundt cakes from some of my favourite food bloggers…
- Vanilla Bundt Cake with Milk Chocolate Ganache
- Caramel Chocolate & Vanilla Bundt Cake from Crumbs and Corkscrews
- Spiced Caramel Apple Bundt Cake from The Baking Explorer
- Blueberry Bundt Cake with Blueberry Lemon Glaze from Supergolden Bakes
- Cinnamon Bundt Cake from Greedy Gourmet
- Daiquiri Bundt Cake from Sew White
- Banana Coconut Bundt Cake from Christina’s Cucina
- Spiced Pumpkin Bundt Cake from Something Sweet, Something Savoury
- Lemon and Caraway Seed Cake from Tin and Thyme
- Vegan Spiced Apple Cake from Cook Veggielicious
- Gluten-Free Persimmon Fruit Cake from Glutarama (make sure you use gluten-free flour when you make the cake release for this one)
How long does cake release last and how should it be stored?
This cake release lasts for about a month. Once it’s made, pop it into a jar or airtight container and store it in the fridge until it’s needed.
I don’t have all of the ingredients listed in your recipe, Is there something else I can use instead?
As you can imagine when I set myself the task of creating my own cake release goop, I tested out LOTS of options to investigate which worked best. This included ones similar to mine, made with shortening, flour and oil, just butter (and other fats), butter coated with flour, and some other more usual methods.
If you don’t have the shortening, flour and oil listed in my recipe then have a read though to see which other options could work for you.
My favourite alternative is to coat the cake tin with butter or shortening and then sprinkle it with flour. I found I had very good results with this method, but I wasn’t a huge fan of it overall as it was tricky to get an even coating of flour over then tin and could be quite messy when trying to remove any excess flour.
So what about some of the other methods…
Simply coating with butter, oil or shortening
Unless you happen to have a very non-stick tin, then I really wouldn’t recommend using just a fat to line your tin.
The main reason is that it just doesn’t work very well. The cakes I tried stuck.
However, its not just their failure to do the job of stopping the cake sticking to the tin that means I wouldn’t recommend using them. I also found that the rise on the cakes lined with just fat was worse, leading to denser, less fluffy sponges. The edges of the finished cake were crispier and absorbed the flavour of whatever fat I’d used. This was particularly grim for the cakes lined with just oil, which had soaked into the sponge giving them a greasy flavour.
A layer of butter or shortening and then a thin coating of flour (my favourite alternative)
I actually really liked the results from this method. The cakes came out easily and had a good flavour.
However, it’s such a faff. Firstly to rub butter or shortening into every nook and cranny of my tin (and some tins are very intricate), and then to attempt to get a thin coating of flour over the fat. I ended up with some areas thicker than others and wasted flour as I tipped out the excess.
A layer of oil sprinkled with ground almonds
This one was recommended by King Arthur Flour as a good method for lining cake tins (along with the next one too).
As with the butter and flour method listed above, I found that this one worked well for actually getting the cake out of the tin. However, it gave my cake the flavour of almonds, which unless you happen to be making as almond cake, isn’t necessarily what you’d want.
I also wanted to avoid using nuts in my standard cake release to ensure there were no accidents with this cake release being used on a cake that should be nut-free.
A layer of oil sprinkled with sugar
The cakes lined with oil and sugar came out of the tin pretty well (needed a bit of a bang on the bottom, but came out eventually). However, they were so very sweet.
What is this recipe free-from? Who is it suitable for?
The ingredients I used to make this recipe are all free from the following allergens. However, please check any labels carefully for allergens you need to avoid as brands can vary, and product recipes can change over time.
- Suitable for Vegetarians and Vegans
- Egg-Free
- Dairy-Free
- Tree Nut-Free
- Peanut-Free
- Sesame-Free
- Soya-Free
- Sulphur Dioxide & Sulphite-Free
- Lupin-Free
Can this cake release be made gluten-free?
Yes, simply substitute the plain flour listed for a gluten-free plain flour.
Other cake release recipes use a greater quantity of oil. Why is yours lower?
When I tested my cake release I found that the cakes made using a cake release comprising of shortening, flour and oil came out of the tins well. However I also found that they were darker and crunchier around the edges than some others, and also that in some cases they rose unevenly, with a smaller rise around the edges and a big peak in the middle.
After some experimentation I realised that the high quantity of oil was what was causing both of these problems. To rectify this, I reduced the volume of oil significantly, so you have just enough to be able to easily brush it onto the tin.
Another advantage to using less oil is that the cake release goop is slightly thicker than others you can make, making it easier to see if you’ve coated the whole tin without missing any spots.
Why do you mix the shortening and flour together before adding the oil?
Some cake release recipes I’ve seen using a similar combination of ingredients tell you to simply mix everything together and brush it onto your tin. However, when I tried this I found that it was difficult to get all of the lumps out of the vegetable shortening. Beating together the flour and shortening first before adding the oil gave a much smoother result.
FREE GRAMS TO CUPS CONVERSION CHARTS
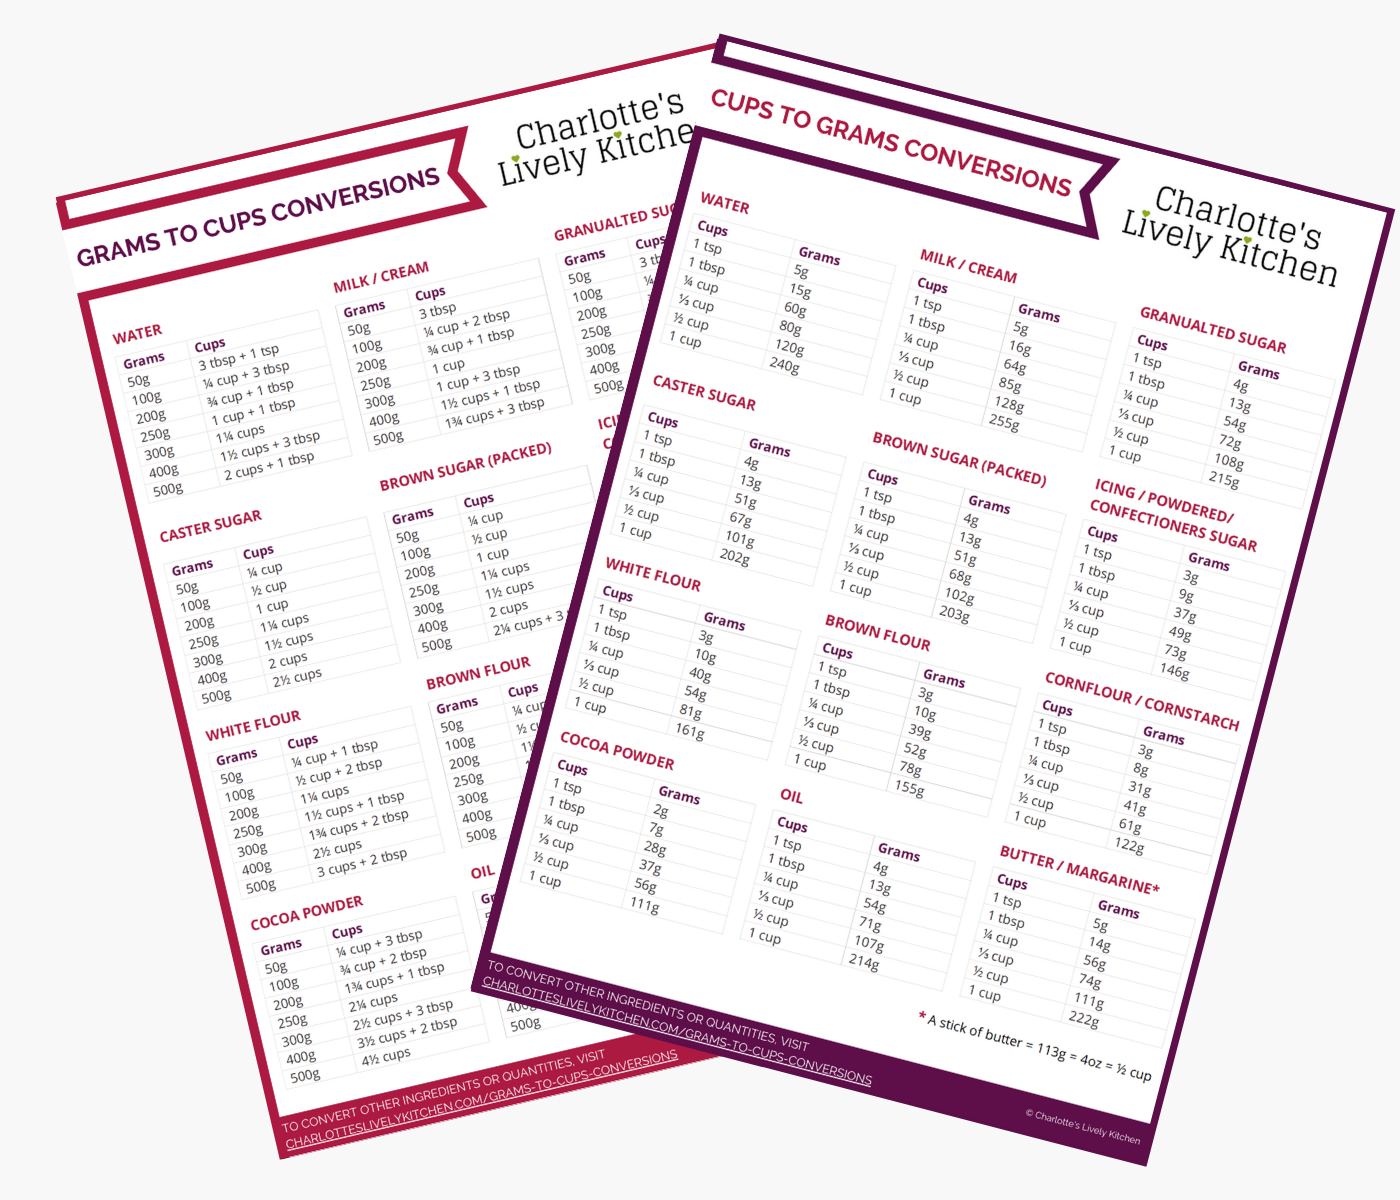
Subscribe to the Charlotte’s Lively Kitchen mailing list to get your FREE printable grams to cups and cups to grams conversion charts for twelve popular baking ingredients
Cake Release
INGREDIENTS
- 100 g vegetable shortening - soft at room temperature
- 75 g plain flour
- 2 tbsp vegetable oil
INSTRUCTIONS
- Beat together the vegetable shortening (100g) and plain flour (75g) until fully combined and the mixture is smooth.
- Add the vegetable oil (2 tbsp) and beat into the other ingredients until combined.
NOTES
NUTRITIONAL INFORMATION
Any nutritional information provided is the estimated nutritional information per serving. Please refer to my guide to Charlotte’s Lively Kitchen nutritional information if you would like to learn more about how this is calculated.


Pauline Richards says
Do you think this will work on silicone cake molds? I have a silicone dinosaur cake mold which needs to be well lined.
Charlotte Oates says
I haven’t tested on all moulds, but I would expect it to work.
Cat says
I really wish I’d come across this recipe before this morning! I made a bundt cake for the first time in a while and it stuck in a couple of places. I will definitely use this next time to avoid doing a bit of patching up!
Chloe Edges says
Oh this is super smart. I have a nordicware rose bundt pan that I am quite frankly scared to use! I’ll put on my big girl pants and bring it out of retirement and give it a try. Your recipes are always so well tested that I have every confidence!