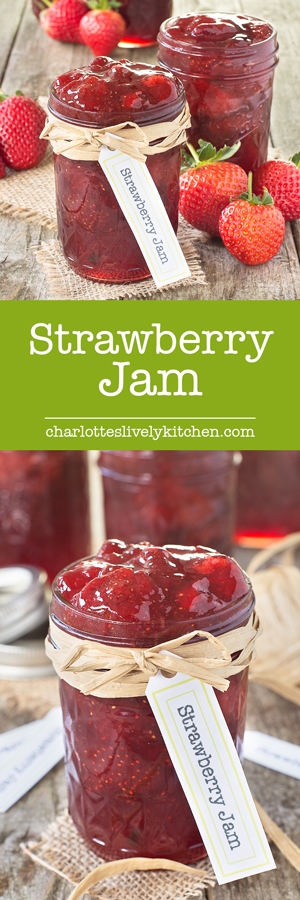
Easy to make, homemade strawberry jam with extra tips for using frozen strawberries, what to do if you don’t have a sugar thermometer and what to do if your jam doesn’t set.
Jam-making is one of those things that remind my of my childhood, or more specifically visiting my grandparents down in Devon. They lived up in the hills on the edge of a village and had a big garden full of homegrown goodies. At breakfast and tea time there was always a jar of homemade jam on the table whipped up by my Granny from something they’d grown (or blackberries we’d picked from along the lane). My absolute favourite was my Granny’s bramble jelly, made with apples and blackberries. I have a pile of her old cookbooks upstairs and I really need to go through and hunt out that particular recipe, as I’d love to try making it myself.
Strawberry jam is a fantastic way of using up a glut of strawberries (or in my case a lack of planning meaning I had a lot of frozen strawberries to use up – I really need to start checking what I have in before I go shopping!). I only recently started using frozen strawberries for jam after reading somewhere that it didn’t work and deciding that I wanted to give it a try (yes, I know that’s odd, but for some reason someone telling me I can’t do something makes me want to do it). It turns out that they were wrong and that frozen strawberries make excellent jam, you just need to tweek the cooking times a little bit to get all of the strawberry flavour out of them.
FREE GRAMS TO CUPS CONVERSION CHARTS
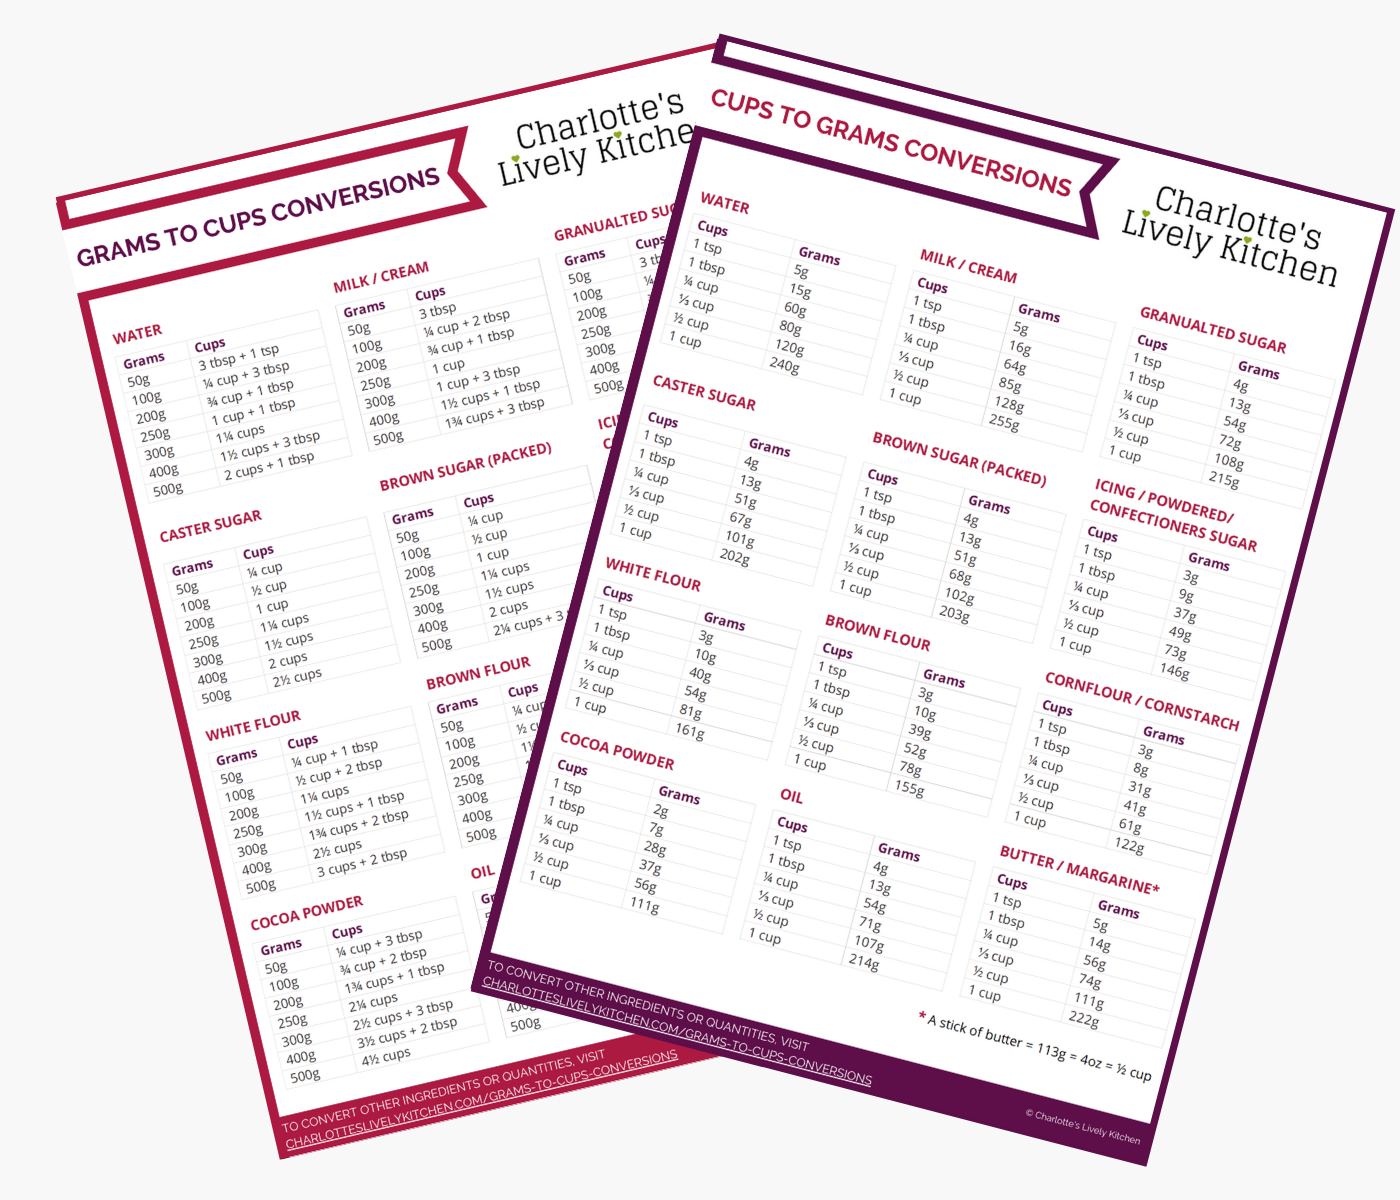
Subscribe to the Charlotte's Lively Kitchen mailing list to get your FREE printable grams to cups and cups to grams conversion charts for twelve popular baking ingredients
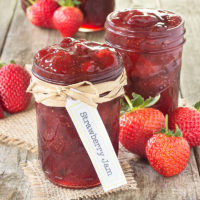
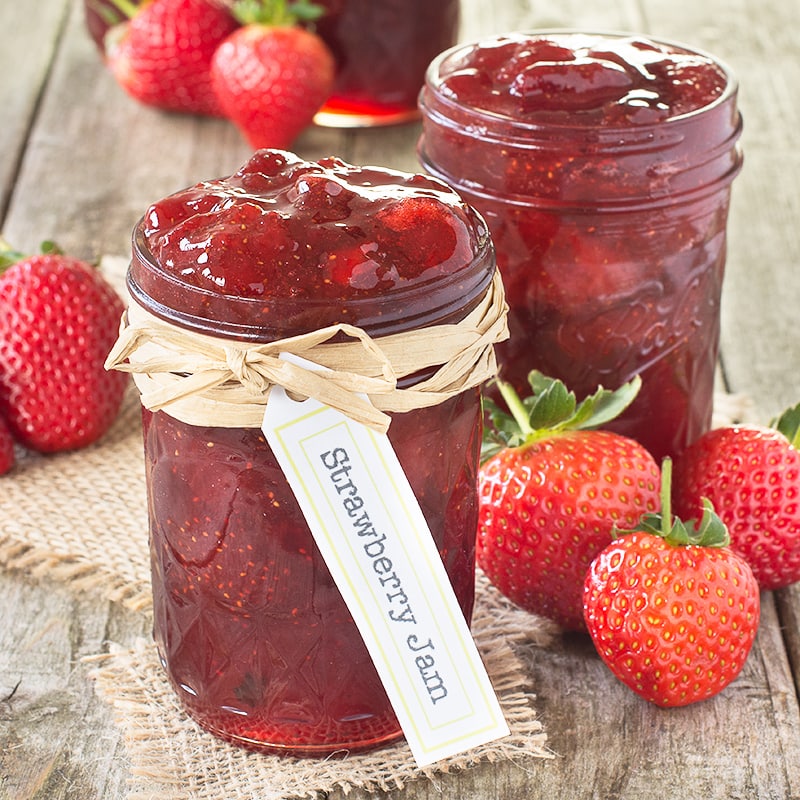
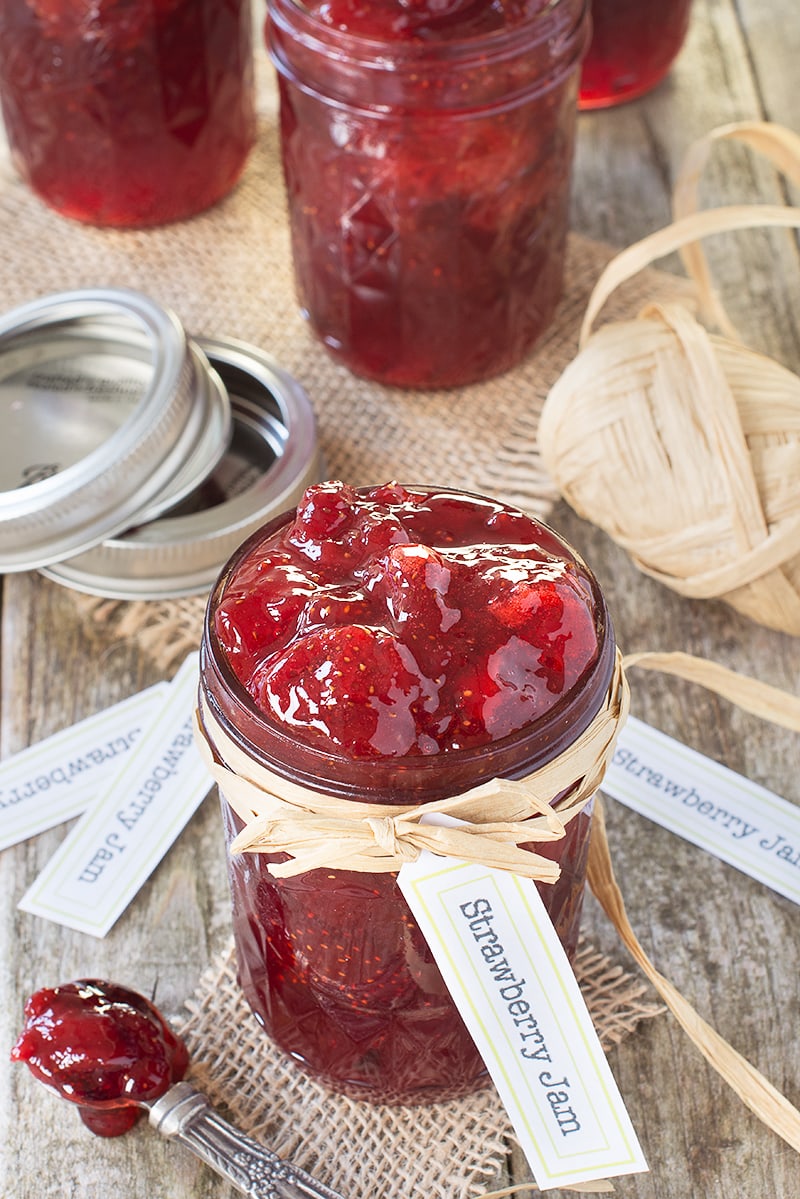
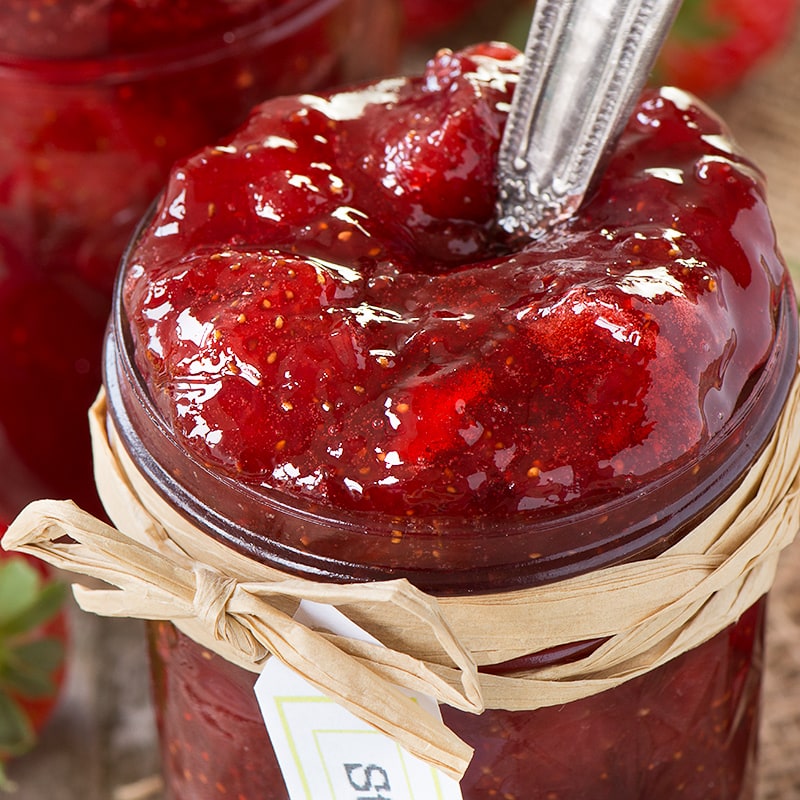
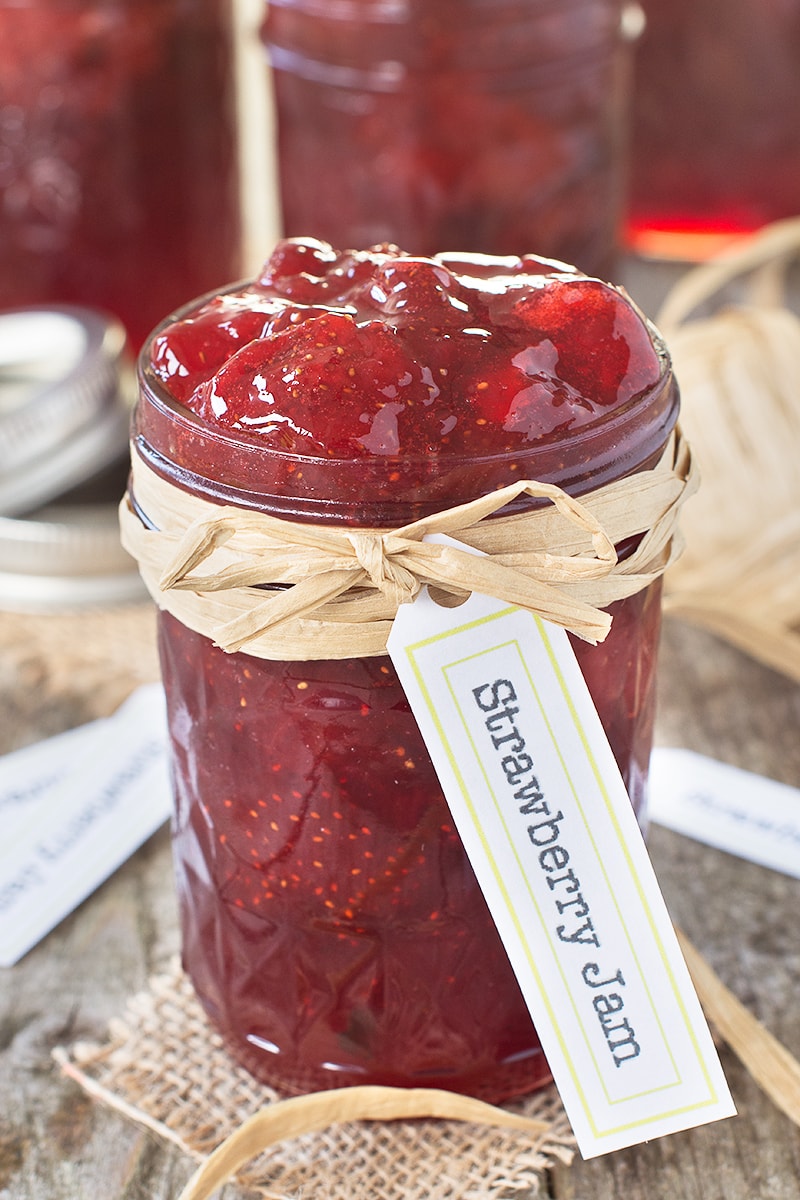
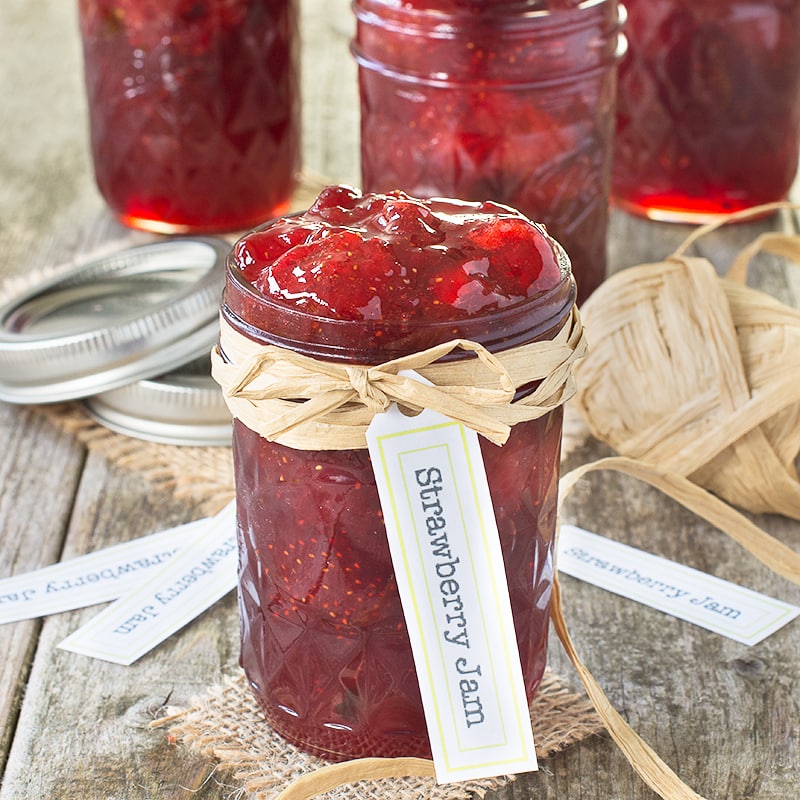
Homemade Strawberry Jam
INGREDIENTS
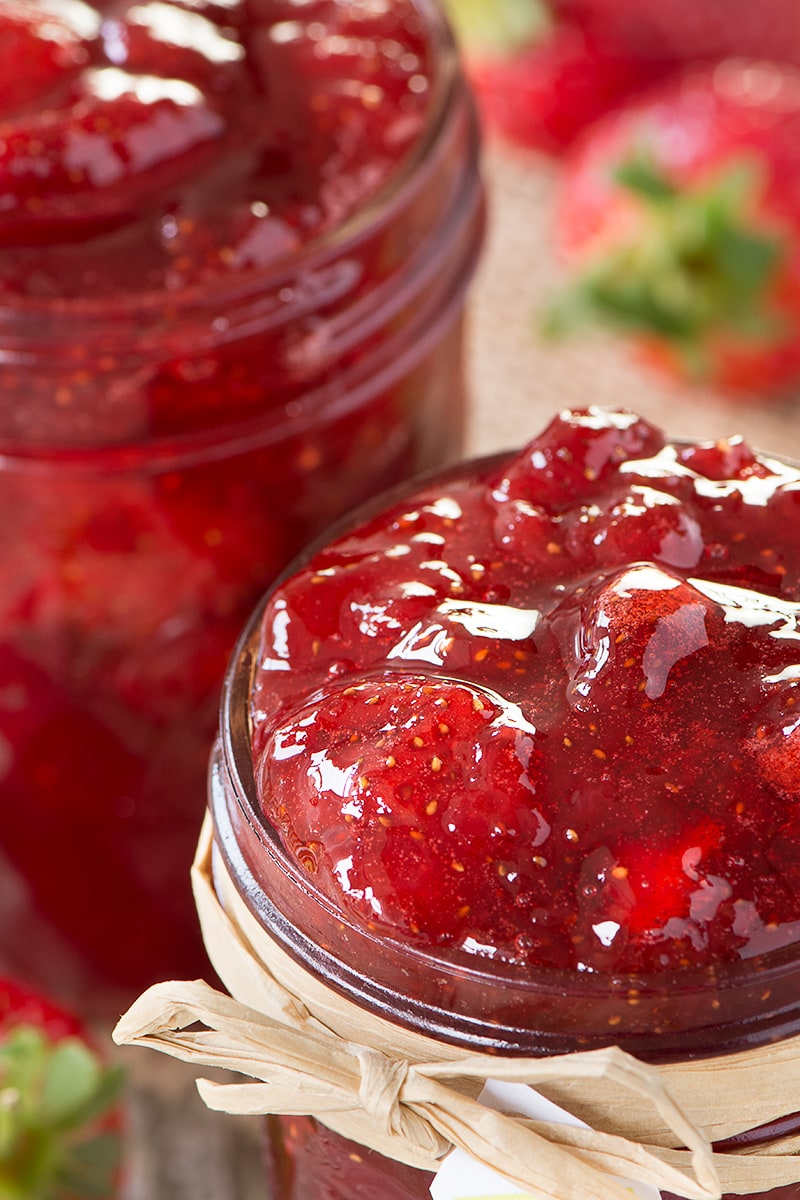
- 700 g strawberries - I like my jam chunky so keep my strawberries whole, if you prefer it smoother then cut them into smaller pieces before you start
- 700 g jam sugar
- 2 tsp lemon juice
Equipment
- Medium saucepan
- Wooden spoon - or similar
- Sugar thermometer - you can still make jam without one - I've added some extra tips below to tell you what to do
- Jars
- Jam Funnel - not essential but it's much easier to get the jam into the jars without getting sticky if you have one
INSTRUCTIONS
- Place a medium-sized saucepan over a low heat and once the pan is hot add the strawberries (700g). Fry for a couple of minutes, stirring regularly, and then add the jam sugar (700g) and lemon juice (2 tsp).
- Stir all of the ingredients together. Continue stirring until all of the sugar has dissolved - you can tell if the sugar has dissolved by dipping a spoon in and looking at the back to see if any grains have stuck to it.
- Once all of the sugar has dissolved, turn up the heat to medium/high. Let the jam bubble until it reaches 105ºC - make sure you move your thermometer around a bit to ensure it's all at the right temperature.
- Once your jam has reached 105ºC pour it into sterilised jars (if using) and leave to set.
NOTES
NUTRITIONAL INFORMATION
Any nutritional information provided is the estimated nutritional information per serving. Please refer to my guide to Charlotte’s Lively Kitchen nutritional information if you would like to learn more about how this is calculated.
1 serving = 1 tbsp
How to make strawberry jam with frozen strawberries
When fruit is frozen it can sometimes seem to lose a bit of its flavour, the additional moisture it holds can wash it away. The secret to getting it back is to fry the strawberries for a while before adding the jam sugar (frying before boiling and steaming is also a great way of getting a bit of extra flavour into frozen vegetables).
To make jam with frozen strawberries it’s best to take the strawberries out of the freezer about an hour before you want to start. Then simply follow the recipe above but increase the time you fry the strawberries for in step 1 to 10 minutes.
How to make strawberry jam without a sugar thermometer
Making strawberry jam without a sugar thermometer is a little bit of guesswork, but if you follow these steps you should find it works just as well as if you have one to hand. If you do happen to find that things haven’t gone quite according to plan and your jam doesn’t set I’ve got a tip for how to rescue it below.
The way I test if my jam is ready without a thermometer is to put a small pile of freezer-safe saucers into my freezer (unless you’re really lucky you’ll need to test it a few times). Once I think that the jam has set I take it off the heat (you don’t want to carry on heating it if you think it’s ready because then it’ll overset), put some onto the plate, pop it into the freezer for a couple of minutes to chill and if it’s jammy when I take it out again it’s ready. If it’s still runny then it needs heating for a bit longer.
Method
- Before you start place a few freezer safe saucers or plates into your freezer to chill.
- Place a medium sized saucepan over a low heat and once the pan is hot add the strawberries (700g). Fry for a couple of minutes (or 10 minutes for frozen strawberries) and then add the jam sugar (700g) and lemon juice (2 tsp).
- Stir all of the ingredients together. Continue stirring until all of the sugar has dissolved – you can tell if the sugar has dissolved by dipping a spoon in and looking at the back to see if any grains have stuck to it.
- Once all of the sugar has dissolved, turn up the heat to medium/high. Let the jam bubble for about 5 minutes. Remove the jam from the heat and take a saucer out of the freezer. Put a spoonful of jam onto the saucer and pop it back into the freezer for 2 minutes. If it’s jammy when you take it out then the jam is ready to put into jars. If it’s still a bit runny then put the jam back onto the heat for a few minutes and repeat the freezer test until it’s ready.
- Once your jam is ready pour it into sterilised jars (if using) and leave to set.
What to do if your jam doesn’t set
When your jam is hot it will always be runny, so there’s no way of knowing whether it will set properly until it’s cooled. Unfortunately I’ve had a few instances over time where I’ve thought I’d got it to the right temperature only to check it later and find it’s far too runny (I suspect I probably touched the bottom of the pan with the thermometer which is always hotter).
The good news is that this situation is really easy to rescue. The jam hasn’t set properly because it didn’t reach the right temperature, so all you need to do is tip your jam back out of the jar, heat it up again until it reaches the right temperature and put it back into the jars (you’ll need to re-sterilise them unfortunately). I’ve always found that even if I have a bit of trouble first time around, it always turns out perfectly second time.
Free From/Suitable For…
- Suitable for Vegetarians and Vegans
- Dairy-Free
- Egg-Free
- Gluten-Free
- Nut-Free
- Soy-Free
The ingredients for this recipe are easily available free from all these allergens. However, please ensure you double-check allergen information for all ingredients.


cassie says
made this recipe last year, very slightly runny but fresh strawberry flavour and delish, prior effort from different recipe I had to carve ( : suggestions if I use plain granulated sugar which is always in the pantry and a lot cheaper please
Mary says
Thank goodness for this recipe, before I found this my strawberry jam was a disaster.
Conall says
Looks and tastes great! I’m going to give a few jars to family as a gift, how long should i tell them that it might last?
Charlotte Oates says
A well sealed jar of jam will last for at least a year unopened and a few weeks in the fridge after opening.
Diana says
Excellent, most pleased with it.
Tuba says
I like the fact that it is all natural and chunky a real homemade strawberry jam!