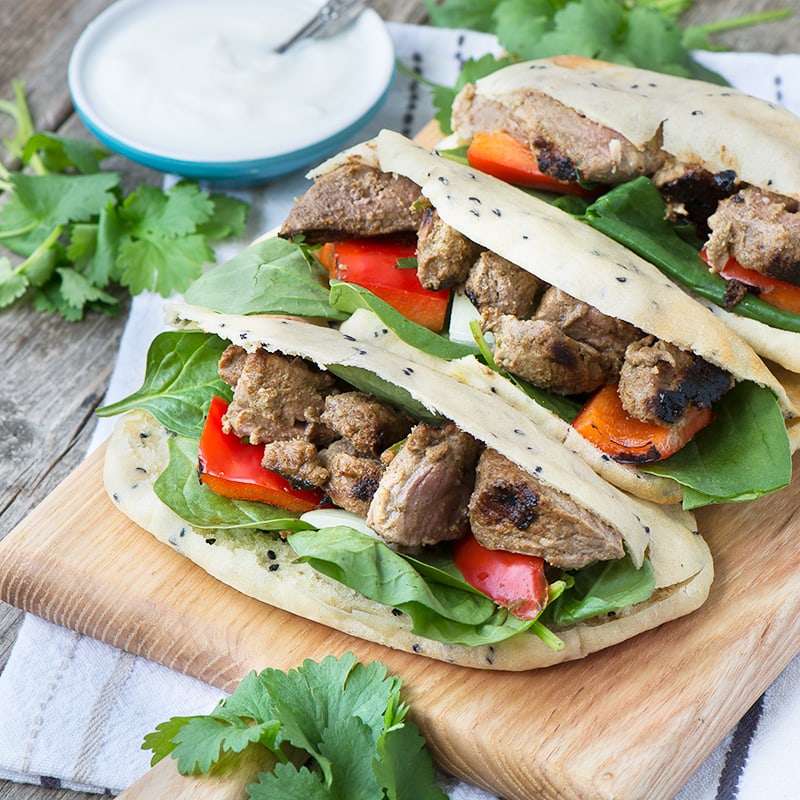
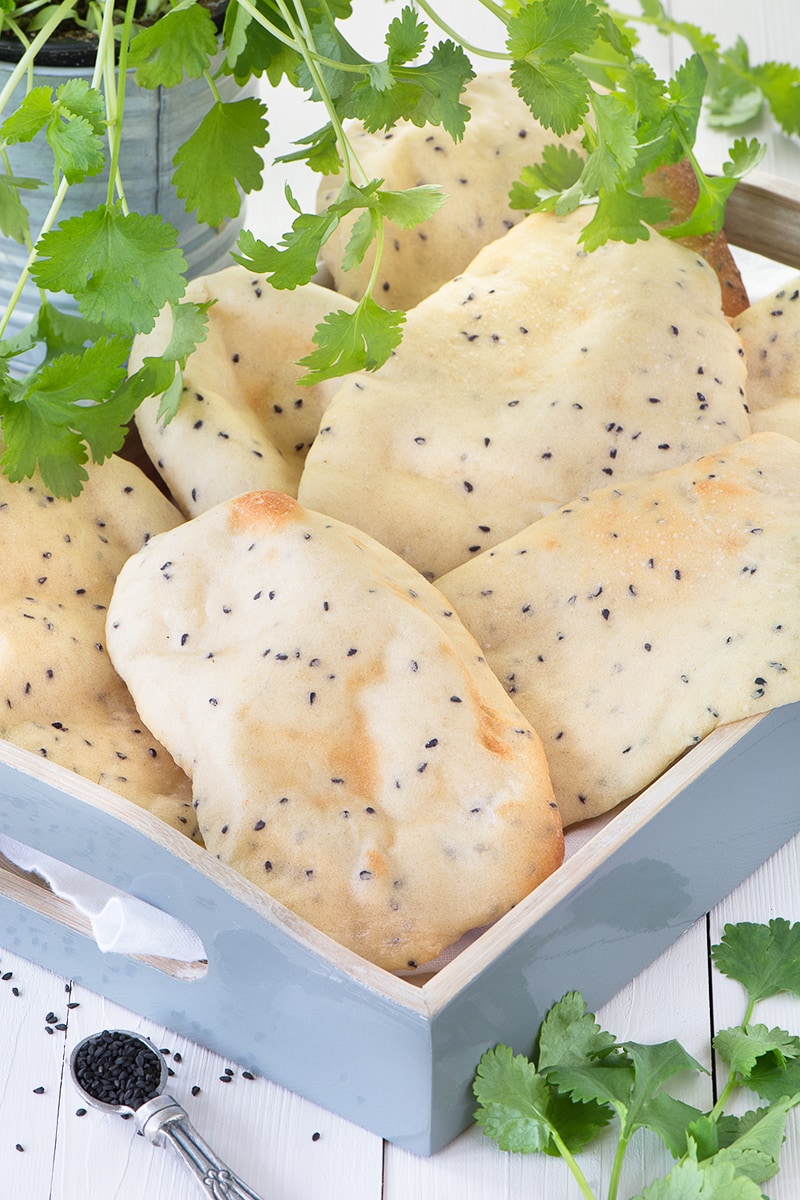
All the flavours of a naan bread with the convenient pocket of a pitta bread. Perfect for barbecues, picnics and packed lunches.
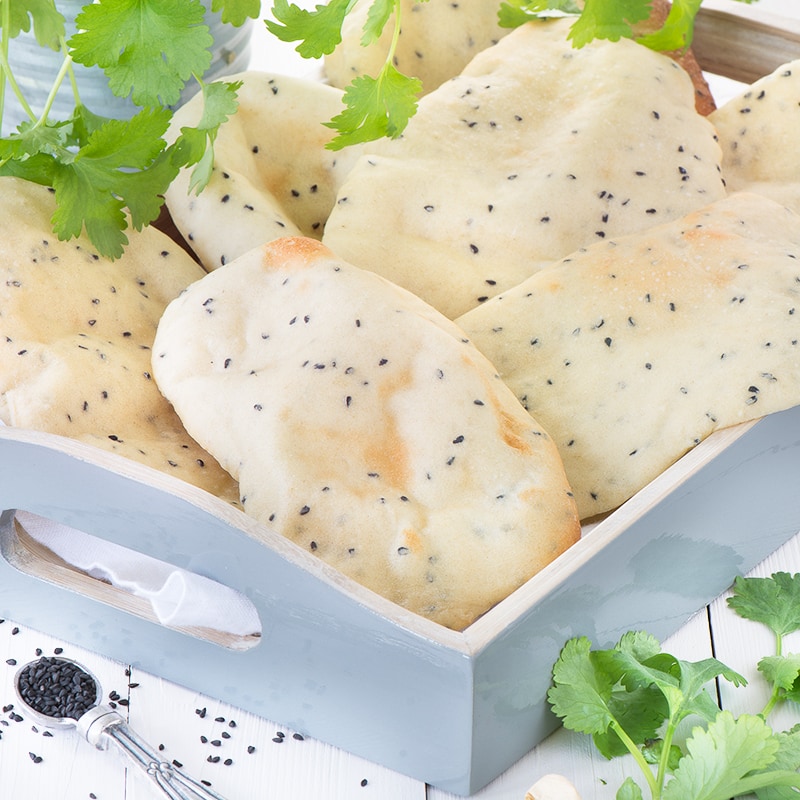
The solution… to create a naan pitta. A bread with the flavours of naan but baked like a pitta, so you get that helpful little pocket in the middle.
Busting a bread-making myth
While I’m writing about bread-making I wanted to mention a little tip I learnt a while ago on a bread making course I attended. Pretty much every bread recipe I’ve ever tried calls for the liquid to be lukewarm. The warmth of the liquid helps kick start the proving process meaning it won’t take as long. My problem with this has always been that lukewarm isn’t the clearest term, so it’s quite easy to make it a bit too warm which will then kill the yeast. I’ve definitely had bread not rise in the past where I think overly warm liquid may have been to blame.
If you’re a patient person then use the liquid cold (for these naan pittas I used my milk and yogurt straight out of the fridge). The dough will still prove and I think the slower proving process actually leads to a better flavour.
Since I learnt this tip about a year ago I’ve always used cold liquids in any dough and it’s always risen perfectly.
FREE GRAMS TO CUPS CONVERSION CHARTS
Subscribe to the Charlotte's Lively Kitchen mailing list to get your FREE printable grams to cups and cups to grams conversion charts for twelve popular baking ingredients
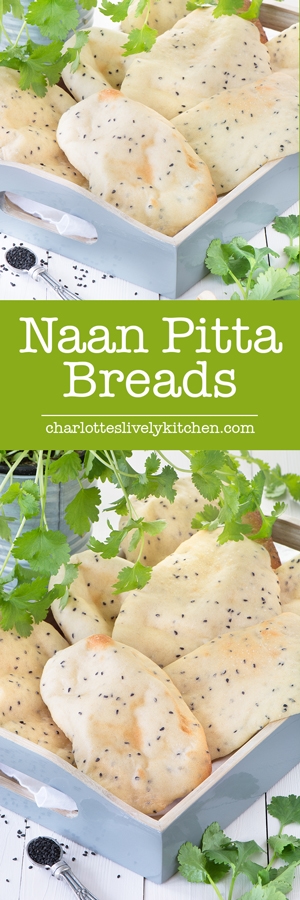
Naan Pitta Breads
INGREDIENTS
- 250 g strong white bread flour - + a little extra to knead
- 3 tbsp natural yogurt
- 120 ml milk - I use skimmed but any is fine
- 2 tbsp rapeseed oil - or olive oil or softened butter
- 1 tsp salt
- 1 tsp fast action dried yeast
- 1 tbsp nigella seeds
INSTRUCTIONS
- Put the flour into a large bowl. Add the salt (1 tsp) on one side of the bowl and yeast (1 tsp) on the other side. Add the nigella seeds (1 tbsp).
- Put the rapeseed oil (2 tbsp), natural yogurt (3 tbsp) and milk (120ml) into a jug. Mix together the dry ingredients and add about ¾ of the wet ingredients. Mix everything together. You want to get a rough dough where there are no loose bits of flour but the dough isn't too sticky. Add some more of the remaining wet ingredients if needed to help bring everything together.
- Knead the dough until it's smooth and stretchy (about 8 minutes in a mixer with a dough hook on a low speed or 10-15 minutes by hand).
- Put the dough into a bowl and cover with clingfilm. Leave to prove until it has doubled in size (this will take about 1½ hours - the size is more important than the time).
- Once the dough has proved knock the air out (by kneading it a couple of times) and split it into 8. Roll out each ball into an oval (pitta bread) shape about 5mm thick and place into a baking tray. If you find the dough a bit sticky, sprinkle over a little extra flour to make it easier to work with. Cover the tray(s) loosely with cling film and leave to prove for 15 minutes.
- While the dough is proving, pre-heat your oven to 240ºC/220ºC fan.
- Remove the cling film and bake the breads for about 5-6 minutes. You're best going a bit "bake-off" with these and watch them through the oven door. Once they've puffed up leave them for another minute and them remove them from the oven.
- Serve warm or cold.
NOTES
NUTRITIONAL INFORMATION
Any nutritional information provided is the estimated nutritional information per serving. Please refer to my guide to Charlotte’s Lively Kitchen nutritional information if you would like to learn more about how this is calculated.
Free From/Suitable For…
- Suitable for Vegetarians
- Egg-Free
- Corn-Free
- Nut-Free
- Soy-Free
The ingredients for this recipe are easily available free from all these allergens. However, please ensure you double-check allergen information for all ingredients.


Leave a Reply