Seeing as Halloween falls on a Saturday this year and it’s half term, what better reason to take your time over your Halloween breakfast and get the children in the mood for celebrating with some fun Halloween pancakes.
It’s been a while since I shared some pancake art on the blog so I decided that Halloween would be the perfect opportunity to get my pans out again. I’ll happily admit that it’s not the fanciest pancake art ever created, but that’s really not the point. We have so much fun in the morning with the boys requesting what they want me to make and my attempts at creating it. It’s even more satisfying to make them a surprise and find that they can identify what it is.
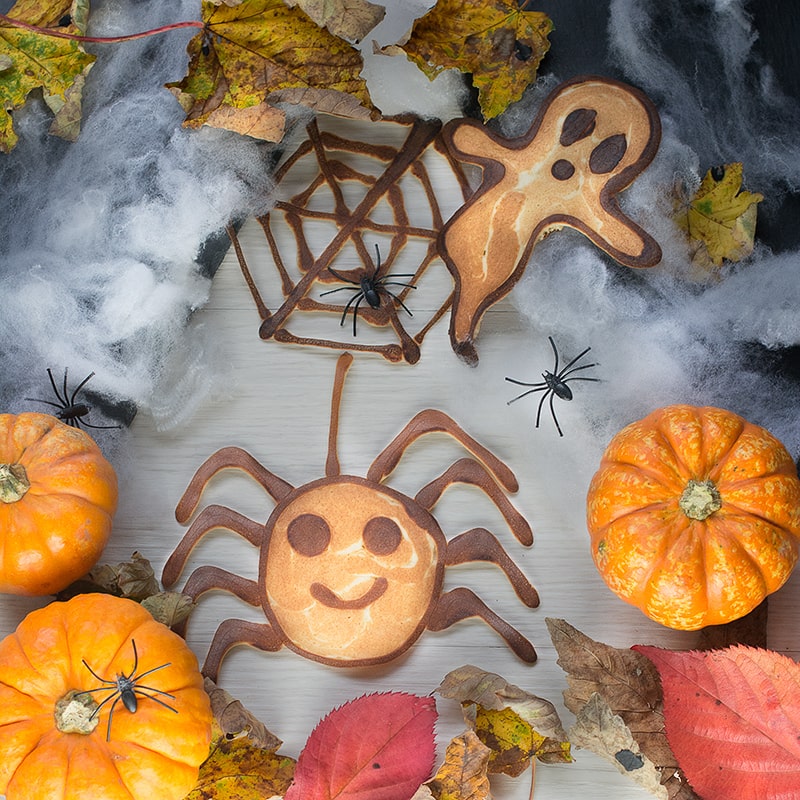
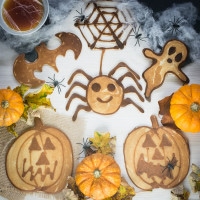
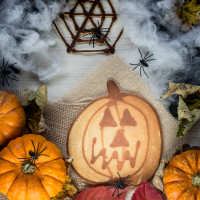
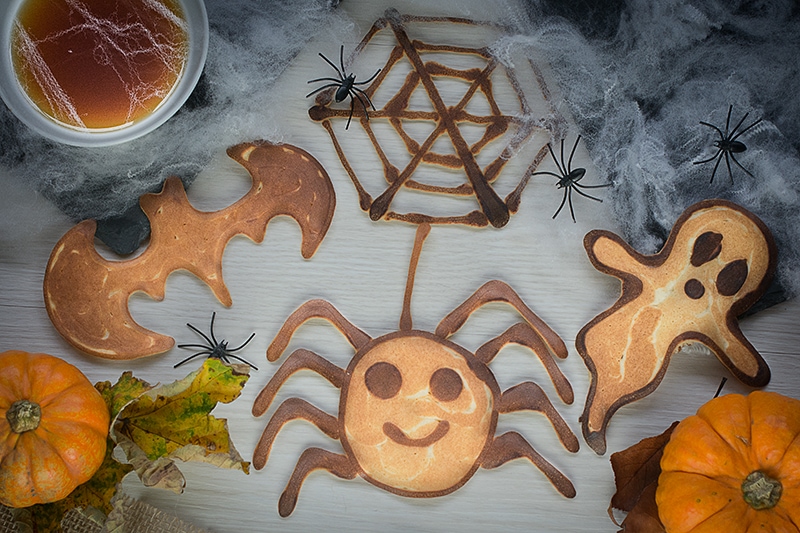
There’s so much inspiration for pancakes around Halloween I had trouble deciding what to make, in the end I decided to go for pumpkins, spiders, ghosts and bats (although my original bats looked like little girls with bunches so I went Batman style). I’ve already promised the boys I’ll make more and I think they’ve got even more ideas for things to try (hopefully not too ambitious).
What you’ll need
- American pancake batter – this recipe works perfectly
- Sieve
- Large non-stick frying pan
- Small squeezy bottle(s)
- Fish slice (or similar for turning the pancake)

What to do
- Make your pancake batter.
- Pass your pancake batter through a sieve to remove any lumps (not important for regular pancakes but essential for these).
- Pop your pancake batter into a squeezy bottle.
- Get your pan hot, draw the outline, add the filling, flip and finish cooking (there’s some more tips below but that’s the gist of it).
Some extra tips for pancake perfection (or at least something your children will recognise 🙂 )
- Try and draw the picture on paper first, if you can’t draw it with a pen you can’t draw it with batter.
- Sieve the batter – lumps will clog the bottle and it’ll then splurt out in a big mess when it unclogs – if you find you’ve got a stray lump, don’t squeeze over the pan, squeeze back into your batter mix to unclog and then go back to drawing.
- Make a round practice pancake first – I don’t know why but the first pancake of any batch always come out different from the rest so make a little round one – that can be your treat to keep you going while you cook them for everyone else.
- Get the pan hot and then turn off the heat before you start drawing – I didn’t the first time I tried and my arm was red raw by the time I’d finished. Turning off the heat also gives you a bit more time to draw whilst keeping the colour relatively even, just remember to turn it back on to actually cook the pancake.
- Don’t lift the outline to see if it’s the right colour – once you’ve broken the contact with the pan it won’t colour in the same way. Instead keep a close eye on it and when you see the edges turn brown it’s time to fill.
- Cook the outline on a medium heat and the once you’ve added the filling turn the heat to low. When I make simple round pancakes I’ll cook both sides on a medium heat, but for these turning the heat to low means that it doesn’t brown as much giving more differentiation between the outline and the filling.
- Have fun and don’t worry if they go a bit wonky – they’ll still taste yummy!
I hope these tips are useful and you’re tempted to give it a go on Saturday. If you do then please, please, please send me a picture as I’d love to see what you’ve made.

Beckie says
I’ve always struggled to make good outline pancakes, thank you for the tips! #Cookblogshare
Charlotte Oates says
I hope they work for you. I’d love to see a picture if you try them out.