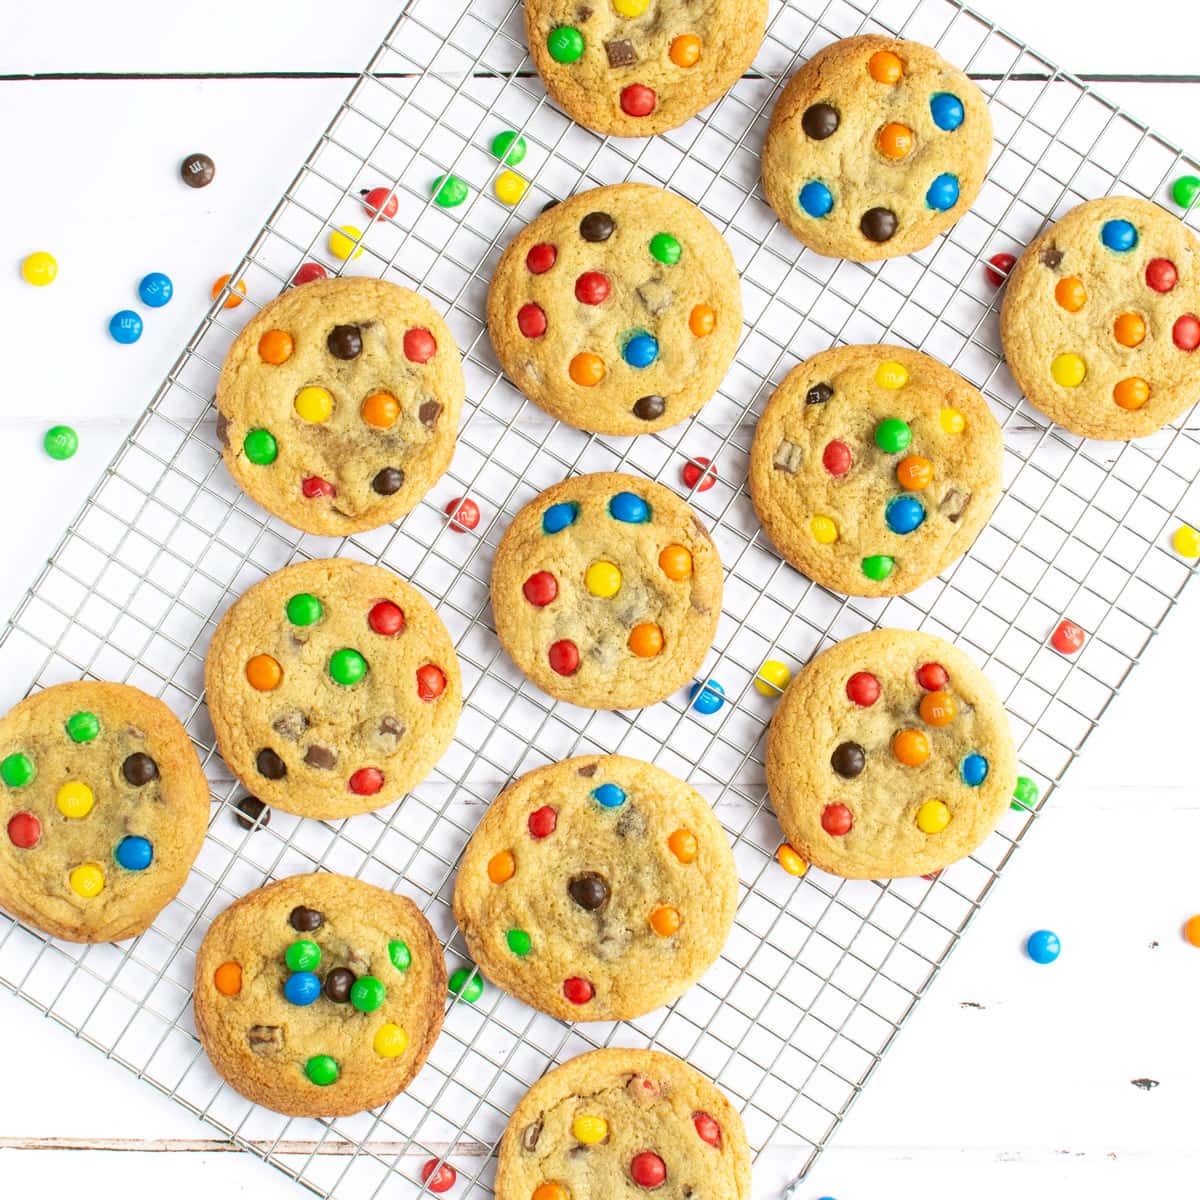
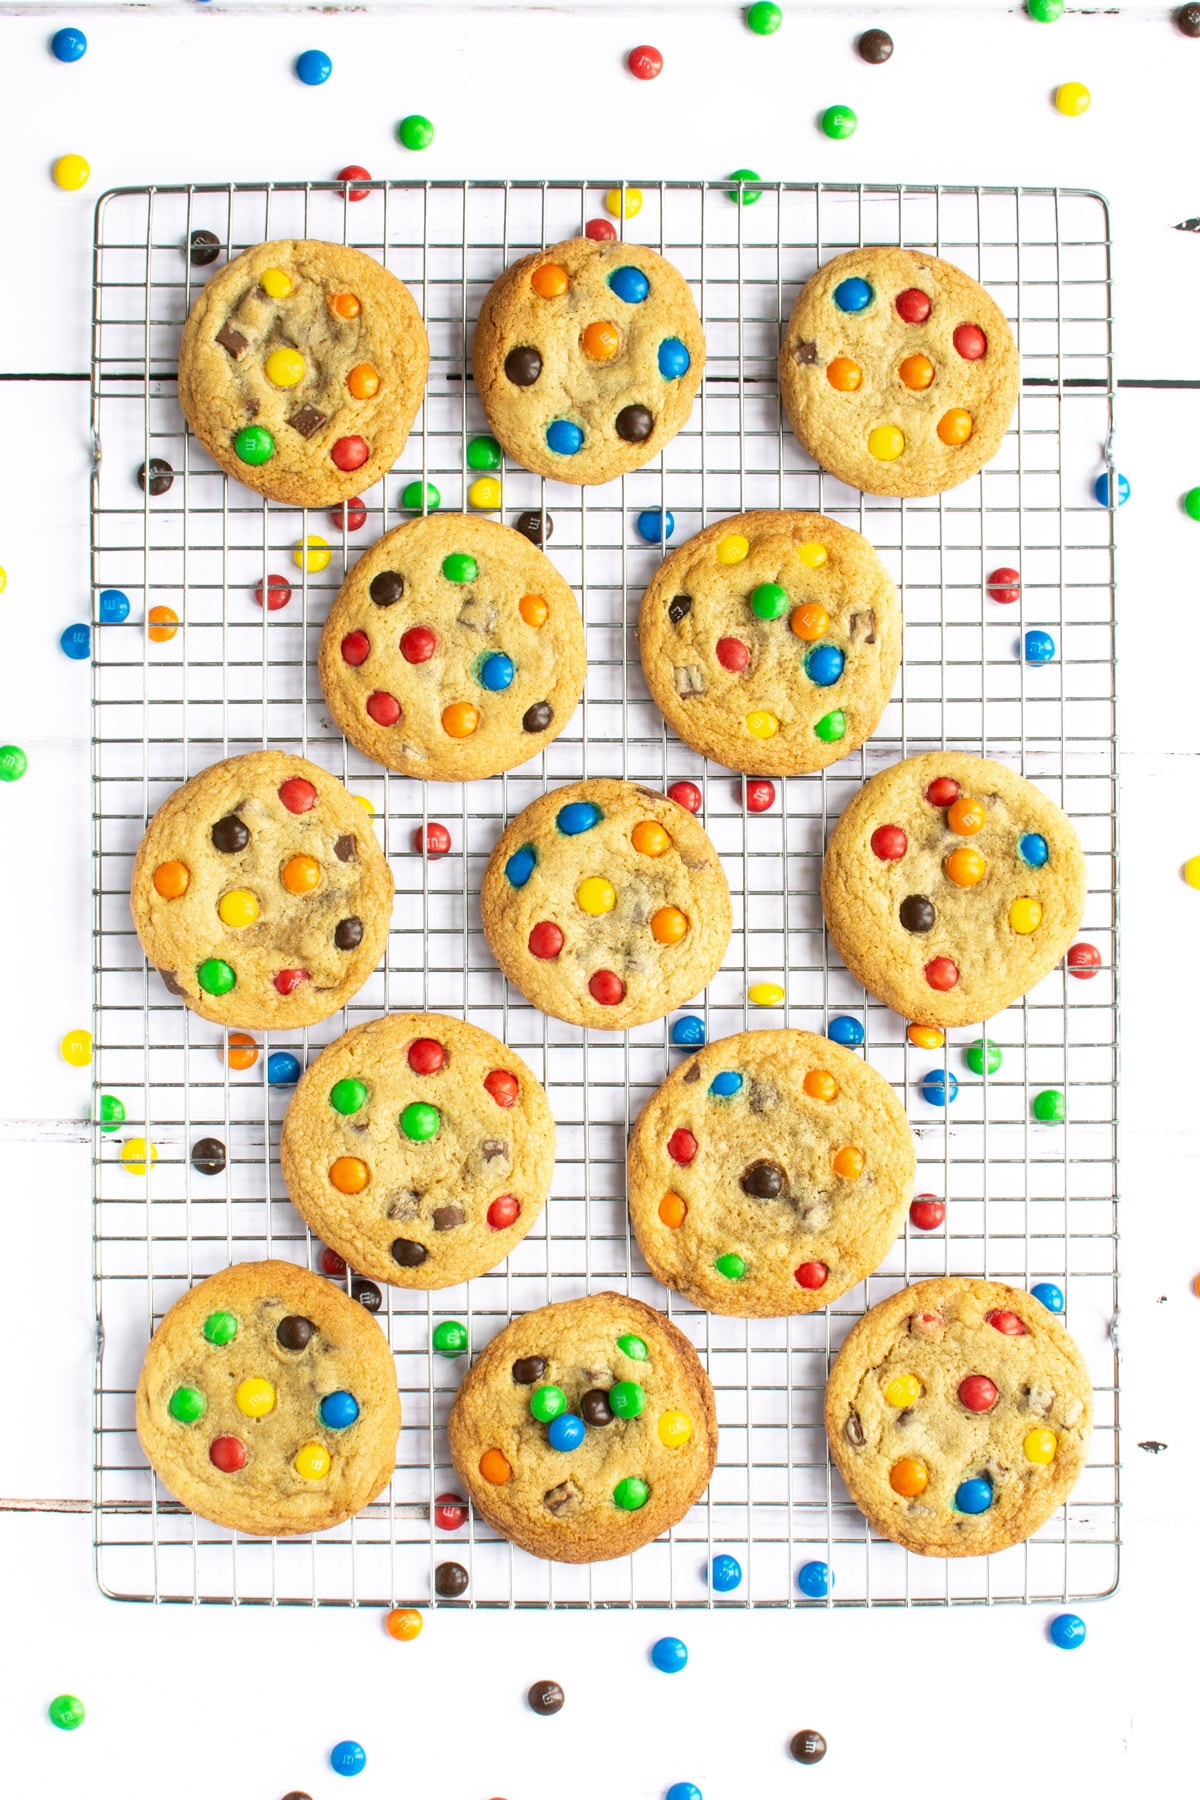
M&Ms Cookies – A twist on my classic chocolate chip cookies with added colour and crunch from M&Ms (or Smarties).
Over the last school holiday, I did some baking with the boys. We made Chocolate Brownies and I was asked to make M&Ms cookies. It wasn’t a recipe I have on here so I got to work and adapted my Chocolate Chip Cookie recipe.
Whilst my youngest was keen to help with the baking, his favourite job was rolling the cookie dough into balls and adding the M&Ms on top.
We all enjoyed them so much (and have made them a few times since then) that I thought I should share the recipe on here with you all so you can have a go at making them too.
Can I use Smarties instead of M&Ms?
If you prefer you can use Smarties instead of M&Ms. I chose M&Ms as the colours are more vibrant, making the cookies look more fun, but they both work equally well.
You can also substitute the chocolate M&Ms for another one of their flavours, or for other similar sweets such as Reese’s Pieces.
A spot of easy spotty baking
If you’ve got primary school aged children then chances are at some point you’ll get asked to bake something spotty to raise money for Children In Need (and if you’re anything like me you’ll only remember the night before so you’ll be panic baking along with desperately trying to decorate a t-shirt with spots for them to wear!).
These cookies fit the bill perfectly for a Children in Need fundraiser, they’re bright, spotty and easy to make. Plus my primary school aged children love them so they should sell well and help raise lots of money 🙂
What’s the best way to store M&Ms cookies
These cookies are best eaten within 24 hours of baking, although they’re fine for 4-5 days if they’re stored in an airtight container.
One great thing about these cookies is that they freeze extremely well, either baked or unbaked. I like to bake a big batch and then freeze most of them. I then heat a couple of them through for 4 minutes when we want to eat them. They taste just like they’ve been freshly baked. I love knowing they’re in the freezer ready for when the boys (or me) need a treat 🙂
For full freezing instructions as well as how to bake the cookies from frozen and how warm through already baked cookies so they taste just like they’ve been freshly baked, take a look at my Chocolate Chip Cookie recipe (you’ll find the instructions below the main recipe).
FREE GRAMS TO CUPS CONVERSION CHARTS
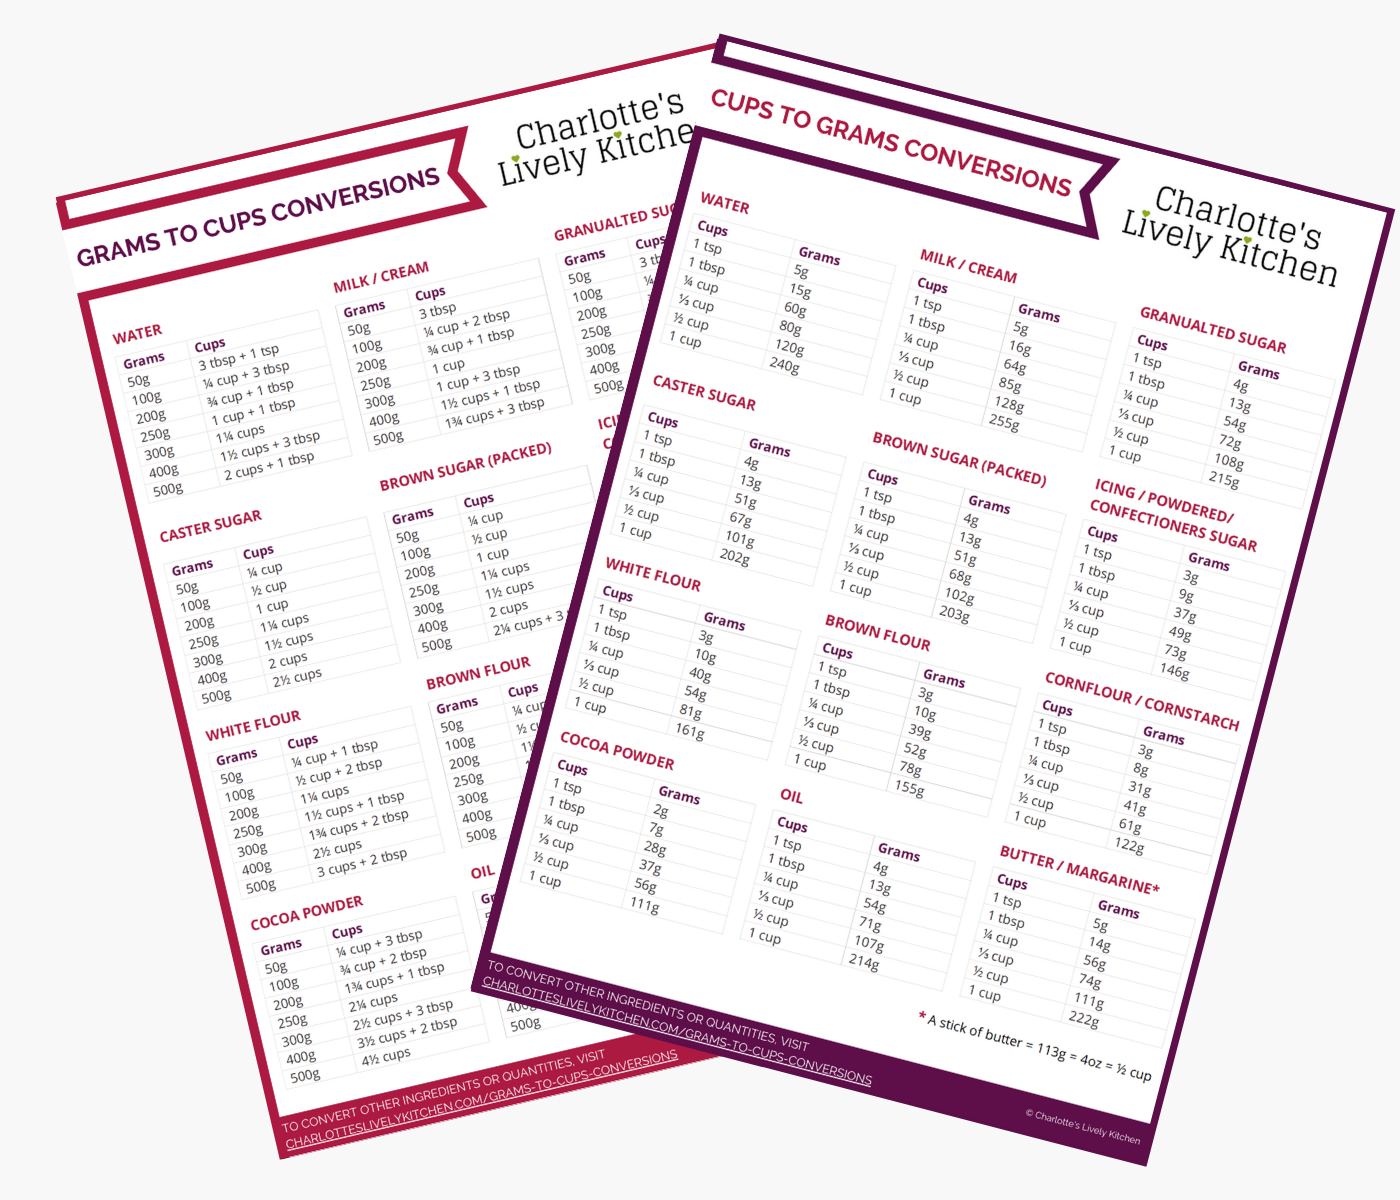
Subscribe to the Charlotte's Lively Kitchen mailing list to get your FREE printable grams to cups and cups to grams conversion charts for twelve popular baking ingredients
M&M Cookies
INGREDIENTS
- 200 g unsalted butter - soft at room temperature
- 90 g soft dark brown sugar
- 110 g caster sugar
- 300 g plain flour
- 100 g milk chocolate chunks - you can also use dark or white chocolate, or a mix
- 1 large egg
- 1 egg yolk
- 1 tbsp vanilla extract
- 1½ tsp bicarbonate of soda
- ⅛ tsp salt
- 125 g M&Ms
INSTRUCTIONS
- Beat together the butter (200g) and sugars (90g soft dark brown sugar and 110g caster sugar), until light in colour - this will take 2-3 minutes in an electric mixer.
- Add the egg (1 whole large egg and 1 egg yolk) and the vanilla extract (1 tbsp) and beat until combined.
- Sift in the dry ingredients (300g plain flour, 1½ tsp bicarbonate of soda and ⅛ tsp salt) and mix together until combined.
- Finally, mix in the chocolate chunks (100g).
- Divide the mixture in 20. Roll each piece of dough into a ball and then flatten it slightly, so it's about 1½cm thick. Place it onto a baking tray lined with greaseproof paper or a non-stick baking liner. Ensure the cookies are well spread out as they'll double in size in the oven. Gently push about 7 M&Ms into each cookie - Take a look at the picture below the recipe for how the cookies should look on the tray.Loosely cover the trays and chill in the fridge for at least an hour (up to 5 days).
- Once the cookies have chilled, pre-heat your oven to 190°C/170°C fan.Bake your cookies for 8-9 minutes, so they're golden around the edges but still pale in the middle. You might find it useful to turn the tray after about 7 minutes to help them cook evenly.
- Once baked, remove the tray from the oven and leave the cookies to cool on the tray for about 10 minutes before moving them to a wire rack to cool completely.
- Enjoy!
NOTES
NUTRITIONAL INFORMATION
Any nutritional information provided is the estimated nutritional information per serving. Please refer to my guide to Charlotte’s Lively Kitchen nutritional information if you would like to learn more about how this is calculated.
Free From/Suitable For
The ingredients I used to make this recipe are all free from the following allergens. However, please check any labels carefully for allergens you need to avoid as brands can vary and product recipes can change over time.
- Suitable for Vegetarians
- Tree Nut-Free
- Peanut-Free
- Sesame-Free
- Lupin-Free

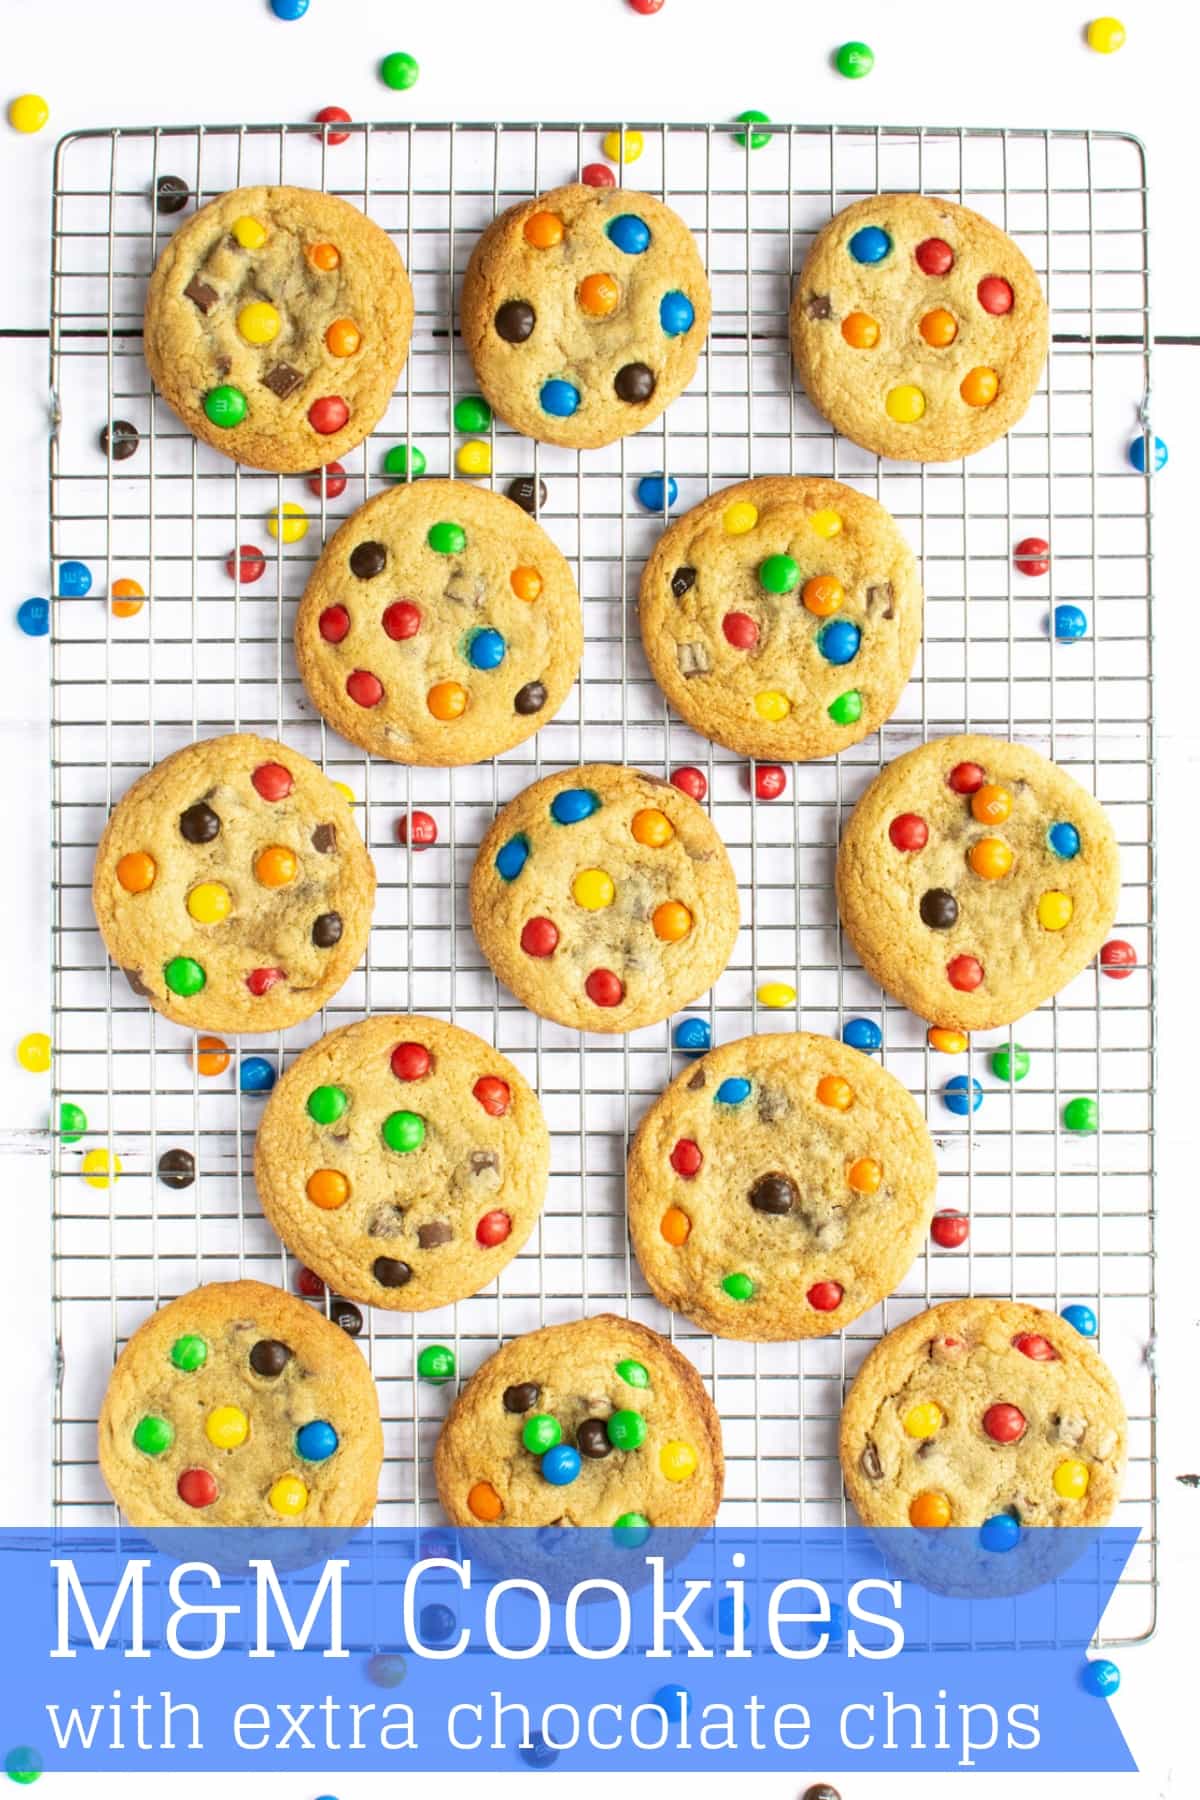
How your cookies should look before baking. The M&Ms look squashed together, but they’ll spread out as the cookies bake.



Paula says
Hi Charlotte- I really like this recipe I was wondering if you think it would be possible to make these cookies bigger? Would the cooking time need to increase a little bit? Thank you!
Charlotte Oates says
That should be fine. As long as you’re making them wider and not thicker then the cooking time should be roughly the same as given in the recipe.
Zedman says
Which oven shelf (top, middle or bottom), do you cook your cookies on?
Charlotte Oates says
Middle if I’m only cooking one tray.
Middle and bottom is I’m using two, but I’ll switch them during cooking so they cook evenly.
Emma says
Thank you for such a great recipe. These turned out to be the best cookies I’ve ever baked. Thank you, Charlotte!
Liz says
Hi can I use normal sugar instead of caster sugar
Charlotte Oates says
You can, but you may find your cookies have a slightly heavier texture.
Bud says
Just put sugar in a high power blender for a few seconds and you’ll get it finer.
Sam Grover says
I am the son of Emma Grover who is one of Charlottes cousins and I made this recipe twice and counting in lockdown and they are spectacular
Sam Grover
Charlotte Oates says
I’m so glad you enjoyed them. Your Mum told me you’ve been baking over Skype with your Grannie. It sounds like a great way to spend the school holidays 🙂
Wanda says
Brilliant fun cookies to bake. It wasn’t just the children who loved them. Since I found your website with fabulous recipes Nana’s kitchen is a hot favourite with aromas of baking and a stream of grandchildren enjoying them!
Teresa says
These look amazing! Can you tell me please are they crunchy in texture or like a chewy texture?
Charlotte Oates says
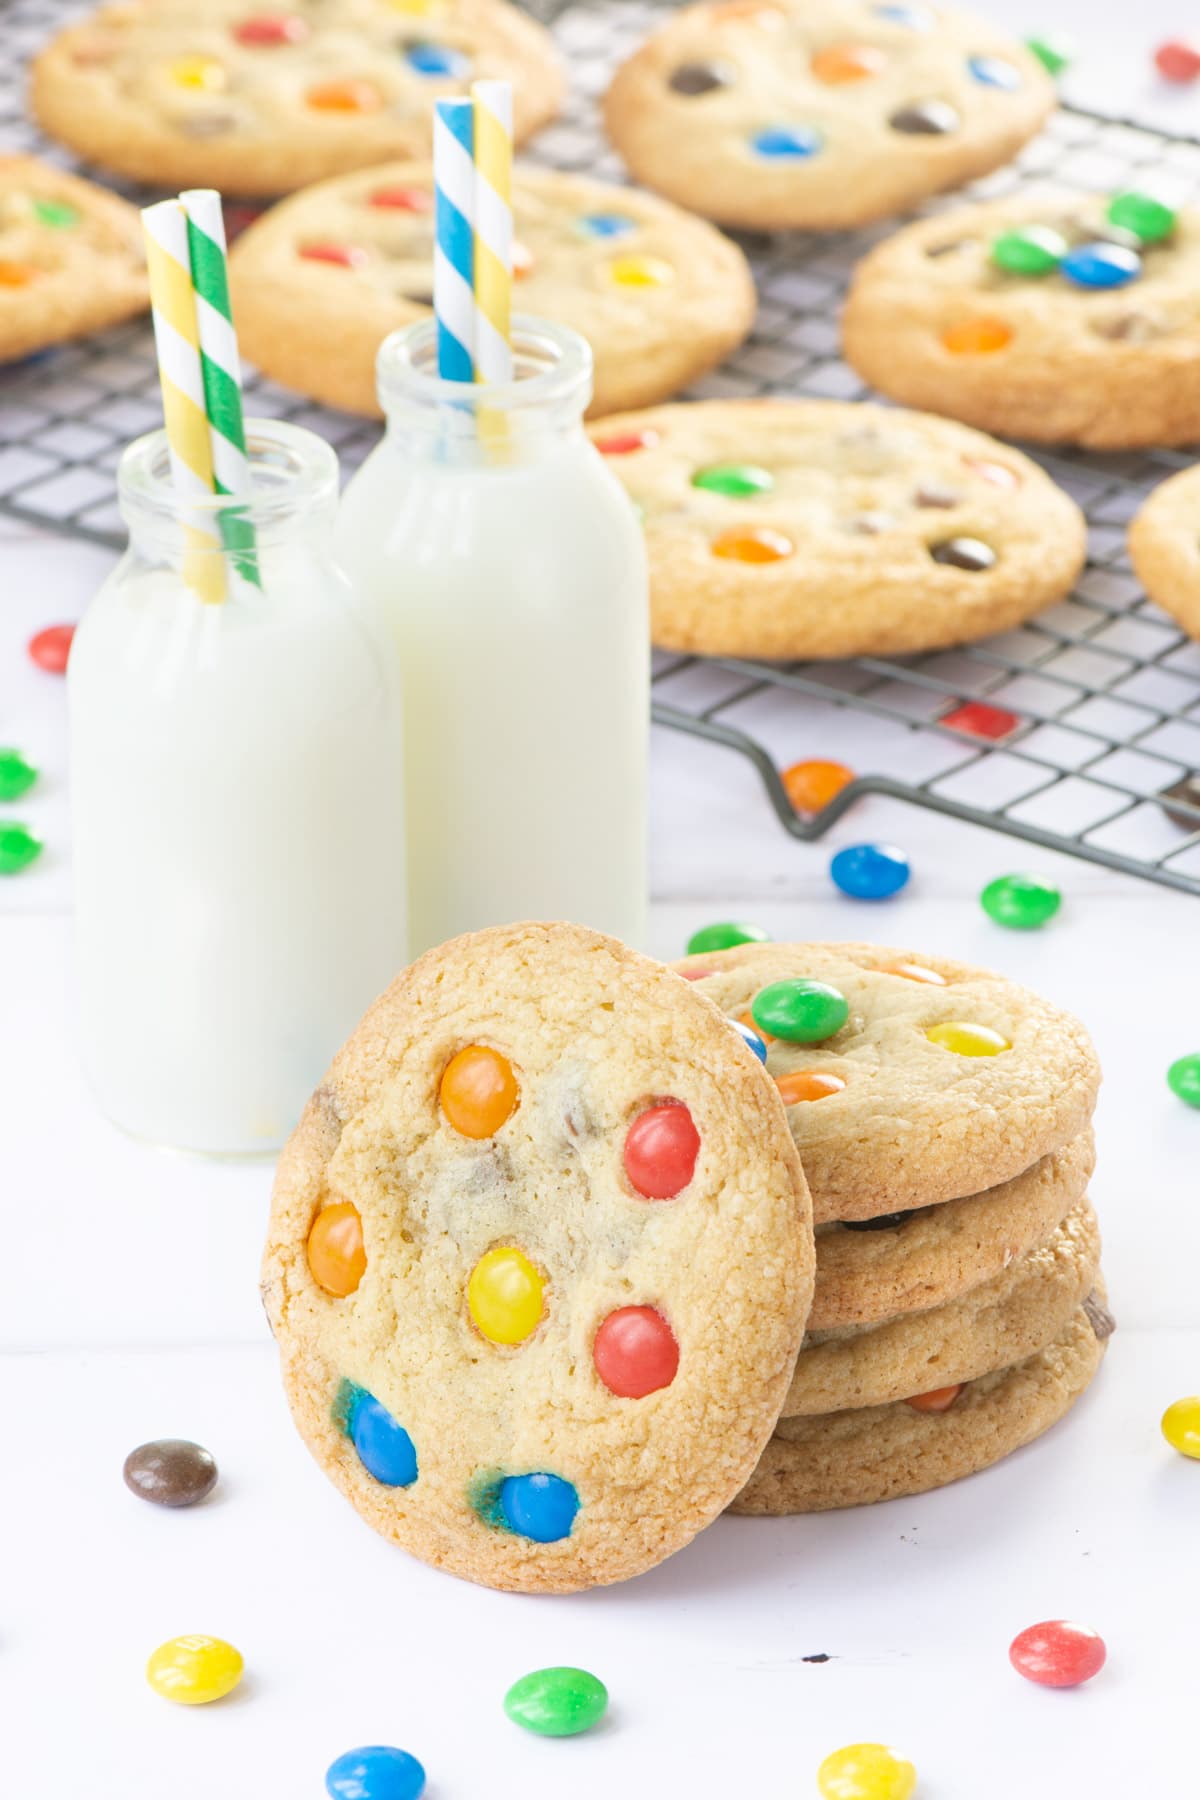
They’re crunchy around the edges and soft in the middle.
Iris Tilley says
Aww now these look yummy and fun to make