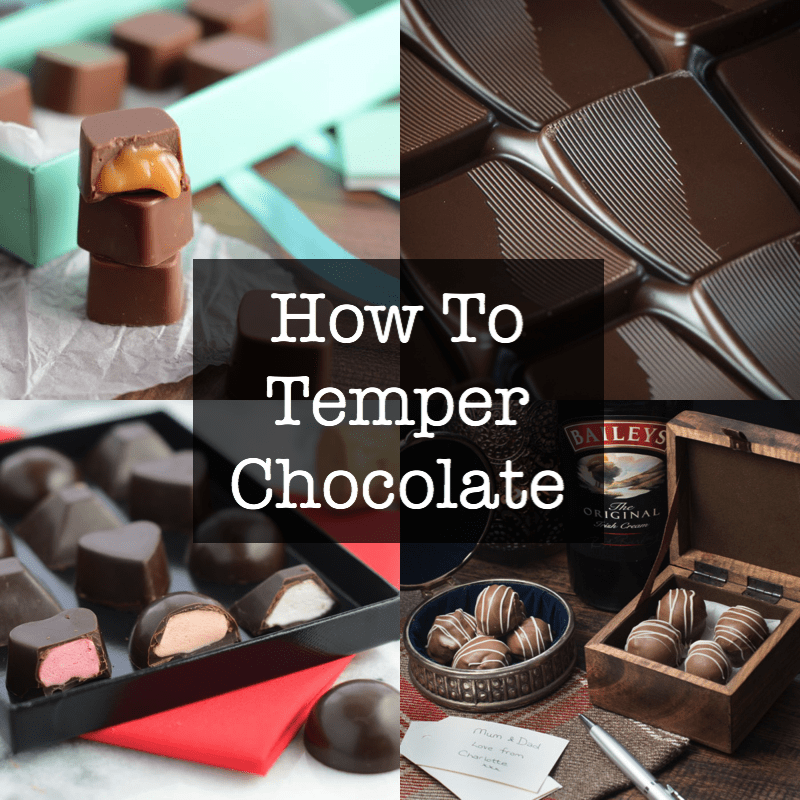
How to temper chocolate – including video guide, step-by-step instructions and lots of extra tips.
I remember when I first saw chocolate being tempered (on a Paul Hollywood cooking programme a few years ago – I think it was called Pies & Puds), there was a guest tempering chocolate on a huge slab of marble spreading the chocolate around and scraping it back up again, all the while explaining that if you did it right you’d end up with beautifully tempered chocolate that you could use for your homemade chocolate making.
I remember at that time feeling pretty confident that I would never try it, for starters the chances of my chocolate pouring off the edges of the marble slab and all over my kitchen seemed pretty high. I also had no idea how you were supposed to know whether you were doing all the spreading and scraping right to actually end up with chocolate worth using.
Fortunately, I discovered a far easier technique, one where you can have a lot more certainty in what you’re doing and there’s no chance you’ll end up with your kitchen dripping in escaped chocolate.
Why should you temper chocolate?
There are three main reasons why you’d want to temper your chocolate…
When you take your chocolate out of the packet you’ll notice that it’s lovely and shiny. If you then melt it and let it set, it will end up looking dull. Also, if you try and refrigerate your chocolate you’ll find they get a white sheen across them. If the chocolate is tempered this won’t happen.
The chocolate maintains it’s snap when you break it or bite into it
When I’m chocolate making I generally like to use moulds as I love how neat and tidy the finished chocolates look. Untempered chocolate never quite sets correctly meaning that it’s a bit sticky if you try pouring it into a chocolate mould. This will mean it’ll stick to the sides of the mould and refuse to drop out when you want it to. Believe me, there’s nothing worse than taking time to make some beautiful chocolates only to find they’ve welded themselves to the inside of the chocolate mould.
Looking for inspiration for filling your homemade chocolates then take a quick look at my chocolate index
What equipment do you need to temper chocolate
- Good quality chocolate – you can use dark, white or milk. In my opinion dark is the easiest to use.
- Thermometer – I use this chocolate thermometer from Lakeland, but any other cooking thermometer should be fine
- Saucepan
- Spatula
- Large bowl

How To Temper Chocolate
INGREDIENTS
- Good quality chocolate
RECIPE VIDEO
INSTRUCTIONS
- Break your chocolate into pieces.
- Take about a third of the chocolate and set it to one side to use later.
- Put the remaining chocolate into a saucepan and melt it over a very very low heat stirring constantly (you can also use a bain marie or short bursts in the microwave if you prefer). You want to heat the chocolate until it reaches 48ºC for dark chocolate or 45ºC for milk and white chocolate.
- Once you’ve reached your desired temperature, remove it from the heat and scrape it into a large bowl. The idea now is to bring the temperature of the melted chocolate back down to 32ºC by stirring in the unmelted chocolate you set aside in step 2.
- Add a couple of pieces of unmelted chocolate and mix them in, as they start to melt into the chocolate add more pieces. Keep adding more chocolate until you’ve reached 32ºC.
- Remove any unmelted lumps of chocolate and set them to one side to use again another day.
- Now your chocolate is perfectly tempered and ready to use.
Any nutritional information provided is the estimated nutritional information per serving. Please refer to my guide to Charlotte’s Lively Kitchen nutritional information if you would like to learn more about how this is calculated.
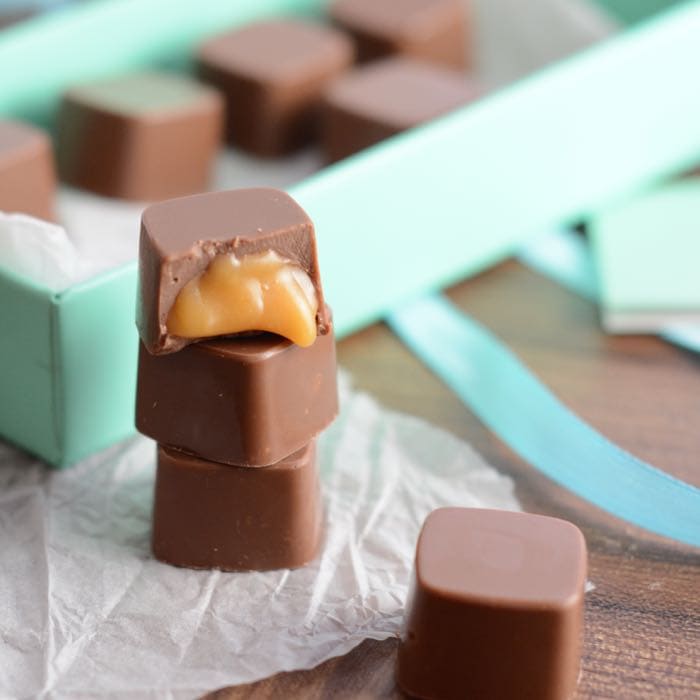
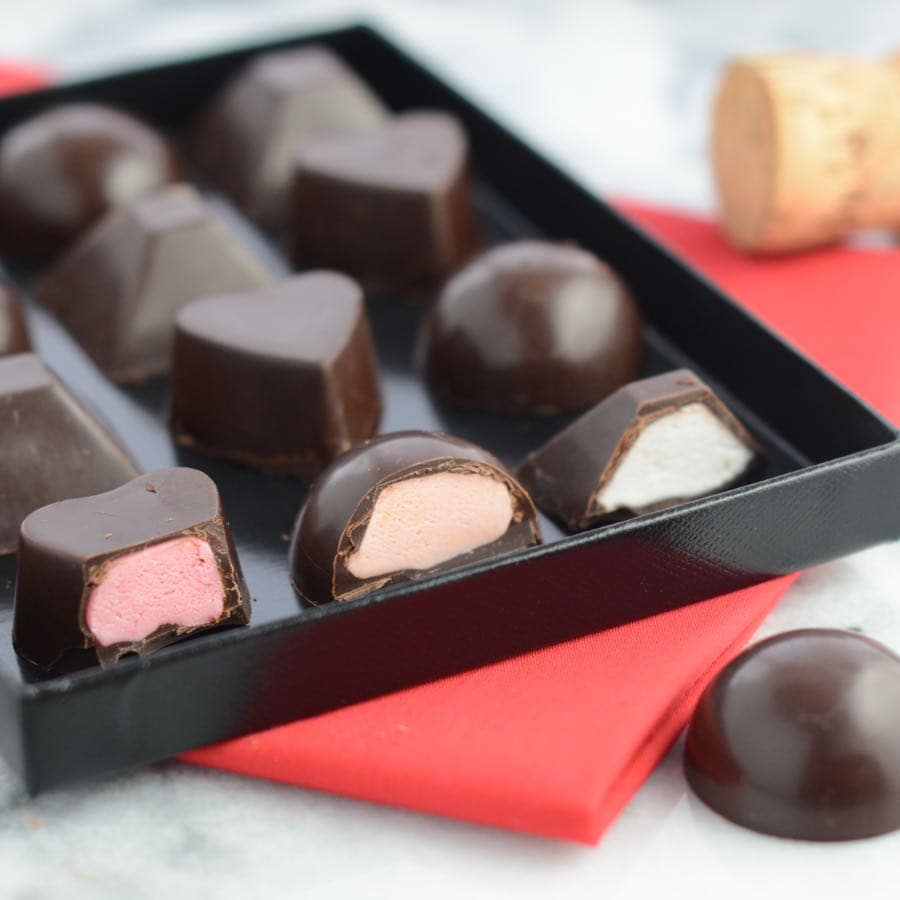
Caramel filled chocolates in a tempered milk chocolate shell
How to temper chocolate without a thermometer
The first time I ever tempered chocolate I was taught to do it without a thermometer so it is definitely possible. Personally, I prefer the certainty that using a thermometer gives so always use one. It’s very easy to overheat the chocolate when you’re melting it and not bring the temperature down enough when you’re cooling it (this is definitely a problem for me as I’m really quite impatient!).
If you don’t have a thermometer and think it’s a waste of time popping out to get one then in step 3 when you’re melting the chocolate you want to heat the chocolate until it has just melted, then get it off the heat. For step 5 where you’re cooling the chocolate, you want to keep adding unmelted chocolate until it simply refuses to melt into the melted chocolate any more and you’re just left with lumps swimming around in your chocolate.
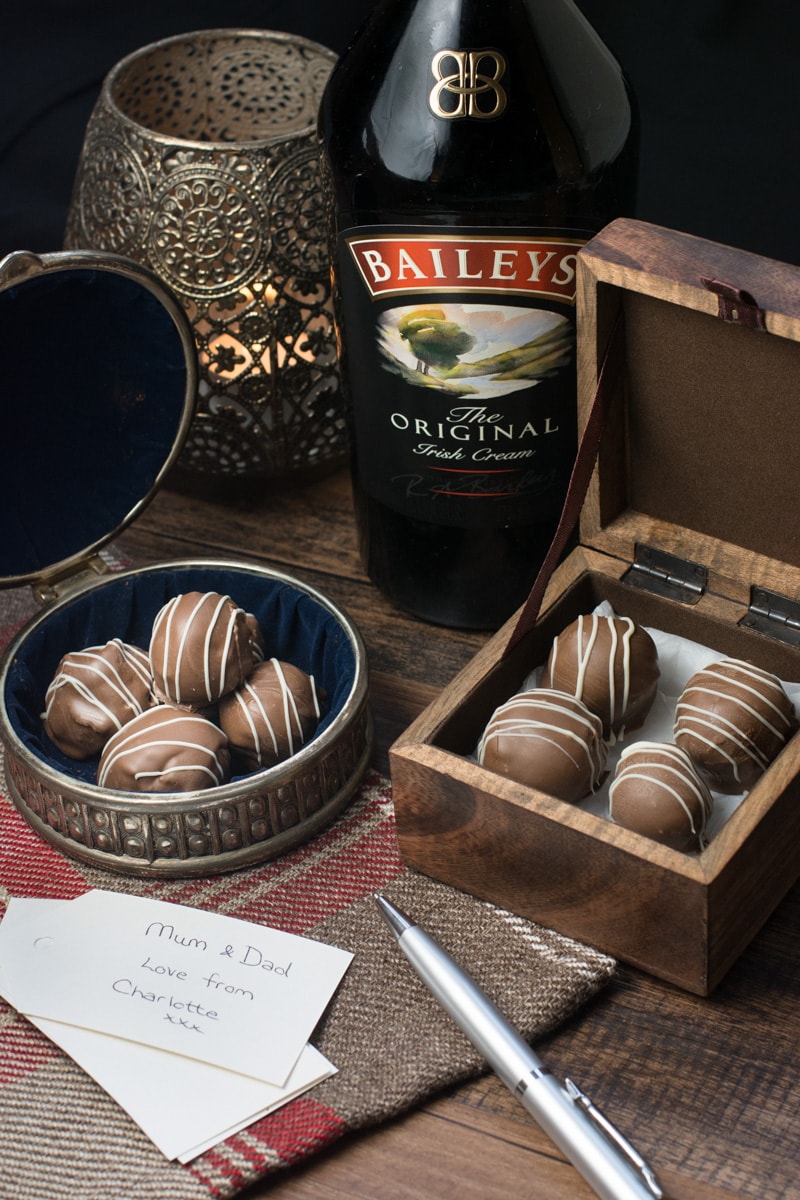
Baileys truffles dipped in tempered milk chocolate
Extra Tips
When I’m making chocolates I probably temper about twice as much chocolate as I really expect to use. The reason is that both filling moulds and dipping truffles is far far easier if you’ve got more than enough (just imagine trying to get a lovely glossy coating on the outside of a truffle when you’re scraping it around at the bottom of the bowl trying to pick up the last of your chocolate).
When I temper chocolate I keep a dish at the side lined with greaseproof paper or cling film and then I simply scrape any excess chocolate into there. Let it set and you can then use it again another day, either for step 3 in the tempering process or to make something like a chocolate sauce or ganache (or just to eat as a little snack 🙂 ).
I’ve gone a few degrees over in the past and my chocolates have turned out just fine. If your chocolate has started to go grainy, then you’ll have to start again but there’s a bit of a window above 45ºC/48ºC when you’ll get away with it just fine!
Water is like death to chocolate, the tiniest drop will make it seize and go grainy and once that’s happened there’s no rescuing it. Before you start make sure all of your equipment is completely clean and dry and if you’re using a bain marie make sure you avoid splashing any drops into your chocolate.
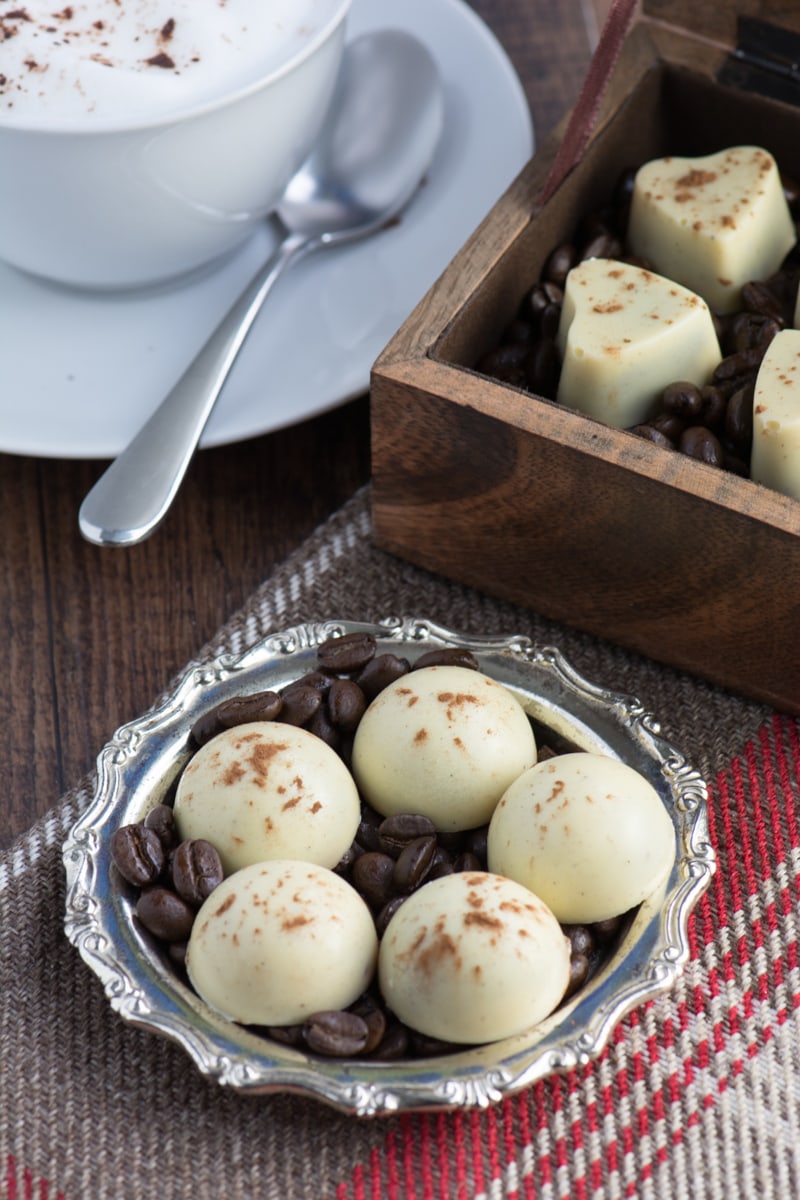
Cappuccino truffles in tempered white chocolate
Once chocolate has been tempered it sets much more quickly than chocolate that has simply been melted. If you do your tempering and then go and get everything you need for your chocolate making you’ll find that it’s hardened before you actually get to use it and you’ll have to start all over again. Make sure you’ve got your moulds, filling, etc… all ready to go before you start tempering.
I’ve never had a problem when I’m filling chocolate moulds, but as dipping truffles is more time consuming I have found that sometimes the chocolate can start to harden before I’ve finished all my dipping. If that happens then quickly pop it back into your pan/bain marie/microwave and heat it back up to 32ºC. You don’t want to do that too many times but you should be fine to do it once (or maybe twice).
So there you are, all my tips for tempering chocolate. If you’ve got any questions about the process then please let me know.

Ranu says
Hi Charlotte!
Thanks for the detailed information and instructions on tempering chocolates. I have a query..you haven’t used double boiling method when heating chocolates. Why is it so? Even though you have shown in the video, I think I just need some reassurance that it is okay to directly put the chocolate on the stove for heating.
Thank you
Charlotte Oates says
As long as you use a low heat and adjust it as needed, I don’t experience any issues melting chocolate directly in a saucepan. Using a heavy based saucepan will help with this as you will create less hot spots and disperse the heat more evenly. Using a double boiler gives the same results, it just takes longer. I have mentioned that this is an option in the recipe instructions. I think largely which option you choose is down to your confidence level. But if you trust your gut and don’t get distracted, you should be fine.
Sarah Freer says
Very well explained no fuss easy to understand, has inspired me to try it
Barbara Stewart says
Hi Charlotte
I found your video quite informative, where about did you get spatula with the thermometer at the end of it. hopefully the sell this product in Canada. Where can I buy this product ?
I am waiting for your video .
Thank you
Barbara Stewart
Charlotte Oates says
I bought it from Lakeland in the UK. You can also get it on Amazon.
https://www.amazon.co.uk/Lakeland-Thermospatula-Thermometer-Stirrer-Chocolate/dp/B00A16AHEM
Jack says
How do I access the chocolate tempering tutorial video?
Charlotte Oates says
The video is embedded in the recipe card. If you cannot see it, then you can also find it on You Tube https://www.youtube.com/watch?v=9ysWfbTfAq0
BC says
Hi, great tips, thanks. Do you set/keep your chocolates in the fridge once made or not?
Charlotte Oates says
I do for any of the truffles as they include cream. For the fondant chocolates I’ll usually store them in the fridge as they keep better, but they’ll be OK in a cool room.
Chloe Edges says
Super helpful thanks Charlotte! I used the method to make a personalised chocolate bar for a friend’s wedding and it looks great!
bryony says
I have been trying to work out how to temper chocolate for a very long time and could never find something that explained it simply in a way i could understand. I’ve just found your post about tempering and it’s really help. THANK YOU. i just have a question, once it is tempered, does the chocolate stay melted while you dip your truffles? as i’ve done this technique before where i temper a bowl of chocolate and within about 10 minutes the chocolate thickens and starts to set, and then i tried to re melt the chocolate so it was runny again which then defeats the temper part. any advise would be great! thank you 🙂
Charlotte Oates says
Sadly as you’ve worked to bring the temperature down as part of the tempering process it hardens more quickly. That means you need to work quickly to get all of your chocolates coated. Make sure you have everything ready to go as soon as your chocolate is tempered so you can work quickly. If you find that the chocolate has set too much for your chocolates you can simply increase the temperature and add more chocolate to bring the temperature down again.
Karen Ivancic says
Hi Charlotte!
I was wondering if you could possibly use the tempered chocolate on the inside of a springform pan to make a large chocolate case? I’ve never tried it but want to try making one to put ice cream in…
Your tips are fabulous and I’m looking forward to trying them out right after I’ve bought a thermometer! Lol!
Kaz
Charlotte Oates says
It depends on what the surface is like inside the tin. It needs to be very smooth and I’m not sure any of the tins I have at home would be smooth enough. Something like a plastic tub or pyrex bowl would be better. You can buy silicone baking tins which I would expect would work quite well. If you do try and use a springofrm tin, don’t open the spring to release the chocolate as it would be quite brittle and the jlot of opening the tin would probably crack it. You need to gently tap it out. Also, use a few layers to add strength.
Karen Ivancic says
Thanks so much! I’ll keep a look out for a silicon pan over the next few days. I really appreciate your help! Kaz
Heike says
excellent post and video!! thank you for the extra tips too!!
Sandra says
Loving your blog.
I’ve just made my first caramel sauce after reading and watching your video. It’s a bit lumpy but after reading all your tips I think I understand why .
Anyway I’m about to launch into tempering my chocolate. And was wondering if you have a good chewy toffee recipe? I’ve searched everywhere online and am not sure which is good or bad. I want to make them into discs then cover. Like the ones that used to be in, was it a roses tin, or quality street . Anyway, I’m thinking the best way to do it is roll toffee into a ball then flatten.
Many thanks!!
Charlotte Oates says
Unfortunately not, sorry. It’s something I really should get on and add.
Abby says
Why do they say one needs to heat couverture chocolate, cool it down and then re-heat again. You heat and cool only? I am battling to temper
Charlotte Oates says
That’s probably the proper, cheffy way of doing it but I’ve always found it turns out just fine doing it this way.
Alison Johnson says
Thank you it looks so much easier than using a marble board and scraper, it’s given me more confidence to try making my own chocolates.
Sarah James @ Tales From The Kitchen Shed says
Great post Charlotte, I really wish I could watch the video but I’m going to have to wait til I get back to the UK as we’ve got very limited bandwidth out here in our field in France. Your tips are really useful, I’m going to make sure I put the melted chocolate into another bowl, I can’t believe I’ve been making things hard for myself. Pinned for later. x
Charlotte Oates says
Thanks Sarah, I hope the video is worth the wait when you finally get to watch it! I hope you’re having a lovely time in France xx
Julia@HappyFoods says
Your chocolates look so lovely! I have tried to temper my chocolate once without a thermometer but without any success. I might give it a go again so!
Charlotte Oates says
Thanks Julia. I have tempered chocolate without a thermometer but I prefer the certainly you get by using it. The thermospatula I use is only about £15 and completely worth it if you’re planning on making chocolate quite a bit (you can also remove the spatula bit and use it as a probe thermometer for things like meat too). If you’ve had trouble in the past then I’d recommend starting by tempering dark chocolate as it sets the firmest of the three.
Eb Gargano says
Fab video Charlotte! I am so impressed…both with your chocolate making skills and your video making skills! When will there be a Charlotte’s Lively Kitchen tutorial on how to make a foodie video??? 🙂 Eb x
Charlotte Oates says
That’s so sweet of you. I was really nervous making that video as it’s the first one I’ve made by myself. I think the secret is lots of takes and editing out all of the fluffed words!
Angela / Only Crumbs Remain says
Great video and tips Charlotte. I’ve still not quite mastered tempering chocolate – but on the odd occassion when I’ve got it just right it really does make a massive difference to the final product.
Angela x
PS I love your chocolate thermometer, it’s so useful doubling as a spatula too 🙂
Charlotte Oates says
It’s the thermospatula from Lakeland if you’re interested in getting one. I’ve been really pleased with mine.